 Pin It
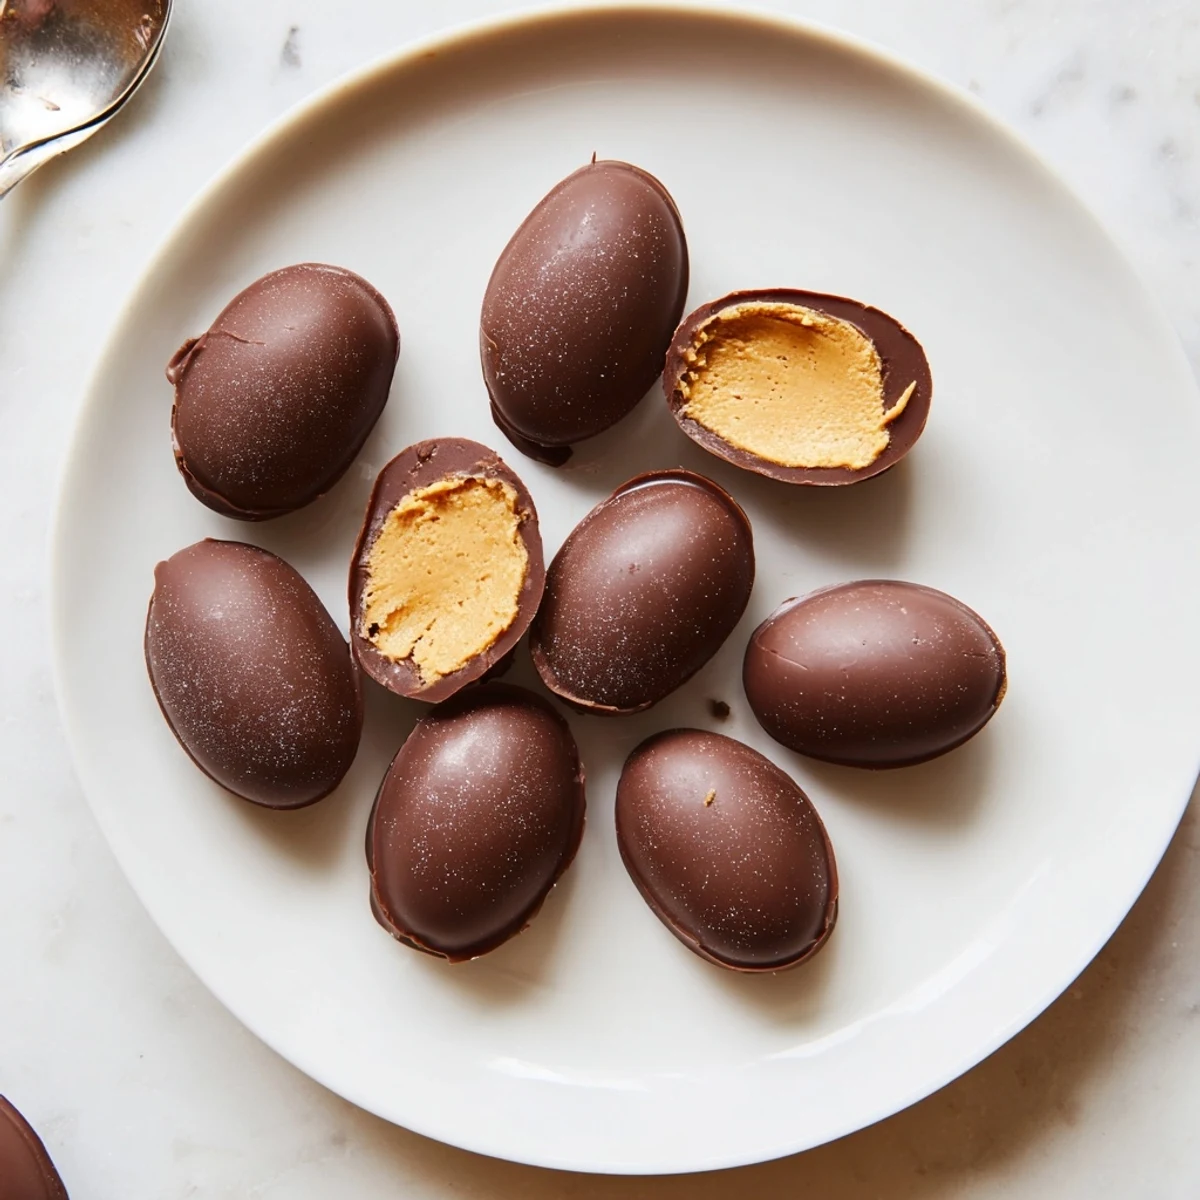
 Combine creamy peanut butter and softened butter, then beat in powdered sugar, vanilla and a pinch of salt until a thick, moldable filling forms. Scoop and shape into egg forms, then refrigerate about 30 minutes to firm. Melt chocolate with a touch of oil, dip each chilled center and return to the fridge until set. Yields about 12 chocolate-coated peanut butter eggs; store chilled in an airtight container.
Watching a glossy pool of melted chocolate swirl in my kitchen as jazz played softly in the background was the moment I decided to try making peanut butter eggs at home. There was something captivating about the gentle aroma of warm chocolate mingling with peanut butter, promising a treat far better than any store-bought version. I never expected how satisfying it would feel to hand-shape each little egg, resisting the urge to sneak bites as they chilled. This recipe has become my go-to whenever I crave a playful, creamy, and chocolatey dessert.
One Saturday afternoon, my nephew and I donned aprons and set out to make these eggs as a surprise for his mom. We ended up laughing so much at our uneven 'egg' shapes that we briefly considered calling them peanut butter potatoes instead. Still, the batch disappeared before dinner, and I think the imperfections made them even more lovable.
Ingredients
- Creamy peanut butter: Using a classic creamy peanut butter gives the filling its smooth texture, but don't be afraid to use crunchy for extra texture if you like a little bite.
- Unsalted butter: Softened butter mixes beautifully and lends that dreamy mouthfeel, so I always bring it to room temperature before starting.
- Powdered sugar: This sweetens while helping the filling hold its shape—sifting prevents lumps, a trick I learned after a few less-than-perfect batches.
- Vanilla extract: Just a teaspoon adds warmth and depth to the peanut butter mixture, and I've found real vanilla makes a difference.
- Pinch of salt: A little salt sharpens the flavors—you'll notice the contrast especially in each bite against the chocolate.
- Semi-sweet or milk chocolate chips: Semi-sweet adds balance to the sweet filling; milk chocolate brings nostalgia, both melt beautifully with a bit of patience.
- Coconut oil or vegetable shortening: This helps to keep your chocolate coating snappy yet tender; I prefer coconut oil for its hint of extra flavor.
Instructions
- Make the peanut butter base:
- Add your peanut butter and softened butter to a big bowl—when you blend them, the glossy mixture sticks to the beaters and you know you're off to a good start.
- Form the filling:
- Gradually work in the vanilla extract, pinch of salt, and handfuls of powdered sugar; as soon as the dough feels soft but not sticky, you're ready for shaping.
- Shape the eggs:
- With your hands, scoop and mold the dough into egg shapes, enjoying that pillowy texture—lay each on a parchment-lined tray.
- Chill for firmness:
- Pop the tray into the fridge for at least half an hour, giving everything time to set up (and giving yourself a moment to clean the inevitable powdered sugar dusting the counter).
- Melt the chocolate:
- In a microwave-safe bowl, combine chocolate chips with coconut oil, heating in short bursts and stirring each time—the smell alone is worth lingering for.
- Dip in chocolate:
- With a fork, dip each chilled egg gently, letting excess chocolate drip away before placing them back on the parchment; no need to rush—imperfect swirls look homemade in the best way.
- Let set and enjoy:
- Return your tray to the fridge until the coating is firm and snappy, then transfer to an airtight container to keep them fresh for sharing (or secret snacks).
 Pin It
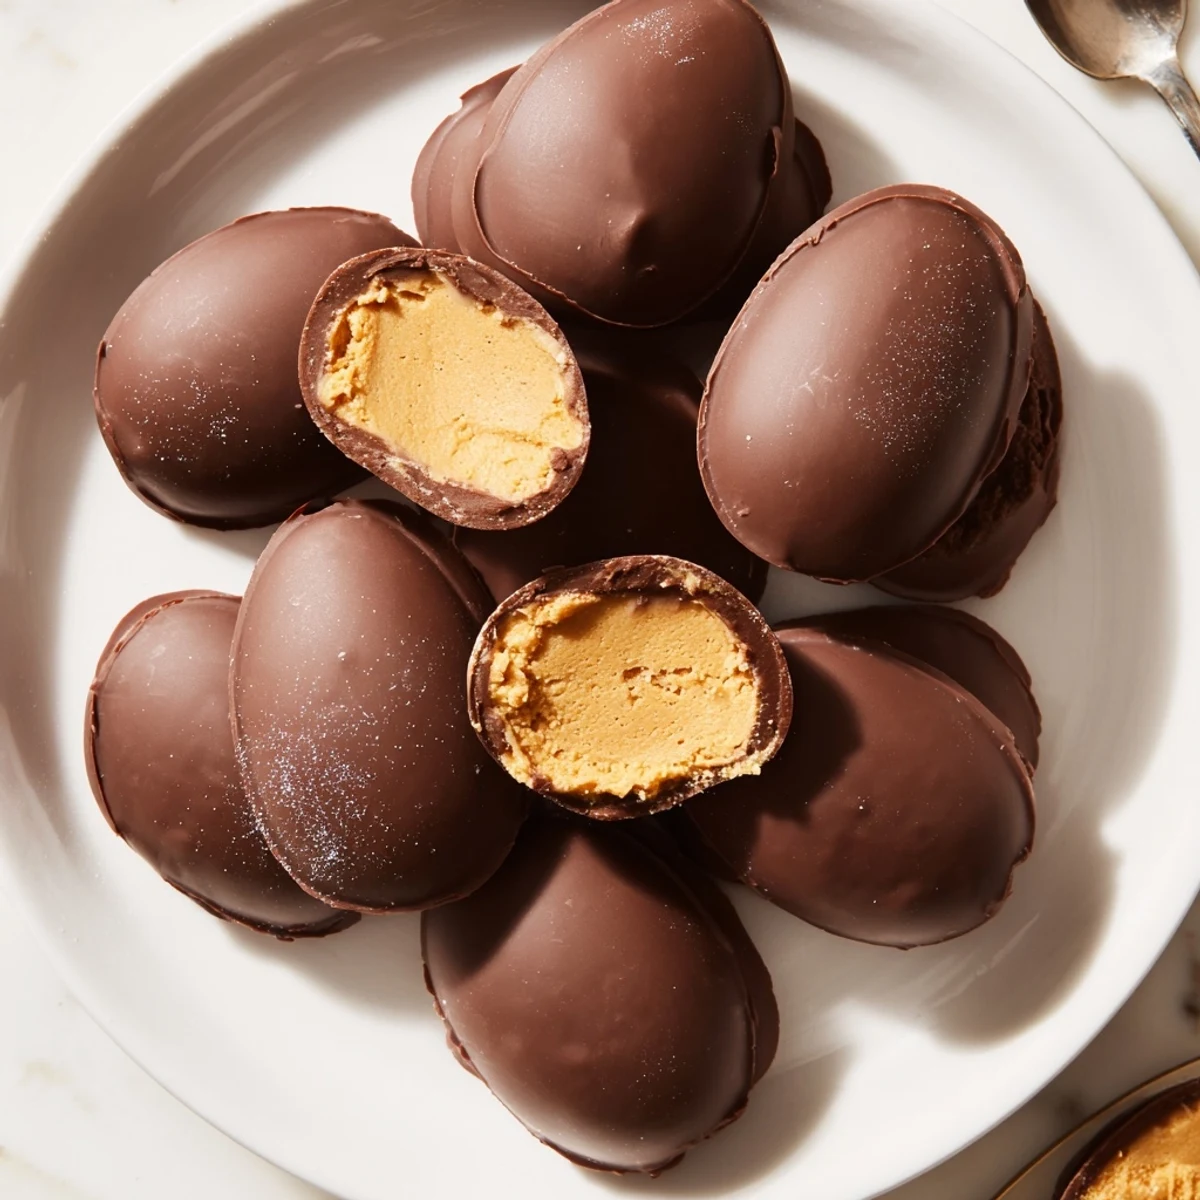
 The time I first brought these to an Easter picnic, a friend looked at the plate and asked, Did you buy these from the fancy chocolatier? That single comment made all my little smudges of chocolate and lopsided eggs feel like a badge of honor.
Decorating Ideas for a Festive Finish
The best part of these eggs is how customizable they are—I've drizzled them with white chocolate, added festive sprinkles, or even tinted the filling pastel with a dot of food coloring for spring gatherings. Get a little whimsical and let the kids press on crushed pretzels or colored sugar before the chocolate sets. Each batch takes on a little of the maker's mood every time.
Troubleshooting Your Batch
If your chocolate seizes or your eggs start to get sticky, don't panic—it happens to the best of us! A splash more coconut oil rescues clumpy chocolate, and a quick fridge time fixes any sticky filling. Sometimes, the quirks make them taste even better.
Letting Family Join In
There's something infectious about inviting everyone to dip and decorate—just keep an extra stack of napkins handy for chocolatey hands. Laughter tends to echo in the kitchen the louder, the messier it gets. Memory-making really is the best secret ingredient.
- Add a pinch of flaky salt on top for grown-up flair.
- Double the batch if you have peanut butter fans—these go fast.
- Store leftovers in the fridge (if you have any) for up to a week.
 Pin It
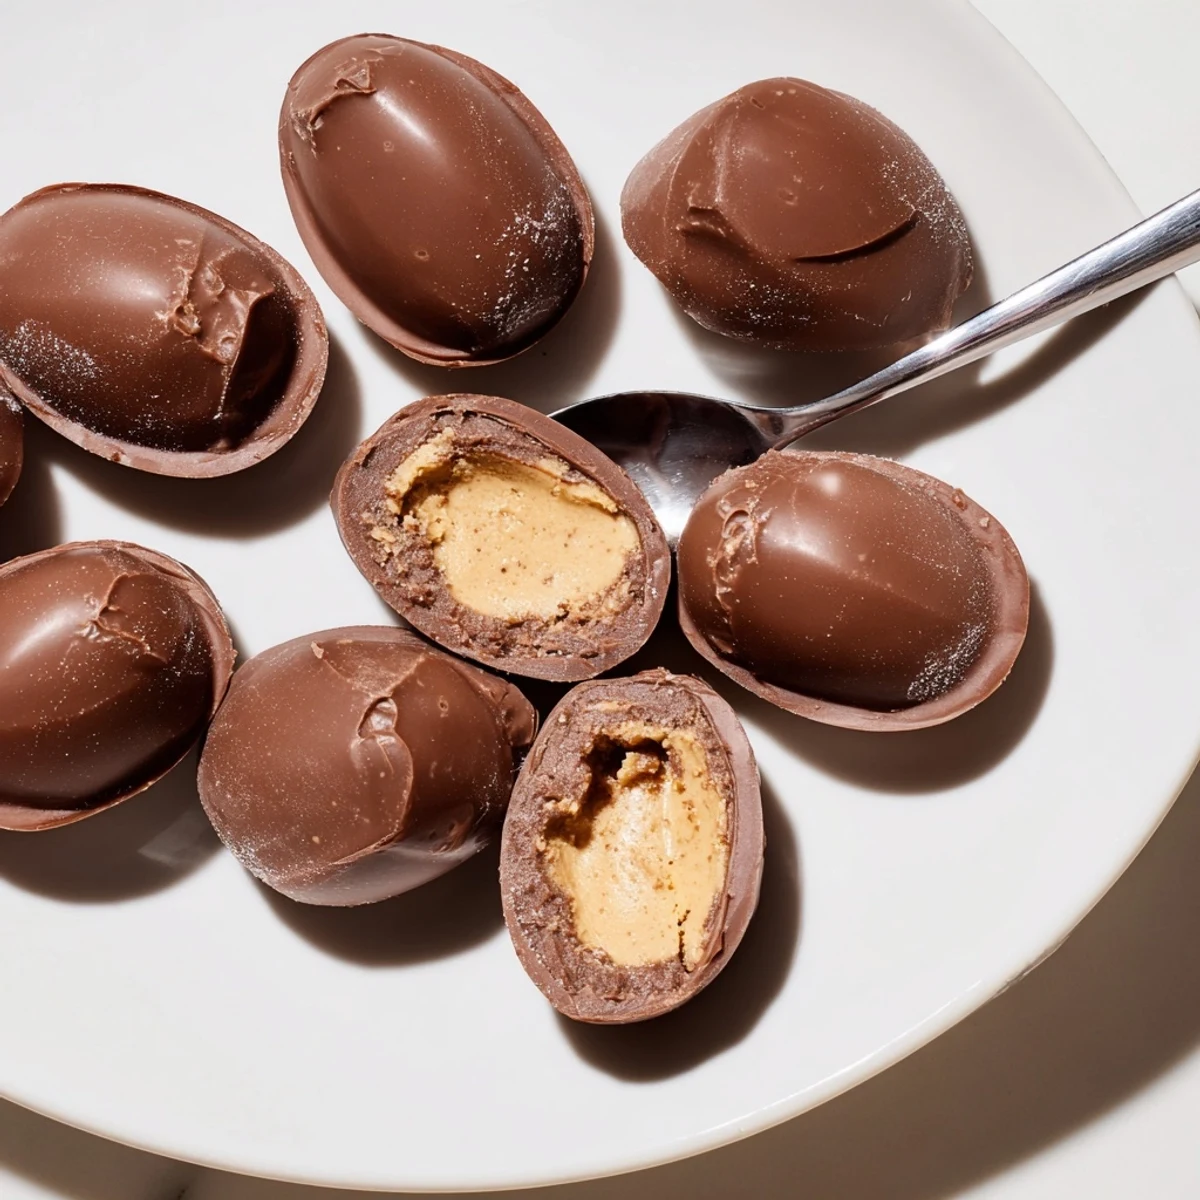
 There is something about homemade peanut butter eggs that always sparks a smile. I hope you find as much joy in making (and eating) these as I do every single time.
Recipe Questions & Answers
- → How do I make the filling firm enough to shape?
-
Beat the peanut butter and softened butter until smooth, then add powdered sugar gradually until the mixture is thick and holds shape. If it’s still soft, chill the mixture for 10–20 minutes before shaping.
- → What chocolate works best for coating?
-
Semi-sweet or milk chocolate chips melt smoothly and balance the sweetness. Add a small amount of coconut oil or vegetable shortening to thin the chocolate for easier dipping and a glossy finish.
- → How can I avoid cracking or dull chocolate coating?
-
Avoid overheating the chocolate; melt in short bursts and stir frequently. Dip chilled centers and let excess drip off. Return to the refrigerator to set slowly for a smooth surface; tempering chocolate yields the most stable shine.
- → Can I add texture or mix-ins to the filling?
-
Yes. Use crunchy peanut butter or fold in crushed pretzels, toasted nuts, or crisped rice for a crunchy contrast. Start with small amounts so the filling remains moldable.
- → How should I store these chocolate-coated eggs?
-
Keep them in an airtight container in the refrigerator for up to 1–2 weeks. For longer storage, freeze on a tray until firm, then layer with parchment in a sealed container for up to 2 months; thaw in the fridge before serving.
- → How do I make these gluten-free or allergy-aware?
-
Use certified gluten-free chocolate and check peanut butter labels for cross-contamination. Note common allergens: peanuts and dairy may be present; choose alternatives like sunflower seed butter and dairy-free chocolate if needed.
