 Pin It
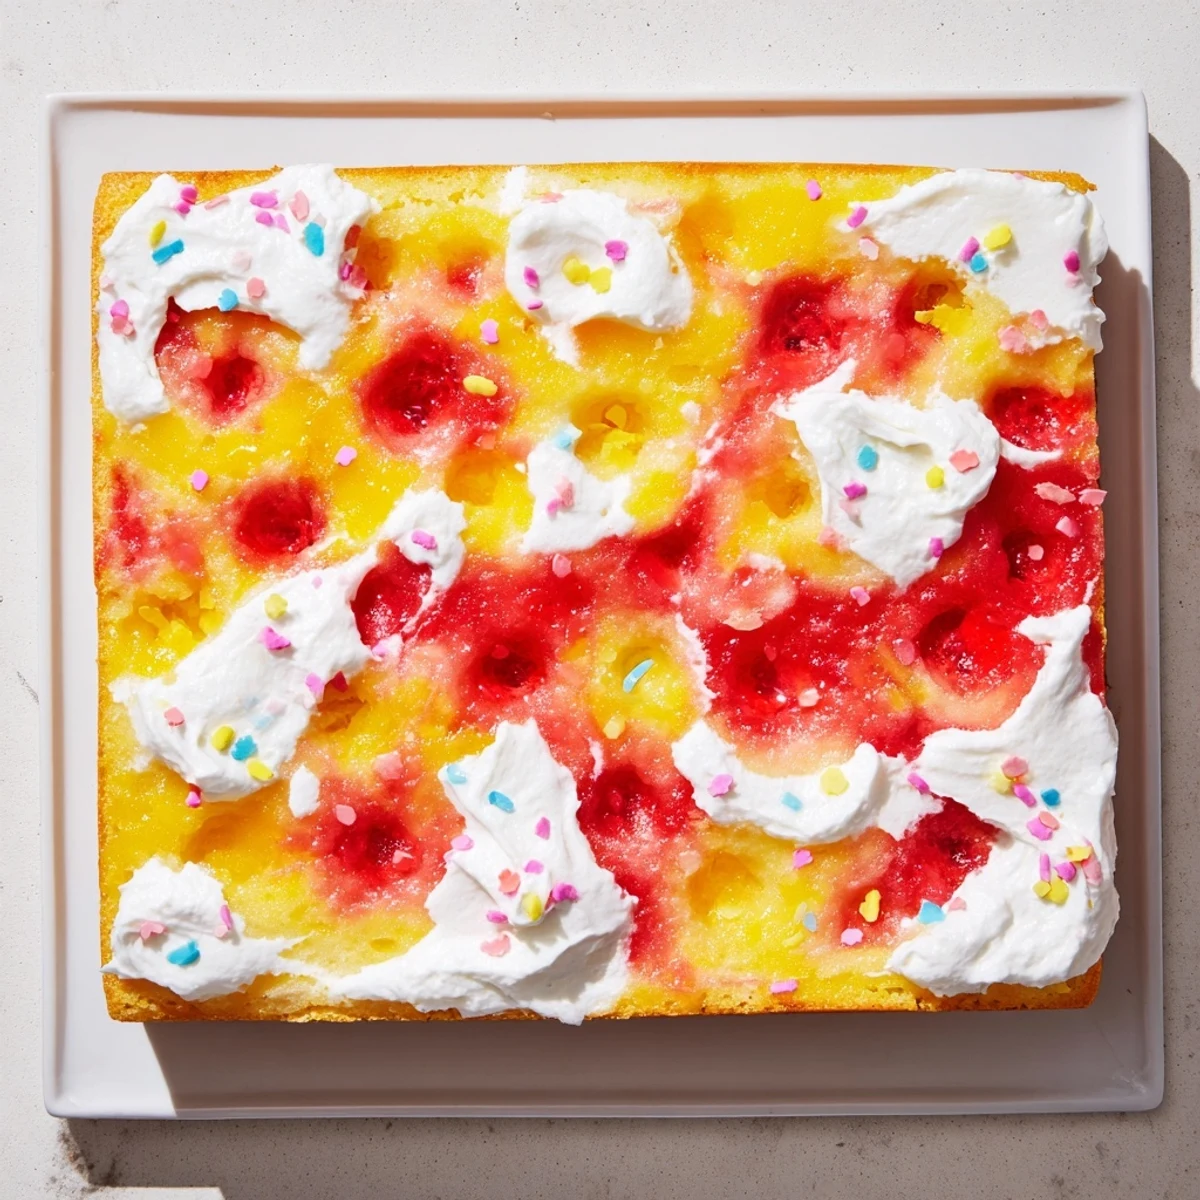
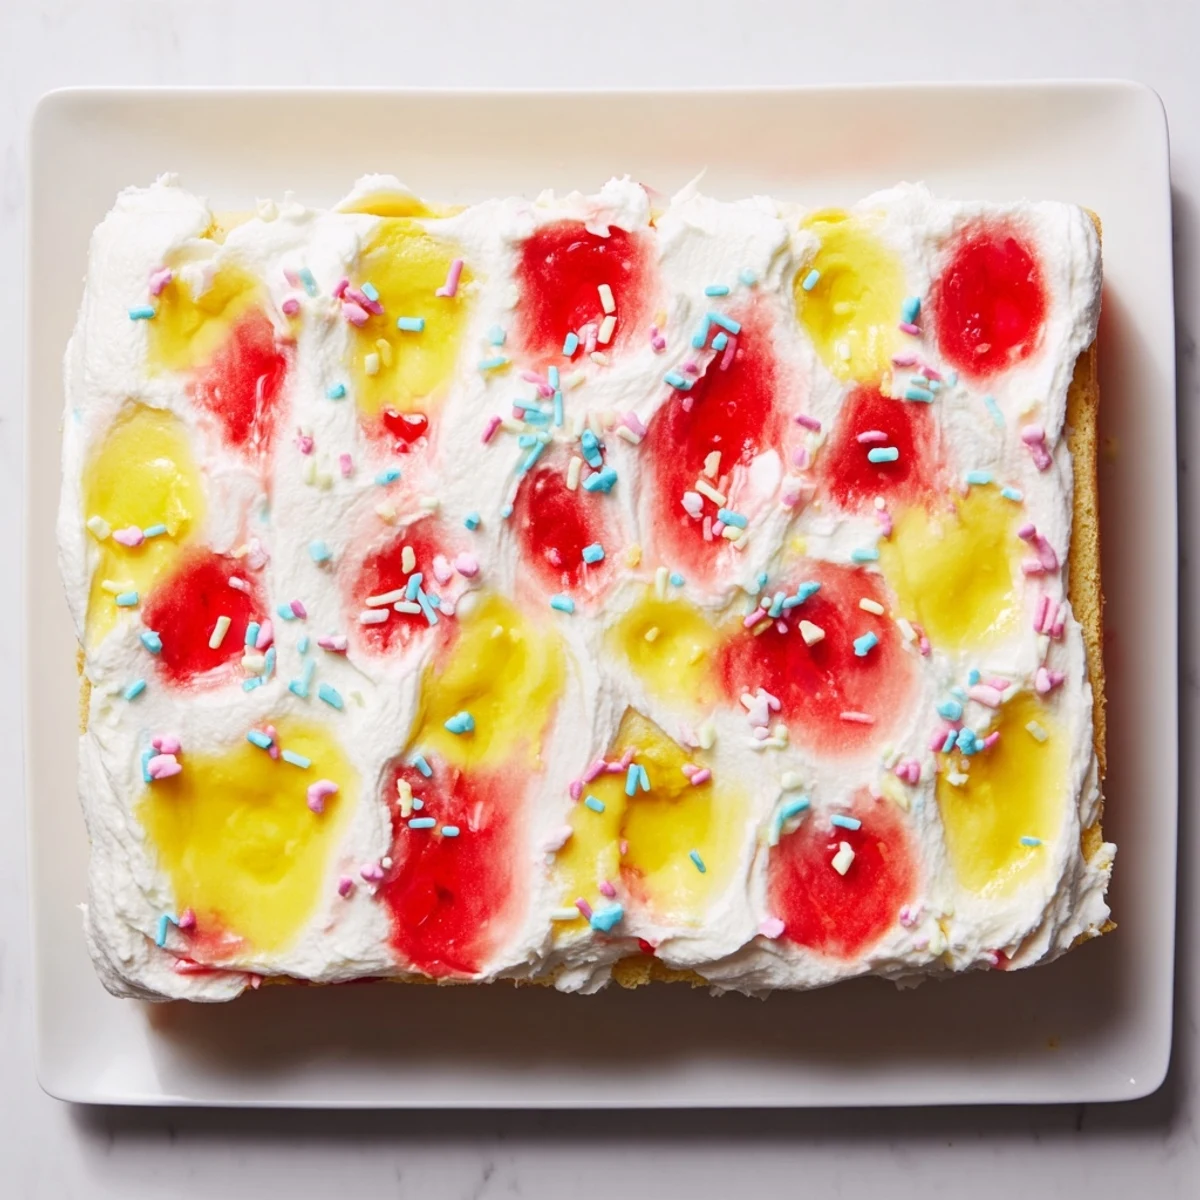
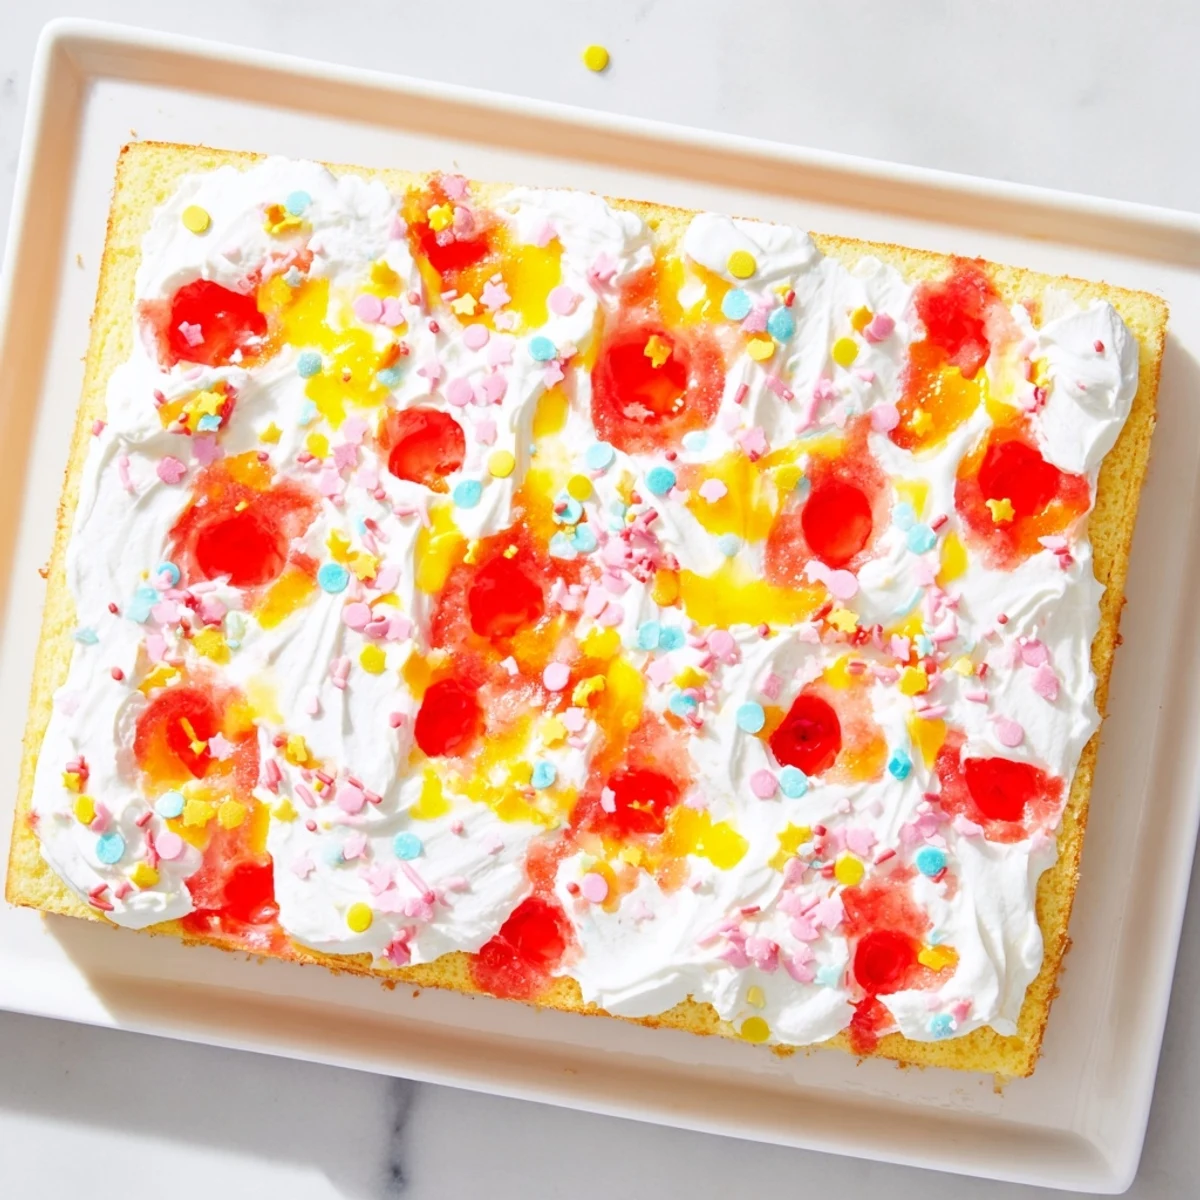
 This vibrant spring dessert combines fluffy vanilla cake with fruity gelatin pockets for a fun, colorful presentation. The cake is baked until golden, then poked with holes to allow strawberry and lemon gelatin to seep into every layer, creating a marbled effect. After chilling for hours to set, the dessert is crowned with freshly whipped cream sweetened with powdered sugar and vanilla. Pastel sprinkles or jelly beans add the perfect festive touch for Easter gatherings.
The first time I brought this poke cake to my sister's spring brunch, my three-year-old niece stood on her chair and declared it fairy food. The way the pastel stripes peek through the whipped cream makes it look like something that belongs in a storybook, and honestly, watching grown adults get excited about the surprise colors inside is pretty delightful.
I made this for a rainy Sunday family dinner last month, and my dad who usually claims he doesn't like sweets went back for seconds. Something about the nostalgia of gelatin combined with the sophistication of homemade whipped cream wins everyone over, even the skeptics.
Ingredients
- Vanilla cake mix: Using a high quality mix saves time without sacrificing flavor, and the neutral base lets those fruity gelatin colors really shine through
- Large eggs: Room temperature eggs incorporate better into the batter for an even rise
- Strawberry gelatin: The classic pink flavor that screams spring and childhood memories
- Lemon gelatin: Bright yellow that cuts through the sweetness with a subtle tang
- Boiling water: Essential for fully dissolving the gelatin crystals so you do not end up with grainy pockets
- Cold water: Cools down the gelatin mixture before pouring so it does not melt the cake
- Heavy whipping cream: Cold cream whips up faster and holds its structure better for that cloud-like topping
- Powdered sugar: Sweetens and stabilizes the whipped cream without adding grit
- Vanilla extract: Pure vanilla extract makes the cream taste homemade and special
- Pastel sprinkles or jelly beans: The finishing touch that makes this feel like a celebration
Instructions
- Bake your foundation:
- Preheat your oven to 350°F and grease a 9x13-inch baking pan really well, especially the corners. Mix up the cake batter according to the package directions, pour it in, and bake for 28 to 32 minutes until a toothpick comes out clean.
- Create the magic holes:
- Let the cake cool for exactly 15 minutes so it is warm but not hot. Use the handle of a wooden spoon to poke holes about one inch apart all over the cake, pressing down gently but firmly through to the bottom.
- Prepare the colorful swirls:
- In two separate bowls, dissolve each gelatin flavor in one cup boiling water, stirring until completely dissolved. Stir one cup cold water into each bowl and let them cool slightly while you finish the next steps.
- Add the surprise colors:
- Carefully pour the strawberry gelatin over one half of the cake and the lemon over the other half, or alternate them for a marbled look. Gently tilt the pan to help the liquid settle into all those holes you made.
- Let it set:
- Cover the pan and refrigerate for at least two hours, but three is even better for the gelatin to fully set and the flavors to meld.
- Make the cloud topping:
- Whip the cold cream with powdered sugar and vanilla until stiff peaks form, which usually takes about three to four minutes with an electric mixer.
- Finish with flourish:
- Spread the whipped cream evenly over the chilled cake and scatter those pastel sprinkles or jelly beans across the top like confetti.
 Pin It
 Last Easter, my usually stoic brother-in-law asked if he could take home the leftover slices, and I found him eating one for breakfast the next morning. Sometimes the simplest desserts create the most lasting memories.
Make Ahead Magic
This cake actually gets better after sitting in the refrigerator overnight. The gelatin has time to fully set and the flavors meld together, plus you can make the whipped topping fresh the next day.
Flavor Adventures
I have experimented with berry blue and lime gelatin for a more vibrant look, and orange and pineapple work beautifully for summer gatherings. The classic strawberry lemon combination remains my favorite though.
Serving Suggestions
Cold slices straight from the refrigerator are perfection, but letting the cake sit at room temperature for ten minutes makes the whipped cream extra luscious. Use a sharp knife and wipe it clean between slices for the prettiest presentation.
- Chill your serving platter beforehand to keep the whipped cream firm
- Have extra sprinkles on hand because people love adding more
- This recipe doubles easily for larger gatherings
 Pin It
 There is something deeply satisfying about a dessert that looks impressive but comes together with such simple ingredients. Watch it disappear.
Recipe Questions & Answers
- → How far in advance can I make this gelatin poke cake?
-
This dessert can be prepared up to 24 hours in advance. Cover and refrigerate after adding the gelatin, then top with whipped cream shortly before serving for the best texture and appearance.
- → Can I use different gelatin flavors for this poke cake?
-
Absolutely! Berry blue, lime, orange, or raspberry gelatin work beautifully. Choose colors that complement each other and match your celebration theme for the most visually appealing result.
- → What's the best way to poke holes in the cake?
-
Use the handle of a wooden spoon or a skewer to create evenly spaced holes about one inch apart. Poke all the way through to the pan bottom, but avoid tearing the cake structure too much.
- → Can I use homemade cake instead of a mix?
-
Yes, any vanilla cake recipe works well. Just ensure it's baked in a 9x13-inch pan and cooled for about 15 minutes before poking the holes and adding the gelatin mixture.
- → How should I store leftovers of this poke cake?
-
Store covered in the refrigerator for up to 3 days. The gelatin helps keep the cake moist, and the whipped cream topping stays fresh when properly chilled and covered.
