
 Pin It
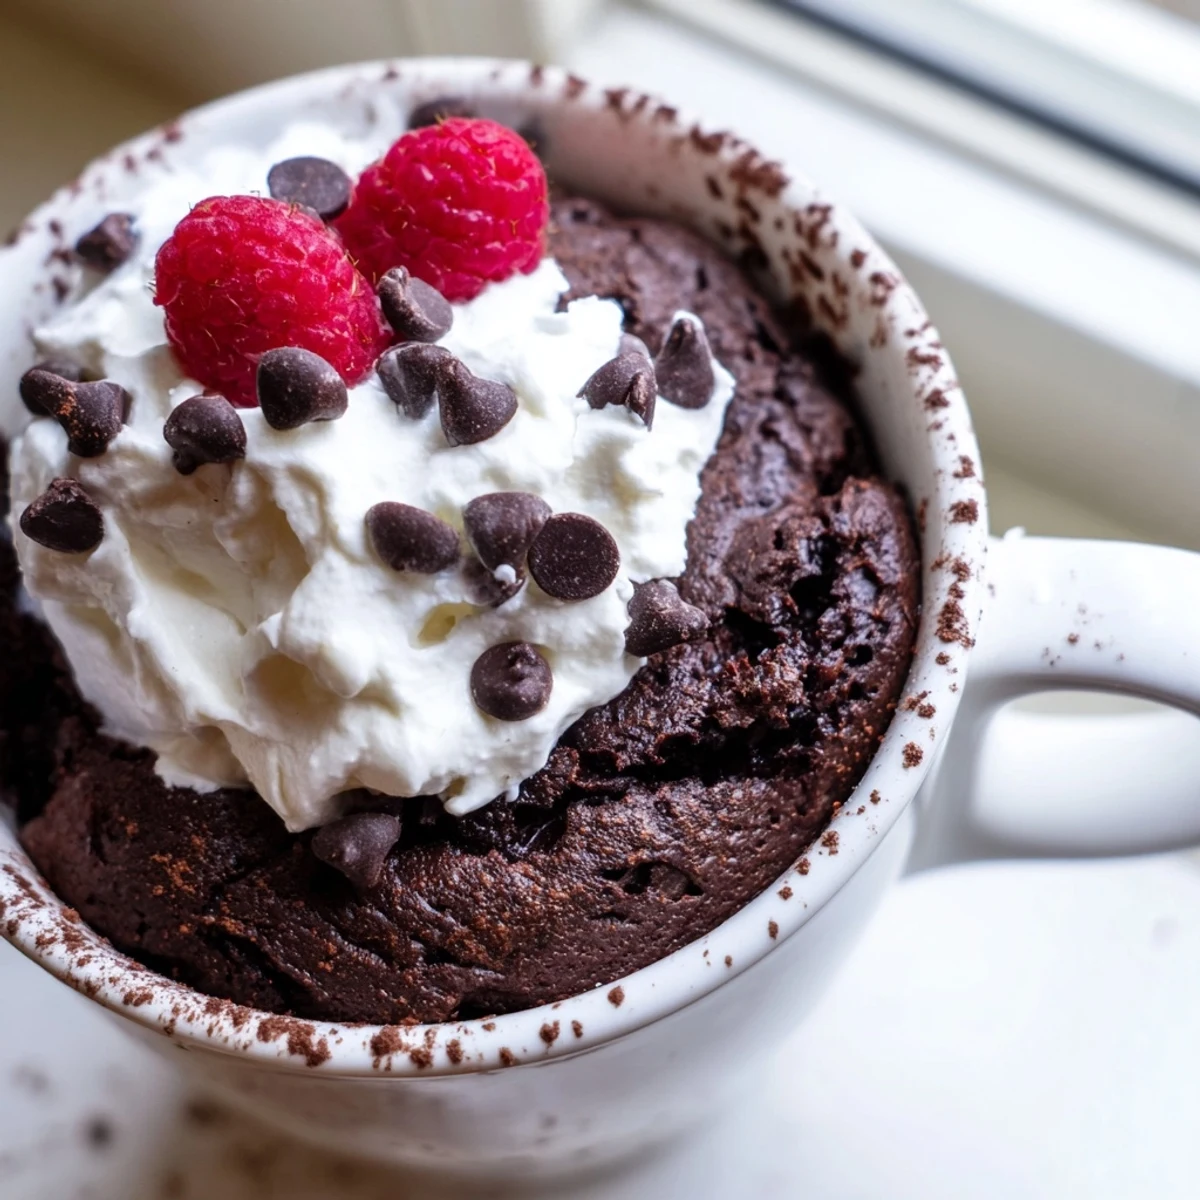
 This gluten-free chocolate mug cake is the ultimate quick-fix dessert for anyone craving something rich and chocolatey without the wait. Ready in just 7 minutes from start to finish, it uses a straightforward blend of gluten-free flour, cocoa powder, sugar, and pantry staples whisked directly in a microwave-safe mug.
The batter comes together in under 2 minutes, and the microwave does the rest—no oven, no fuss. The result is a moist, tender single-serving cake with a deep chocolate flavor that rivals traditional versions.
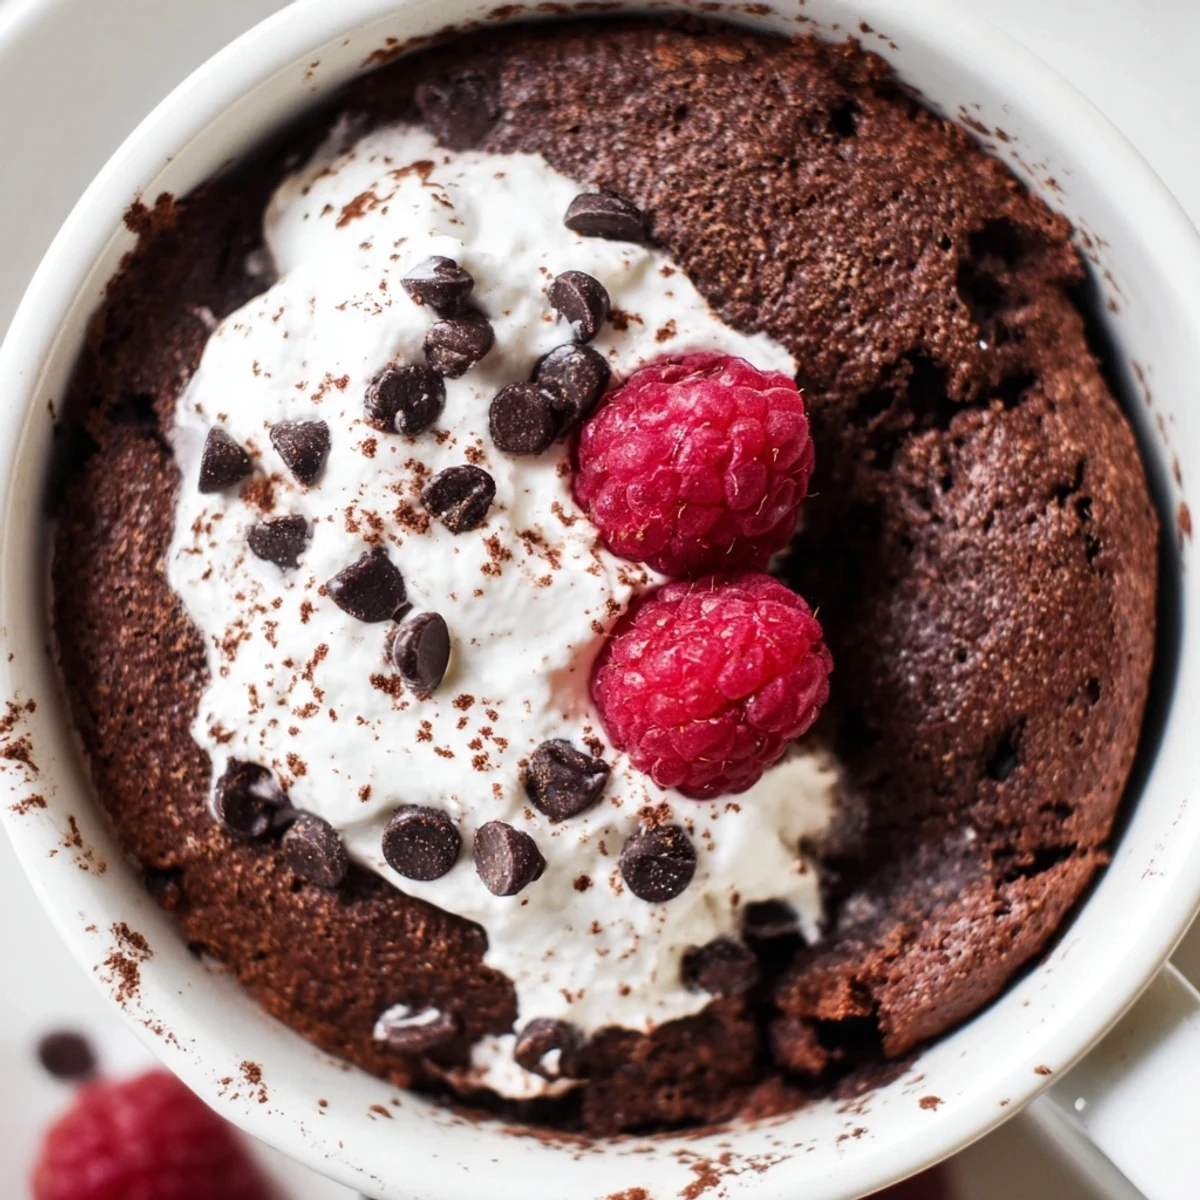
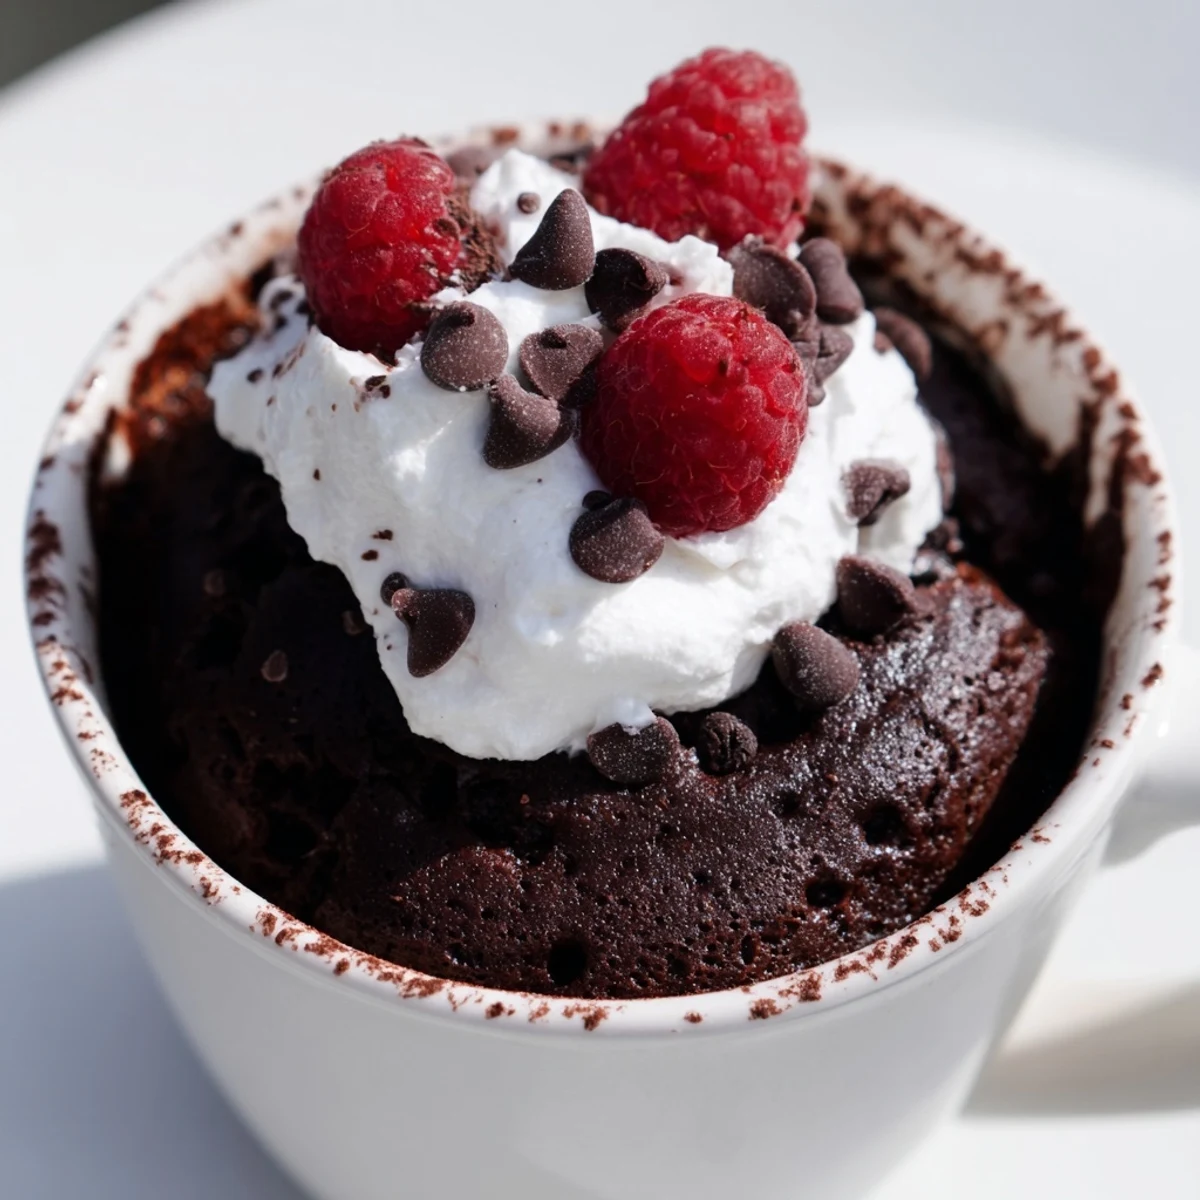
Customize it with chocolate chips for extra indulgence, or top with whipped cream and fresh berries. It's naturally vegetarian and easily adaptable for dairy-free diets by swapping the milk for your preferred plant-based alternative.
The mug cracked. That was my first attempt at a microwave chocolate cake, standing in a borrowed kitchen at midnight, desperate for something sweet after a long day of traveling gluten free and feeling every limitation of that choice. The cake itself was salvageable, scooped into a bowl and eaten with a spoon while I laughed at the ceramic shards I would have to explain to my host. Something about that chaotic, imperfect moment convinced me this recipe deserved refinement.
My friend Clara, who has never voluntarily cooked anything more complex than toast, now texts me photos of her mug cakes at least twice a week, each one slightly different and always proudly topped with whatever she found in her fridge.
Ingredients
- Gluten free all purpose flour blend (3 tablespoons): The backbone of the cake, and using a pre mixed blend saves you from guessing ratios of rice flour to tapioca starch.
- Unsweetened cocoa powder (2 tablespoons): Use a good quality one because there are so few ingredients that each one really carries its weight in flavor.
- Granulated sugar (3 tablespoons): This might seem like a lot for one serving but the cocoa powder absorbs sweetness, so trust the measurement.
- Baking powder (1/4 teaspoon): Just enough lift to keep the cake from turning into a dense hockey puck.
- Salt (pinch): Never skip this because salt makes chocolate taste more like itself.
- Milk, dairy or non dairy (3 tablespoons): Any milk works here, and I have used everything from oat to full fat whole milk with equally happy results.
- Neutral oil (2 tablespoons): Oil keeps the cake softer than butter would, and it blends into the batter without needing to melt anything.
- Pure vanilla extract (1/4 teaspoon): A small amount rounds out the chocolate flavor beautifully.
- Chocolate chips (1 tablespoon, optional): These melt into little pockets of goo that make the whole thing feel indulgent rather than merely convenient.
- Whipped cream or berries (for serving, optional): A crown of either one turns a quick snack into something that feels intentional and special.
Instructions
- Build your dry foundation:
- In a microwave safe mug of at least 12 ounces, whisk together the gluten free flour, cocoa powder, sugar, baking powder, and salt until no visible lumps remain and everything looks like uniform dark sand.
- Add the wet players:
- Pour in the milk, oil, and vanilla extract, then stir with determination until the batter is completely smooth and glossy, scraping the bottom corners of the mug where dry spots love to hide.
- Sneak in extras:
- If you are using chocolate chips, fold them in now and try to resist eating the raw batter, though I will not judge if you take a small taste.
- Let the microwave work its magic:
- Cook on high for 1 minute 30 seconds to 2 minutes, watching through the door as the cake rises dramatically and then settles, and know it is done when the center looks set and springs back at a gentle touch.
- Practice a little patience:
- Let the cake cool in the mug for 1 to 2 minutes because the residual heat finishes the cooking and the texture improves dramatically in that short wait.
 Pin It
 There is something quietly wonderful about holding a warm mug of chocolate cake on a rainy evening, knowing you did not need a mixer or an oven or even a real bowl to make it happen.
Choosing the Right Mug
Pick a mug that holds at least 12 ounces because this batter will rise impressively before it settles back down. I learned this the hard way when a too small mug sent batter cascading over the sides and onto the microwave turntable, creating a mess that took longer to clean than the cake took to make.
Making It Your Own
The basic recipe is a canvas that welcomes experimentation once you feel confident with the original. A spoonful of peanut butter swirled into the batter, a pinch of espresso powder, or a dash of cinnamon each create a noticeably different cake without changing the technique at all.
Storing and Leftover Notes
Mug cakes are best eaten immediately because they do not hold their charm after sitting around. That said, if you somehow have restraint and want to save half, cover the mug with a small plate and reheat gently for about 15 seconds the next day.
- Do not refrigerate the leftover cake because the texture becomes unpleasantly dense and rubbery.
- If your cake comes out slightly gummy in the center, add 15 more seconds next time rather than stirring the batter more aggressively.
- Always double check that your baking powder and cocoa powder carry a certified gluten free label to avoid trace contamination.
 Pin It
 Keep this recipe in your back pocket for late nights, unexpected guests, or any moment that calls for chocolate without a production number. It will never let you down.
Recipe Questions & Answers
- → Can I make this mug cake dairy-free?
-
Yes, simply substitute the milk with almond, soy, or oat milk and use dairy-free chocolate chips. The texture and flavor remain just as satisfying with plant-based alternatives.
- → Why did my mug cake turn out rubbery?
-
Overcooking is the most common cause. Microwave wattages vary, so start with 1 minute 30 seconds and check for doneness. The cake should spring back lightly when touched but still have a slight moistness.
- → What size mug should I use?
-
Use a microwave-safe mug that holds at least 12 ounces. This gives the batter enough room to rise without overflowing during cooking.
- → Can I use regular flour instead of gluten-free?
-
Yes, you can swap the gluten-free flour blend 1:1 with regular all-purpose flour. The rest of the method stays exactly the same.
- → How should I store leftovers?
-
Mug cakes are best enjoyed immediately. If needed, cover the mug with plastic wrap and refrigerate for up to 1 day, then reheat in the microwave for 15-20 seconds to soften.
- → Can I add a gooey center to this mug cake?
-
Absolutely. Press a small piece of chocolate or a spoonful of nut butter into the center of the batter before microwaving. This creates a molten, indulgent center when you dig in.