 Pin It
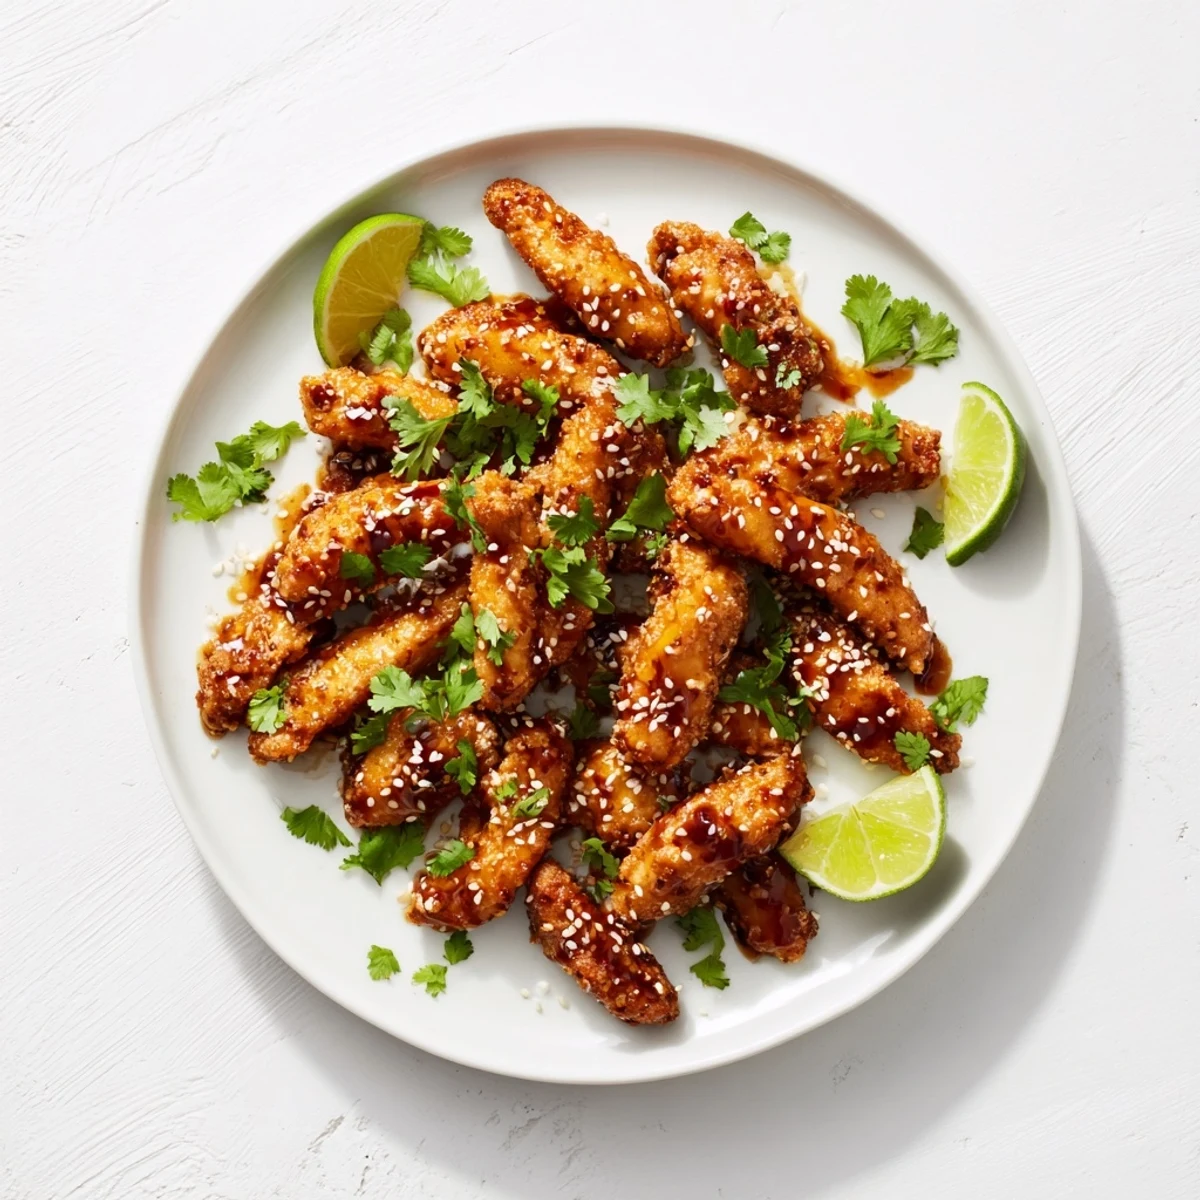
 These Thai sticky chicken fingers feature tender chicken strips coated in crispy panko breadcrumbs, baked until golden, then tossed in a luscious sweet chili and soy glaze. The sauce brings together honey, rice vinegar, sriracha, and sesame oil for a balance of sweet, tangy, and slightly spicy notes.
Ready in just 35 minutes with minimal prep, they work beautifully as a party appetizer or paired with jasmine rice and fresh slaw for a satisfying weeknight dinner. Garnished with cilantro, toasted sesame seeds, and a squeeze of fresh lime.
The sizzle of panko crusted chicken hitting a hot baking sheet is one of those sounds that pulls everyone into the kitchen before you even announce dinner is ready. I threw these Thai sticky chicken fingers together on a rainy Tuesday when the fridge was bare and morale was low, and they turned a bland evening into something worth remembering. The sauce is the real magic, a sticky, glossy glaze that tastes like you spent hours reducing it when it really takes about five minutes.
My neighbor stopped by once while I was tossing the chicken in sauce and ended up staying for the entire plate. We stood in the kitchen eating off the baking sheet with paper towels for napkins, and neither of us pretended we were going to use plates.
Ingredients
- Chicken: 600 g boneless, skinless chicken breasts cut into even strips so everything cooks at the same rate.
- Salt and black pepper: Half a teaspoon each, just enough to wake up the chicken before the sauce takes over.
- All-purpose flour: One cup for the first coat, which helps the egg adhere properly.
- Eggs: Two large eggs beaten with two tablespoons of water to create the binding layer between flour and panko.
- Panko breadcrumbs: Two cups give you that jagged, shattery crunch that regular breadcrumbs never quite manage.
- Sweet chili sauce: One third of a cup forms the sweet, tangy backbone of the glaze.
- Soy sauce: Two tablespoons for saltiness and depth that balances the honey.
- Honey: Two tablespoons help the sauce set into a sticky shell rather than staying runny.
- Rice vinegar: One tablespoon adds a sharp little kick that keeps the sweetness honest.
- Sriracha: One tablespoon optional, but I always add it because the heat makes everything more interesting.
- Sesame oil: One teaspoon for that toasty, nutty aroma that signals Thai flavors.
- Garlic: One clove minced fine, just enough warmth without overpowering the glaze.
- Fresh cilantro: Two tablespoons chopped, scattered on top for color and freshness.
- Toasted sesame seeds: One tablespoon sprinkled over the finished platter for texture.
- Lime wedges: Optional but a squeeze of lime at the end brightens every single bite.
Instructions
- Prep the oven and pan:
- Heat your oven to 220 degrees C, line a baking sheet with parchment paper, and give it a light greasing so nothing sticks when the sauce tries to caramelize.
- Season the chicken:
- Pat the strips dry with a paper towel, then sprinkle salt and pepper evenly across both sides so every piece gets seasoned.
- Set up the breading station:
- Arrange three shallow bowls in a row with flour in the first, the beaten eggs mixed with water in the second, and panko in the third, keeping one hand dry and one wet to avoid clumpy fingers.
- Bread the strips:
- Dredge each piece through the flour with a gentle shake, swim it through the egg, then press it into the panko until fully coated, laying each one on the baking sheet with a little breathing room.
- Bake until golden:
- Slide the tray into the oven for 18 to 20 minutes, flipping the strips once at the halfway mark so both sides get evenly bronzed and the chicken cooks through completely.
- Make the sauce:
- While the chicken bakes, whisk the sweet chili sauce, soy sauce, honey, rice vinegar, sriracha, sesame oil, and garlic in a saucepan over medium heat until it bubbles, then pull it off the stove immediately.
- Toss and coat:
- Transfer the hot baked chicken into a large bowl, pour the warm sauce over the top, and fold gently with tongs until every strip is wrapped in a glossy layer.
- Finish and serve:
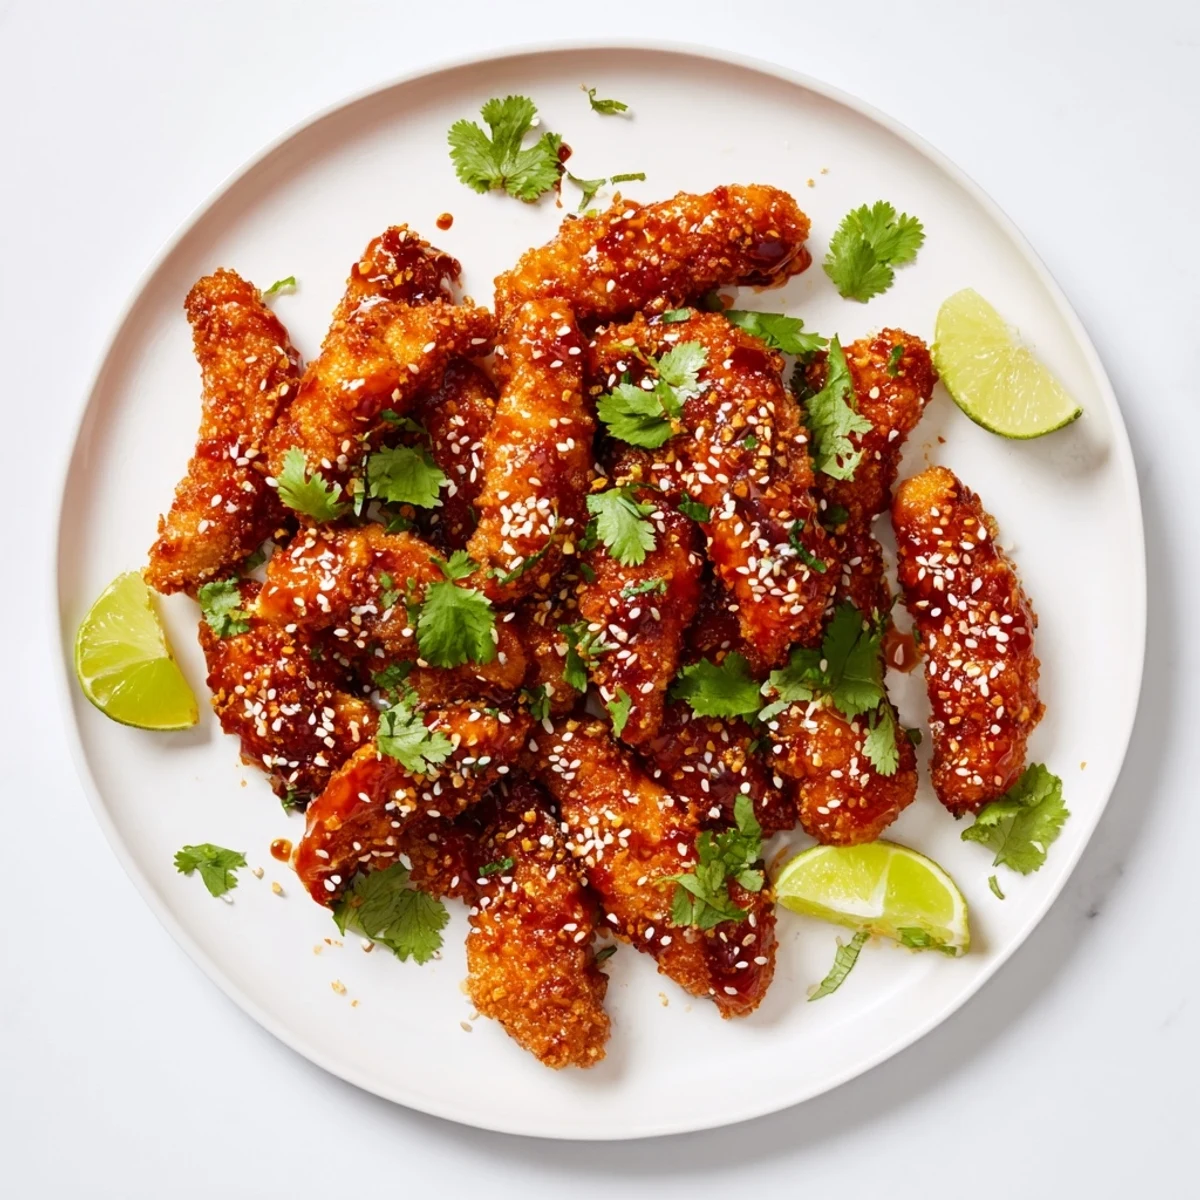
- Arrange the saucy chicken fingers on a platter, scatter cilantro and sesame seeds over the top, and tuck lime wedges around the edges for squeezing.
 Pin It
 The night my partner called these better than any takeout we have ever ordered was the night this recipe earned its permanent spot on the meal rotation.
Making It Gluten Free
Swap the all-purpose flour for a one-to-one gluten free blend, use gluten free panko, and replace the soy sauce with tamari. The texture shifts slightly but the sauce does enough heavy lifting that nobody at the table will notice the difference.
Serving Suggestions
Pile these next to a heap of jasmine rice and a crunchy slaw dressed with lime and fish sauce for a full meal. They also disappear fast on a party platter surrounded by dipping bowls of extra sweet chili sauce and sriracha mayo.
The chicken holds up surprisingly well in the fridge for two days if you store the sauce separately and reheat the strips in an oven or air fryer to bring back some crunch.
- Reheat at 200 degrees C for about eight minutes rather than using a microwave which turns the coating soggy.
- Store the extra sauce in a jar and drizzle it over rice bowls or roasted vegetables the next day.
- Always let the chicken cool completely before sealing it in a container or condensation will ruin the crust.
 Pin It
 Keep a stack of napkins nearby and do not fight the sticky fingers, that is half the fun of this dish.
Recipe Questions & Answers
- → Can I make Thai sticky chicken fingers ahead of time?
-
You can bake the chicken strips ahead and store them in the fridge for up to 2 days. Reheat in the oven at 200°C (400°F) for about 8 minutes to restore crispiness, then toss in the freshly warmed sauce just before serving.
- → How do I keep the chicken fingers crispy after saucing?
-
For maximum crunch, serve immediately after tossing in the sauce. If you prefer extra crispiness, bake the coated chicken an additional 2-3 minutes longer. You can also serve the sauce on the side for dipping rather than tossing.
- → What can I substitute for panko breadcrumbs?
-
Regular breadcrumbs work fine but yield a slightly less crunchy texture. For a gluten-free option, use crushed rice cereal or gluten-free panko. Crushed cornflakes also create a deliciously crispy coating.
- → How spicy are these chicken fingers?
-
The base sauce made with sweet chili sauce is mild and family-friendly. The sriracha is optional and can be adjusted to taste. Start with half a tablespoon and add more if you prefer extra heat.
- → Can I fry the chicken instead of baking?
-
Absolutely. Shallow fry the breaded strips in oil at 180°C (350°F) for about 3-4 minutes per side until golden and cooked through. Drain on paper towels before tossing in the sauce.
- → What sides pair well with Thai sticky chicken fingers?
-
Jasmine rice and a fresh vegetable slaw make a complete meal. They also pair well with cucumber salad, steamed edamame, or a light mango and papaya salad for a fresh Thai-inspired spread.
