 Pin It
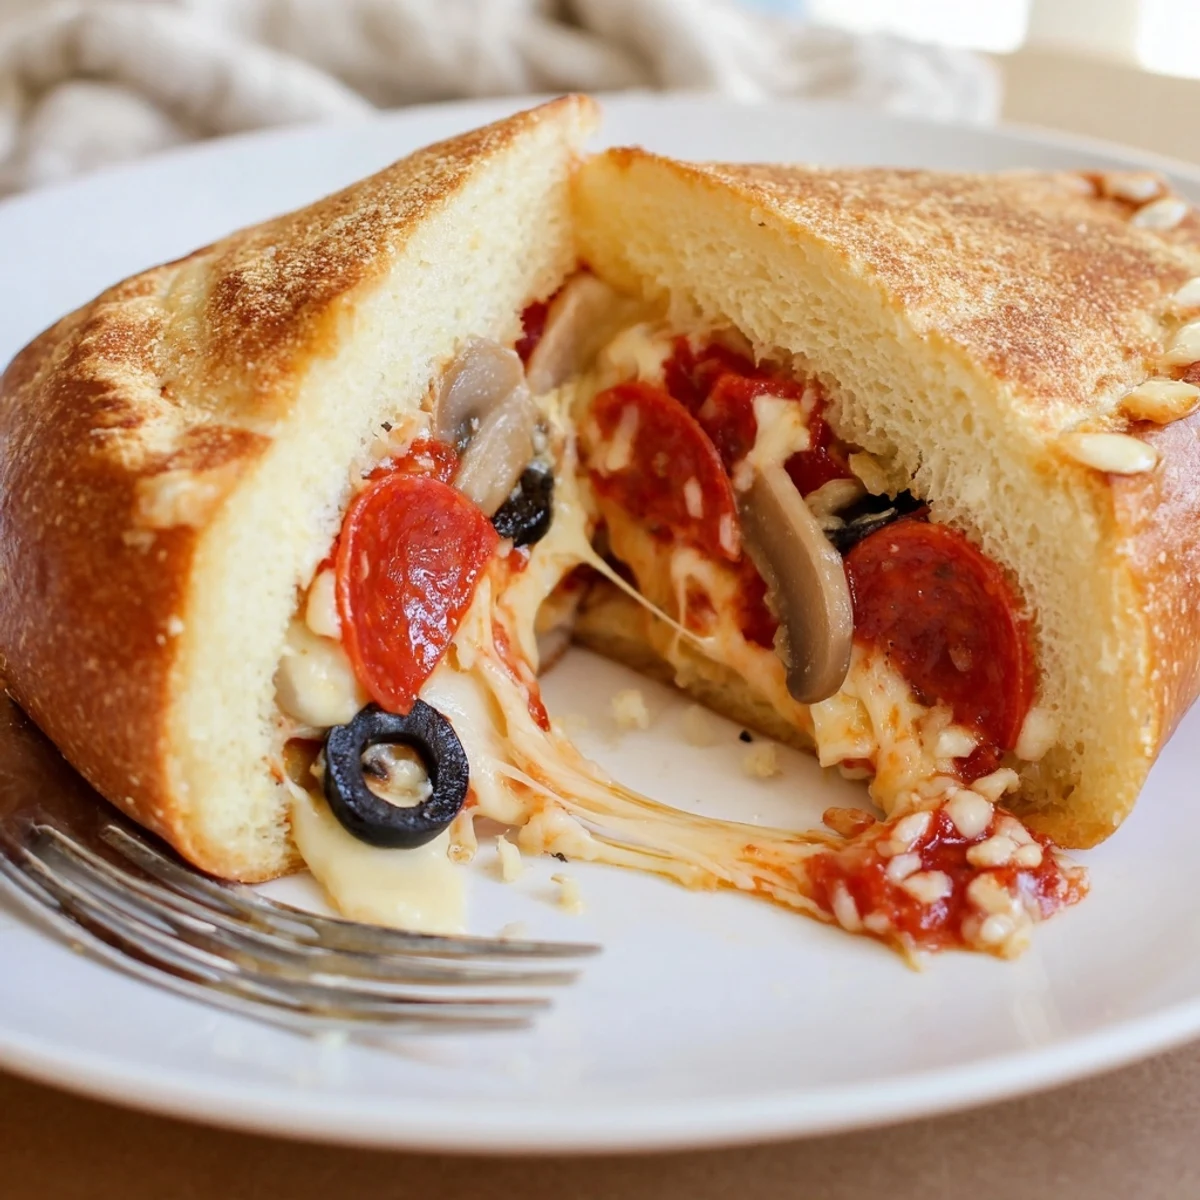
 Make four pie-iron pizza pockets in about 18 minutes: preheat the pie iron, butter bread, spread sauce, layer mozzarella and chosen toppings, seal and grill 3–4 minutes per side until golden and cheese melts. Yield four pockets; adaptable with cooked sausage, fresh basil or gluten-free bread. Brush with butter for crisp edges and let cool briefly before serving.
It’s funny how the promise of melty cheese and crisped bread brings everyone out of their tents. The first time I tried making these pie iron pizza pockets, I accidentally dropped half the toppings on the forest floor, but the laughter that followed was worth more than perfect presentation. There’s something so satisfying about flipping a hot iron over flickering campfire flames, surrounded by hungry friends. The smell of toasting bread merging with pine needles is my favorite camping soundtrack.
One summer evening, my nephew insisted on stuffing his pizza pocket with double olives and extra cheese, only to admit halfway through that he’d gone a little overboard. Watching everyone experiment with their fillings became the highlight: crunchy peppers for some, heaps of pepperoni for others, and even a sole mushroom lover in the group. It turned dinner into a playful competition and by the end, we all wore proud cheese stains as badges of honor.
Ingredients
- Bread: Sturdy sandwich bread works best—white or whole wheat hold up well and get that golden crunch, just be sure the slices aren’t paper thin or they’ll tear.
- Pizza sauce: Jarred or homemade both work; just don’t skimp or your pockets will feel dry.
- Shredded mozzarella cheese: Pre-shredded saves time over the fire, but grating fresh makes the cheese meltier and more flavorful.
- Toppings (pepperoni/salami, black olives, bell peppers, mushrooms, Italian herbs): Go wild with your choices; just slice everything so it fits easily and cooks through in the iron.
- Butter (for brushing): Melted butter gets that pie iron sizzling and gives you those crispy, golden edges you’ll want to fight over.
Instructions
- Fire Up the Iron:
- Set your pie iron over the flames or stovetop until it’s warm—test with a tiny drop of water and listen for a gentle sizzle.
- Prepare The Bread:
- Brush one side of each bread slice with melted butter and lay half of them, buttered side down, on a cutting board—this step fills the air with anticipation.
- Layer The Fillings:
- Spread pizza sauce on each piece, scatter on cheese, and add your toppings—don’t go too wild or it’ll ooze everywhere (though that might not be a bad thing).
- Assemble The Pockets:
- Top each with another slice of bread, buttered side facing out—press gently so the sandwich holds together but doesn’t squish out the good stuff.
- Into The Iron:
- Place each sandwich inside the hot pie iron, latch it, and cut away excess bread if it pokes out—this is oddly satisfying and helps avoid burns.
- Campfire Cooking:
- Hold the pie iron over medium heat for about 3–4 minutes per side; you’ll hear sizzling and smell butter as the magic happens—peek if you trust your instincts, but not too soon.
- Serve & Enjoy:
- Release your golden pockets, let them cool so you don’t burn your mouth (speaking from experience), and dig in while the cheese is still stretchy.
 Pin It
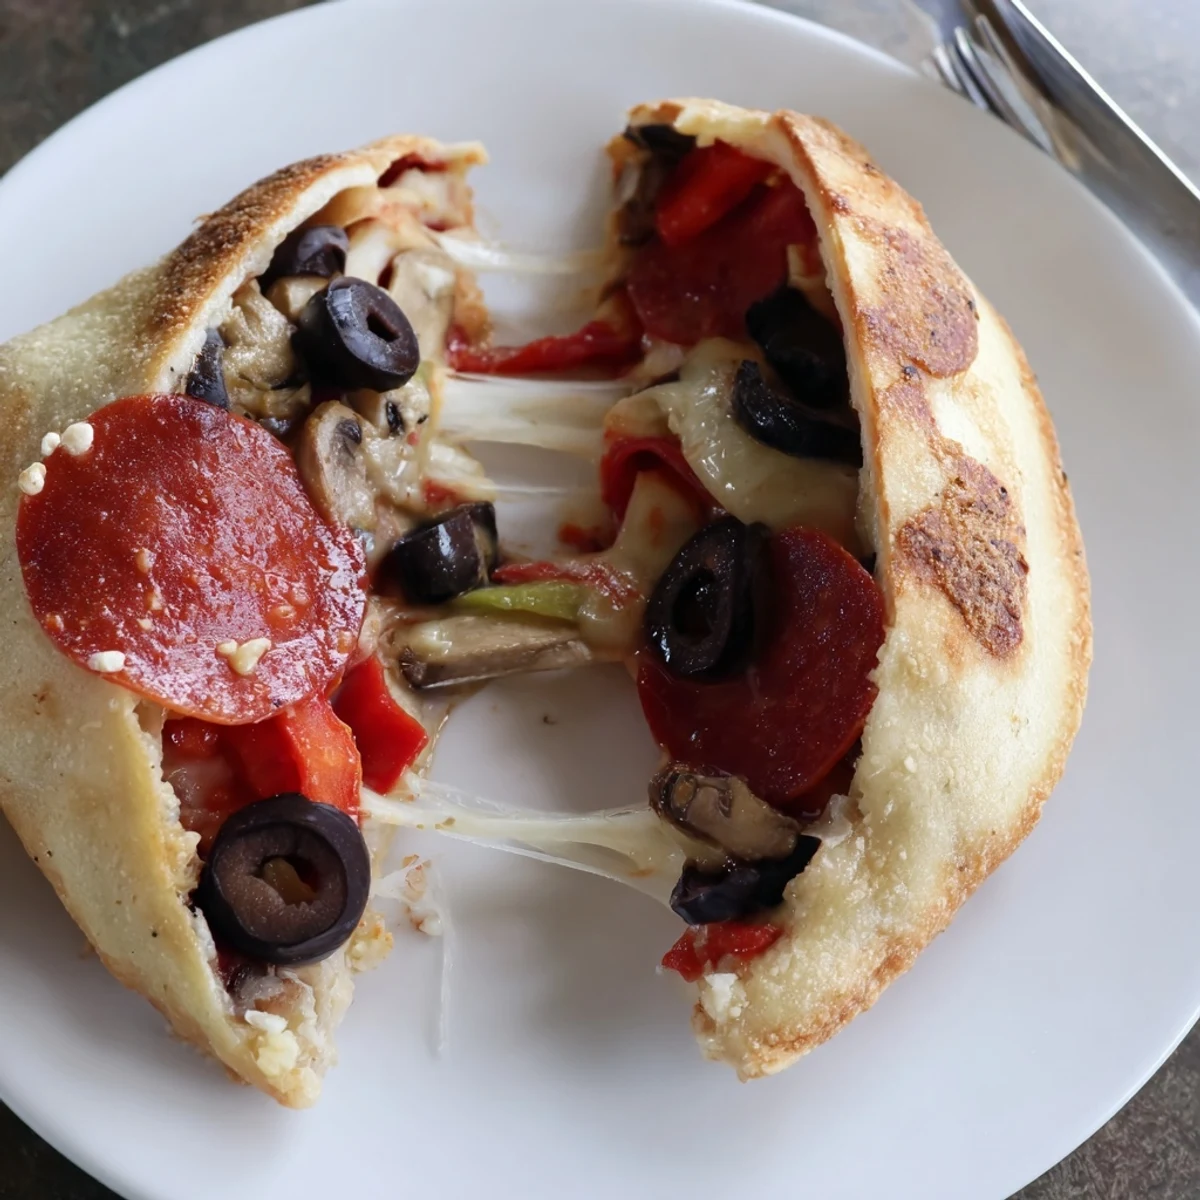
 There was a moment, after a long hike, when one perfectly browned pizza pocket made the world right again. Sharing bites straight from the pie iron, with melted cheese stringing between us, made that meal linger in our memories well past the embers’ last glow.
Choosing and Prepping Your Toppings
I’ve learned that prepping all toppings before you start means less chaos when everything’s piping hot around the fire. Quick-cooking vegetables like bell peppers and mushrooms can go in raw, but thicker or heartier items should be precooked so they’re tender by the time the bread is golden.
Making It Your Own, Every Time
Some nights, we swap in pesto or barbecue sauce for a little twist, or sneak in leftover veggies from last night’s grill. No two people seem to like the same toppings—customizing each pocket makes everyone feel like they got a special meal just for them.
Outdoor Pizza Pocket Troubleshooting
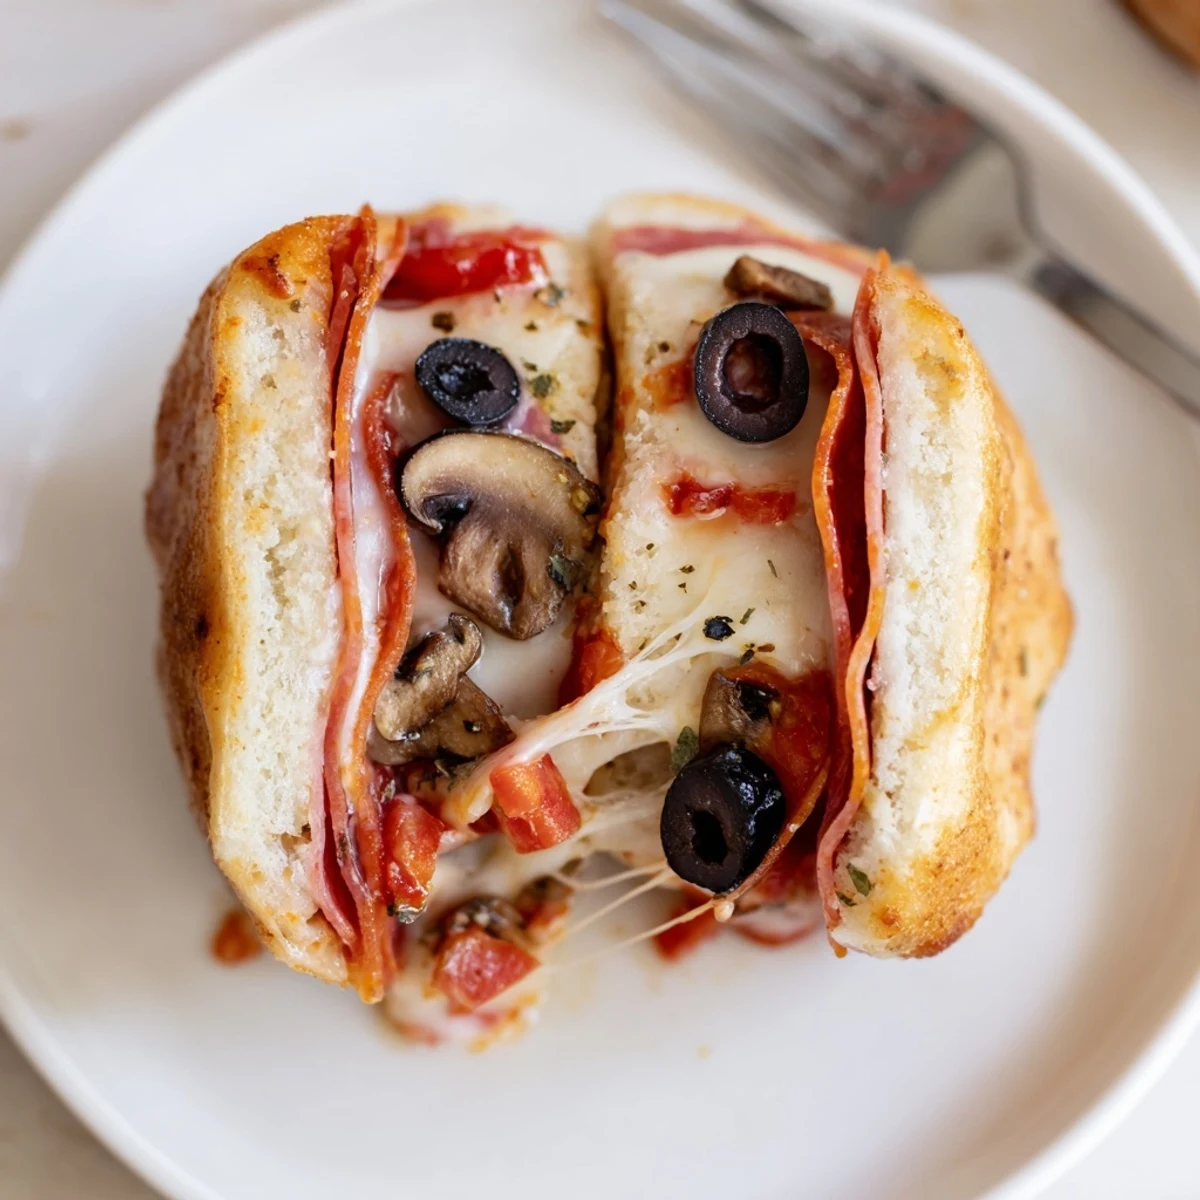
Flare-ups and uneven heat are par for the campfire course—just rotate the pie iron for a couple of seconds longer if you notice a pale side. And if a pocket splits in the iron, scoop up every last cheesy bit with a fork; those crispy edges are the best part anyway.
- Keep an eye on the iron so nothing burns while you’re distracted by ghost stories.
- Have a few extra slices of bread—someone will drop one, guaranteed.
- Always let your pocket rest for a minute, or risk a molten cheese surprise.
 Pin It
 I promise, once you get the hang of your own pizza pocket style, dinner around the campfire becomes everyone’s favorite part of the trip. No matter who’s around, there’s a pocket for everyone.
Recipe Questions & Answers
- → How long should each pocket cook in a pie iron?
-
Cook over medium heat about 3–4 minutes per side. Look for an even golden crust and fully melted cheese as signs of doneness; adjust time for hotter or cooler flames.
- → How can I prevent soggy bread inside the pocket?
-
Use a thin layer of sauce, pat wet toppings dry, and preheat the pie iron well. Butter the outer bread for quick browning which helps seal moisture inside without soaking the bread.
- → What good topping combinations work well?
-
Pepperoni and olives, sautéed mushrooms with bell peppers, or cooked sausage with fresh basil all balance cheese and sauce. Keep wet ingredients light to avoid sogginess.
- → Can I adapt these for gluten-free or dairy-free diets?
-
Yes. Swap in gluten-free bread and a plant-based shredded cheese or omit cheese and use a flavorful pesto. Ensure any pre-cooked meats or substitutes are safe for your diet.
- → How should leftovers be stored and reheated?
-
Cool completely, then refrigerate in an airtight container for up to 2 days. Reheat in a skillet or oven to restore crispness; a microwave will warm but soften the crust.
- → Any tips for safe pie iron use over a campfire?
-
Preheat the iron and use heat-resistant tongs and gloves. Keep hands clear of flames, check the latch before cooking, and allow the iron to cool on safe surface before opening.
