 Pin It
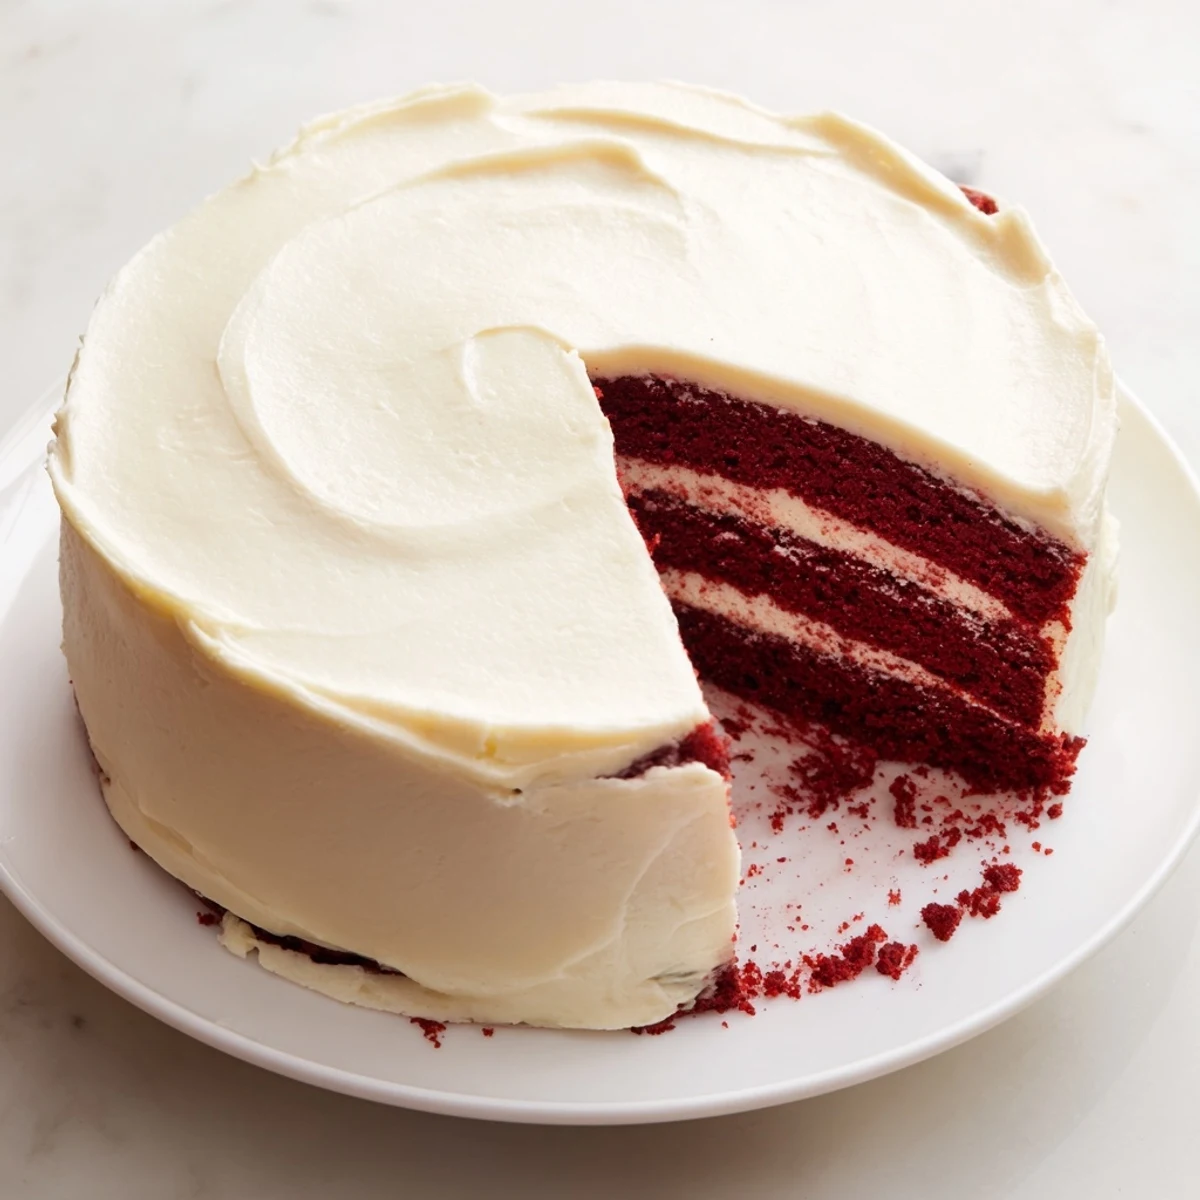
 This stunning red velvet cake features a tender, moist crumb with just the right hint of cocoa. The classic cream cheese frosting adds a rich, tangy sweetness that perfectly complements the vibrant red layers. Whether you're celebrating a birthday, anniversary, or holiday gathering, this crowd-pleasing dessert delivers restaurant-quality results right from your home kitchen.
The first red velvet cake I ever made was for my sister's graduation, and I honestly panicked when I saw how bright the batter turned out. I kept checking the oven every five minutes, convinced I had done something wrong. When those layers came out perfectly tender with that signature subtle cocoa flavor, I understood why this cake has remained a celebration staple for generations.
Last Christmas, my aunt asked me to bring dessert and I decided to test a new frosting technique. I let the cream cheese and butter come to room temperature for a full hour, which made such a difference in how silky smooth everything came together. Everyone kept asking what made the frosting so light, and honestly, patience was the secret ingredient.
Ingredients
- All purpose flour: Sifting this with the dry ingredients prevents any lumps and creates that velvety fine crumb texture
- Granulated sugar: This amount provides just the right sweetness without overpowering the subtle cocoa notes
- Baking soda: The leavening agent that works with the vinegar to give the cake its rise
- Fine salt: Enhances all the flavors and balances the sweetness perfectly
- Unsweetened cocoa powder: Just enough to give depth without making it taste like chocolate cake
- Vegetable oil: Creates incredible moisture that keeps the cake fresh longer than butter would
- Buttermilk: The acidity activates the baking soda and adds tenderness to the crumb
- Large eggs: Room temperature eggs incorporate better into the batter for even texture
- Red food coloring: Use gel coloring for deeper hue with less liquid added to the batter
- Vanilla extract: Pure vanilla adds warmth and rounds out all the flavors
- White vinegar: Reacts with the baking soda and buttermilk for extra tenderness
- Cream cheese: Full fat block cheese creates the most stable, creamy frosting
- Unsalted butter: Softened to room temperature so it blends seamlessly with cream cheese
- Powdered sugar: Sifting prevents lumps and makes the frosting perfectly smooth
Instructions
- Prep your pans and oven:
- Preheat oven to 350°F (175°C) and grease two 9 inch round cake pans, then dust with flour for easy release
- Mix the dry ingredients:
- In a medium bowl, sift together flour, sugar, baking soda, salt, and cocoa powder until well combined
- Combine the wet ingredients:
- In a large bowl, whisk together oil, buttermilk, eggs, food coloring, vanilla, and vinegar until completely smooth
- Bring batter together:
- Gradually add the dry ingredients to the wet ingredients, mixing just until smooth and being careful not to overmix
- Divide and bake:
- Split the batter evenly between prepared cake pans and bake for 28 to 30 minutes until a toothpick comes out clean
- Cool the layers:
- Let cakes rest in pans for 10 minutes before turning onto a wire rack to cool completely
- Make the frosting:
- Beat cream cheese and butter until smooth, then gradually add powdered sugar followed by vanilla and salt until fluffy
- Assemble the cake:
- Place one layer on a serving plate, spread frosting on top, add the second layer, then frost the top and sides
- Chill before serving:
- Refrigerate for 30 minutes to set the frosting for cleaner slices when serving
 Pin It
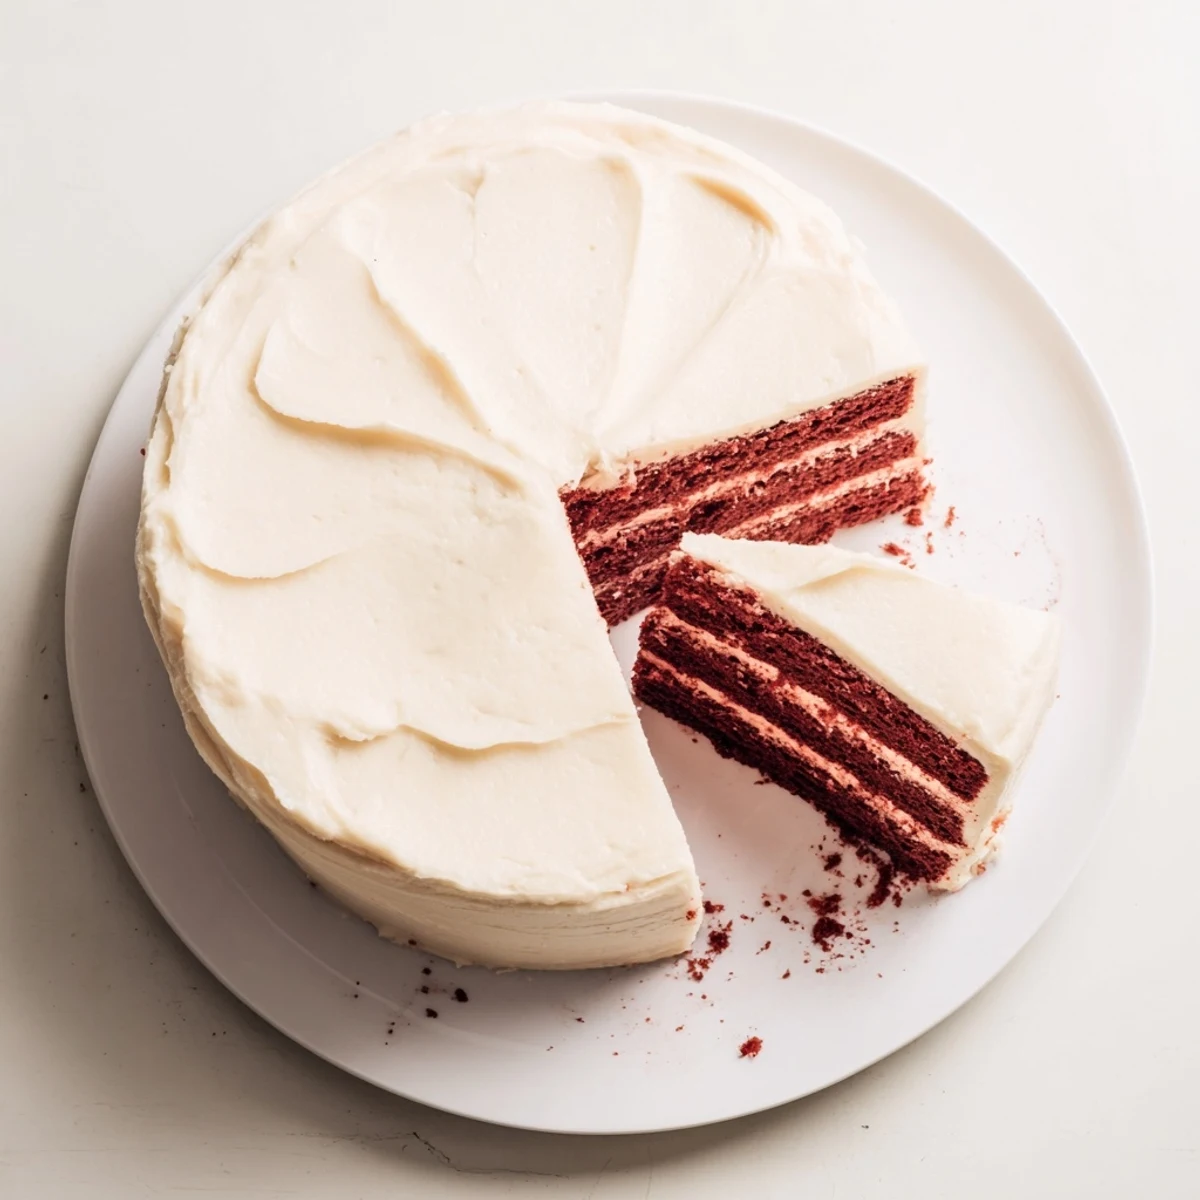
 This recipe has become my go to for birthdays because it is forgiving and always impressive. One year I accidentally forgot the food coloring until the last second, frantically stirred it in, and it still turned out beautifully swirled.
Getting The Perfect Red Color
Gel food coloring gives you that deep red hue without adding too much liquid to your batter. I have learned to start with less than the recipe calls for since you can always add more, but you cannot take it back once it is mixed in.
Making Buttermilk In A Pinch
If you realize you are out of buttermilk while you are already mixing ingredients, do not panic. Mix one cup of regular milk with one tablespoon of lemon juice or white vinegar, let it sit for five minutes, and it works just as well.
Frosting Like A Pro
The most important thing I have learned about frosting red velvet cake is that both the cream cheese and butter must be truly softened. Cold ingredients create lumps that no amount of mixing can fix.
- Chill your frosted cake for 30 minutes before slicing to get those clean bakery style cuts
- Run your knife under hot water and wipe it dry between slices for even cleaner edges
- If your frosting gets too soft while working, pop the whole cake in the fridge for 15 minutes to firm it up
 Pin It
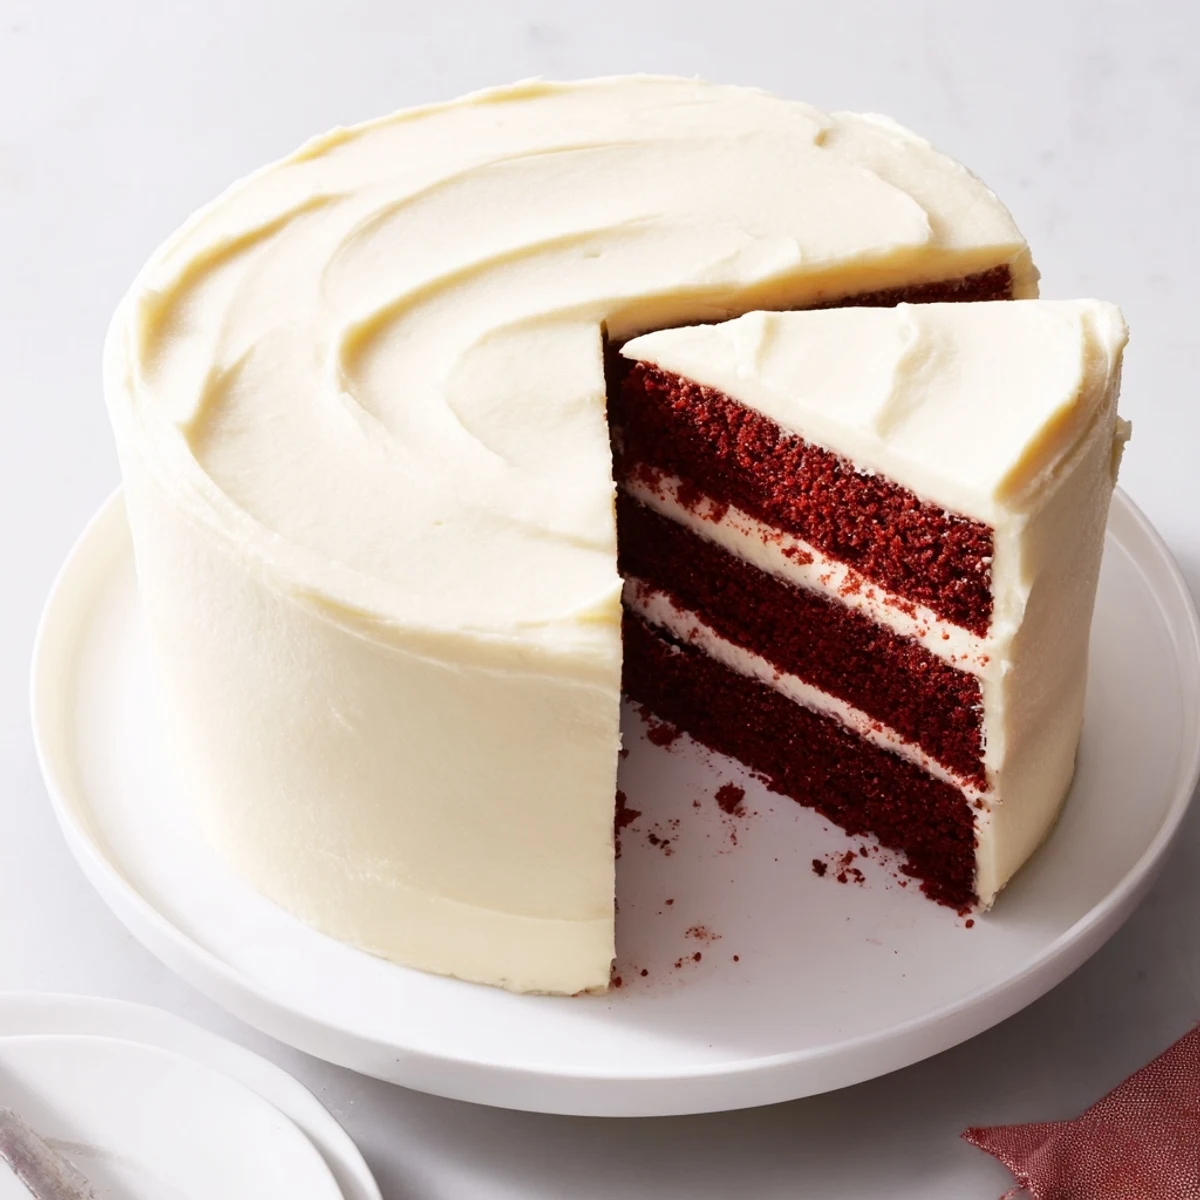
 There is something magical about cutting into that first slice and seeing those dramatic red layers against the white frosting. Hope this recipe becomes part of your celebration traditions too.
Recipe Questions & Answers
- → What makes red velvet cake different from chocolate cake?
-
Red velvet cake uses a smaller amount of cocoa powder compared to traditional chocolate cake, creating a subtle cocoa flavor rather than an intense chocolate taste. The addition of buttermilk and vinegar creates a tender, moist crumb with a unique tangy undertone that sets it apart from other cakes.
- → Can I make this cake ahead of time?
-
Yes, you can bake the cake layers up to 2 days in advance. Wrap them tightly in plastic wrap and store at room temperature. The frosted cake keeps well in the refrigerator for 3-4 days—just bring it to room temperature 30 minutes before serving for the best texture and flavor.
- → Why does my red velvet cake sometimes turn brown instead of red?
-
The red color can fade during baking if the batter isn't acidic enough or if too much cocoa is used. Using the full amount of food coloring, ensuring proper acidity with vinegar and buttermilk, and using natural cocoa powder (not Dutch-processed) helps maintain that signature vibrant red hue.
- → Can I freeze red velvet cake?
-
Absolutely. Wrap unfrosted cake layers in plastic wrap, then foil, and freeze for up to 3 months. Thaw overnight in the refrigerator before frosting. You can also freeze fully frosted slices—place them on a baking sheet until firm, then transfer to an airtight container.
- → What's the best way to get smooth frosting on red velvet cake?
-
Start with completely cool cake layers—warm cake will melt the frosting. Apply a thin crumb coat first, chill for 15 minutes, then add the final layer of frosting. Use an offset spatula and warm it slightly with hot water for the smoothest results.
