 Pin It
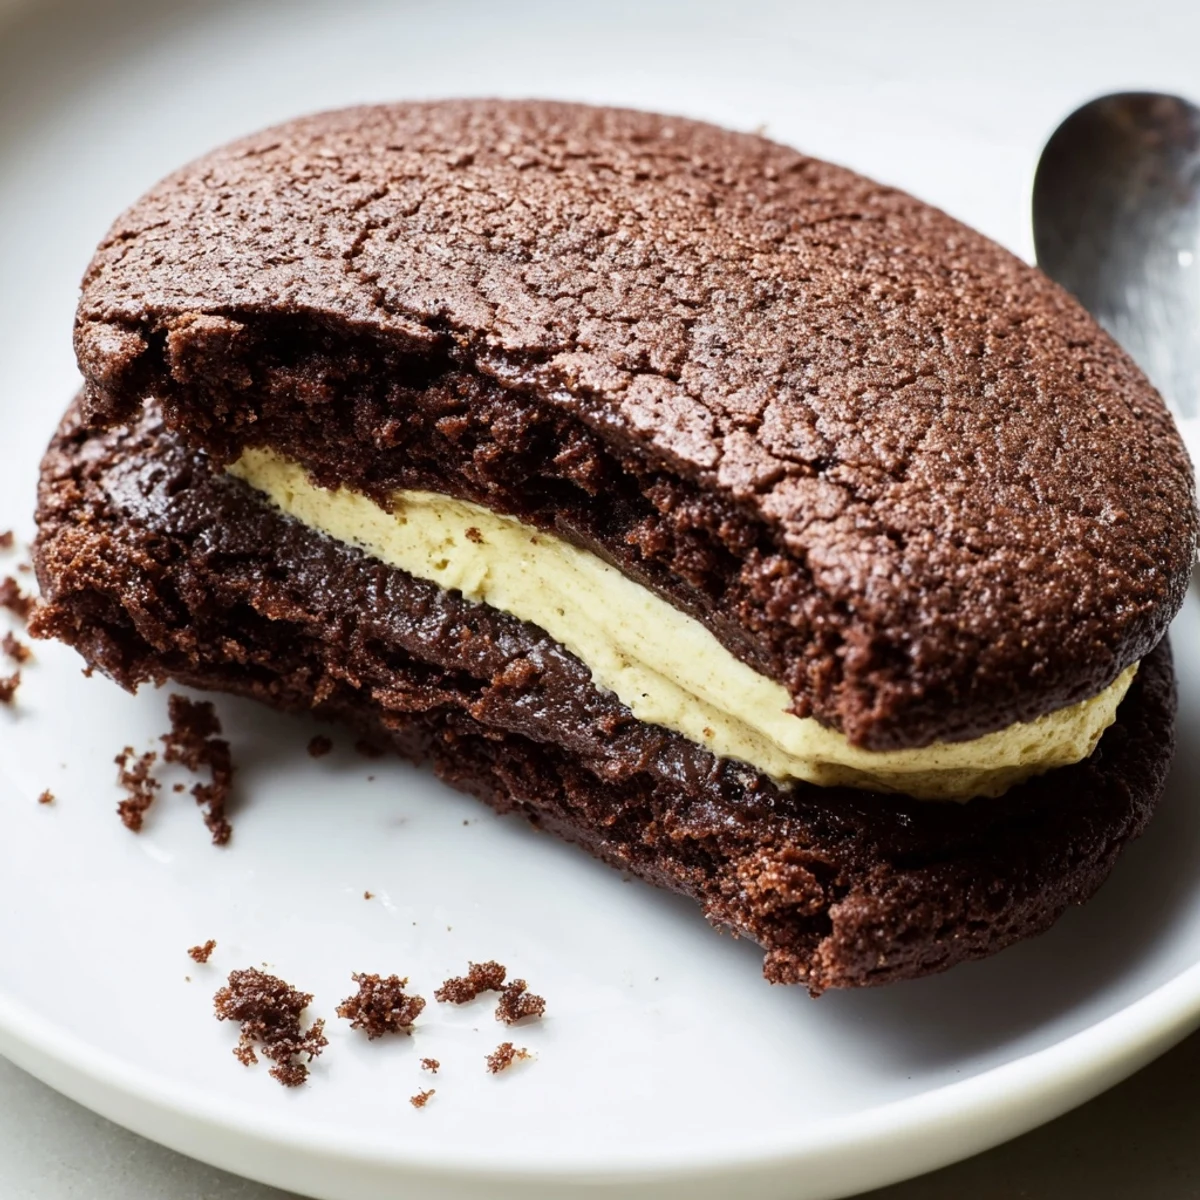
 These classic dark chocolate sandwich cookies pair a crisp, cocoa-rich biscuit with a smooth vanilla buttercream. Make the dough by creaming butter and sugar, folding in sifted flour and Dutch-process cocoa, then roll into 1-inch balls and flatten. Bake at 350°F for 10–12 minutes, cool, and sandwich about 1 tablespoon of filling between two cookies. Add espresso powder for extra depth or swap shortening for more buttery filling; store airtight up to 5 days.
My kitchen still smells like dark chocolate every time I think about the afternoon I tried recreating the iconic store bought cookie from scratch and ended up eating six of them standing at the counter before anyone else came home.
I brought a batch of these to a friends potluck last winter and watched three adults quietly fight over the last one while pretending they were not interested.
Ingredients
- All purpose flour (1 cup): Provides structure without making the cookies tough.
- Unsweetened Dutch process cocoa powder (¾ cup): This is what gives the cookies their signature dark color and deep flavor.
- Granulated sugar (1 cup): Balances the intense bitterness of the cocoa.
- Baking soda (½ tsp): Helps the cookies spread just enough during baking.
- Salt (¼ tsp): A small amount that makes all the chocolate flavor pop.
- Unsalted butter, softened (½ cup): Brings richness and helps create that crisp yet tender texture.
- Large egg (1): Binds the dough together so it rolls smoothly.
- Vanilla extract (1 tsp): Rounds out the chocolate with warm, fragrant depth.
- Unsalted butter, softened (¼ cup): Starts the filling with a smooth, creamy base.
- Vegetable shortening (¼ cup): Keeps the filling stable and gives it that classic texture reminiscent of the original cookie.
- Powdered sugar, sifted (1½ cups): Sweetens the filling and makes it silky when beaten well.
- Vanilla extract (1 tsp): The soul of the cream center.
- Salt (pinch): Keeps the sweetness from becoming cloying.
Instructions
- Get your oven ready:
- Preheat to 350°F and line two baking sheets with parchment paper so nothing sticks.
- Mix the dry ingredients:
- Sift the flour, cocoa powder, baking soda, and salt together in a bowl until evenly combined and set aside.
- Cream butter and sugar:
- Beat the softened butter and granulated sugar until pale and fluffy, then add the egg and vanilla until everything comes together.
- Bring the dough together:
- Gradually fold the dry mixture into the wet until a thick, stiff dough forms that pulls away from the sides of the bowl.
- Shape the cookies:
- Roll the dough into 1 inch balls and place them 2 inches apart, then flatten each one gently with your palm or a glass bottom.
- Bake until set:
- Bake for 10 to 12 minutes until the tops look firm and dry, then cool on the sheet for 5 minutes before moving to a rack.
- Whip up the filling:
- Beat the butter, shortening, powdered sugar, vanilla, and salt until the mixture is light, fluffy, and completely smooth.
- Assemble the sandwiches:
- Pipe or spread about 1 tablespoon of filling onto half the cookies, then gently press the remaining cookies on top.
- Let them settle:
- Give the assembled cookies 10 to 15 minutes at room temperature so the filling firms up before serving.
 Pin It
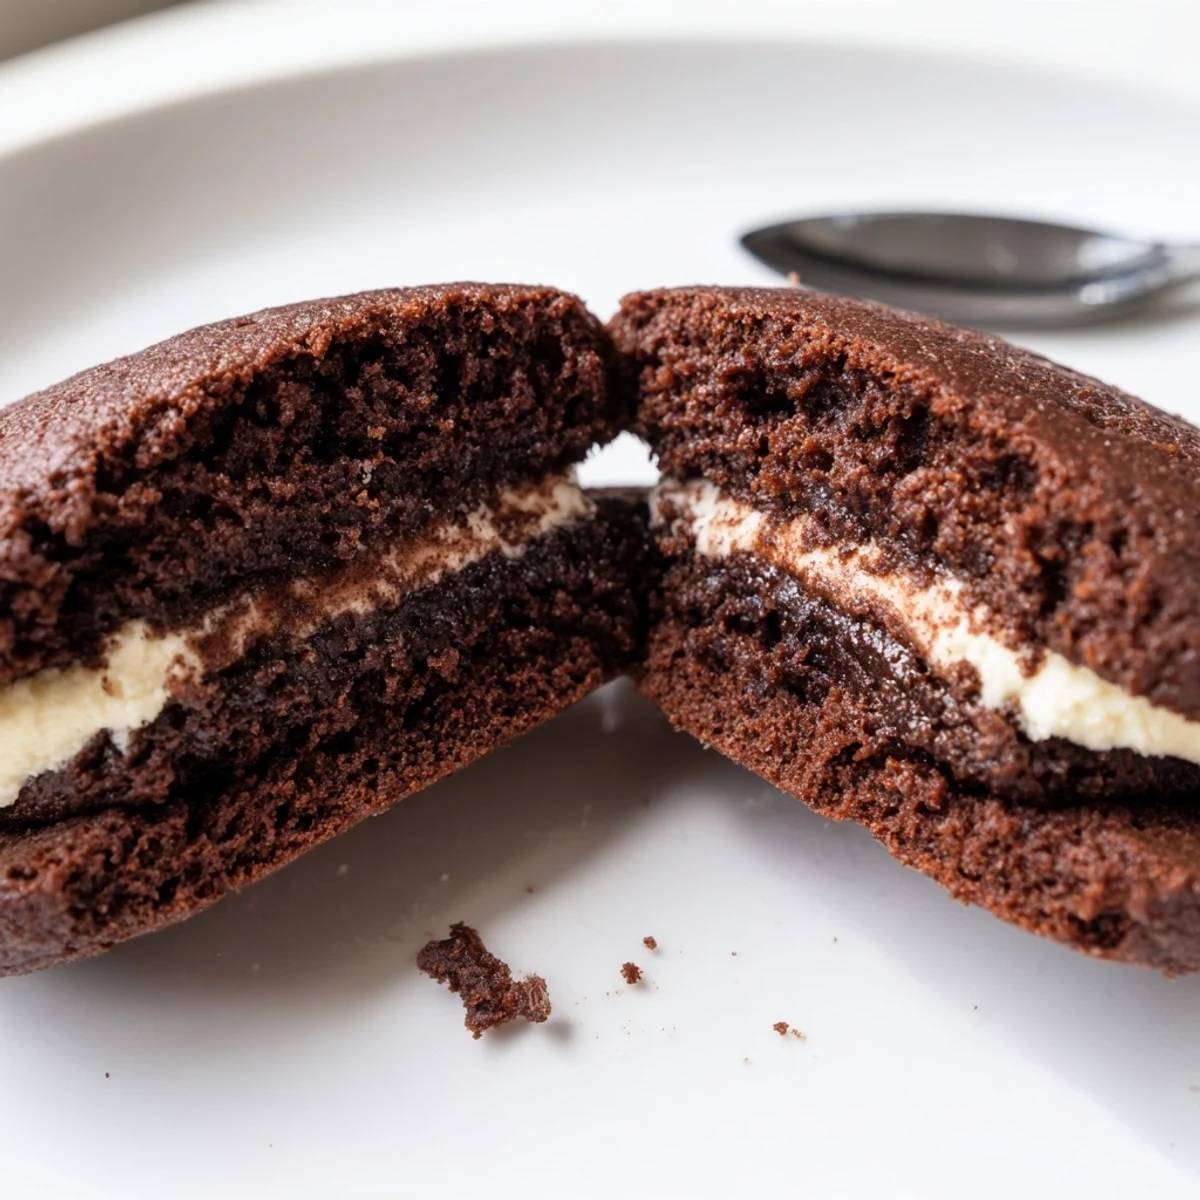
 My neighbor knocked on my door the week I perfected these just to ask what that incredible smell was and left with a plateful and a copy of the recipe.
Tools That Make This Easier
An electric mixer saves your arm when creaming butter and whipping the filling, though a sturdy spoon and some determination will get you there too.
Keeping Them Fresh
Store the assembled cookies in an airtight container at room temperature and they stay wonderful for up to five days, though they rarely last that long in my house.
A Few Things Worth Knowing Before You Start
These cookies are wonderfully forgiving but a few small details can make the difference between good and unforgettable.
- Make sure your butter is truly softened, not melted, for the best dough texture.
- Sifting the powdered sugar for the filling prevents any grainy surprises.
- Dunk them in cold milk for the full experience.
 Pin It
 Homemade sandwich cookies are one of those small kitchen victories that feel like you have cracked a secret code. Share them generously and watch people light up.
Recipe Questions & Answers
- → Can I swap Dutch-process cocoa for natural cocoa?
-
Yes — natural cocoa will work but may alter the depth and acidity of the chocolate flavor. If using natural cocoa, consider adding a pinch of baking powder or adjusting sweetness to balance the taste.
- → How do I get a crisp cookie texture?
-
Flattening the dough balls before baking helps create thinner, crisper edges. Ensure not to overbake; remove when set and allow a brief cool on the sheet to finish firming up.
- → What’s the best way to pipe the filling?
-
Use a small piping bag or a resealable bag with a corner snipped off to pipe about 1 tablespoon of filling onto the flat side of one cookie, then top with another. Press gently to spread the cream to the edges.
- → Can I make the filling without shortening?
-
Yes — replace shortening with additional unsalted butter for a richer, more buttery filling. The texture may be slightly softer, so chill briefly before assembling if needed.
- → How should I store the sandwiches?
-
Layer in an airtight container at room temperature for up to 5 days. Separate layers with parchment to prevent sticking and preserve crispness.
- → Any tips for intensifying chocolate flavor?
-
Stir in 1 teaspoon of espresso powder into the cookie dough to boost chocolate notes without adding coffee flavor. Using high-quality Dutch-process cocoa also enhances richness.
