 Pin It
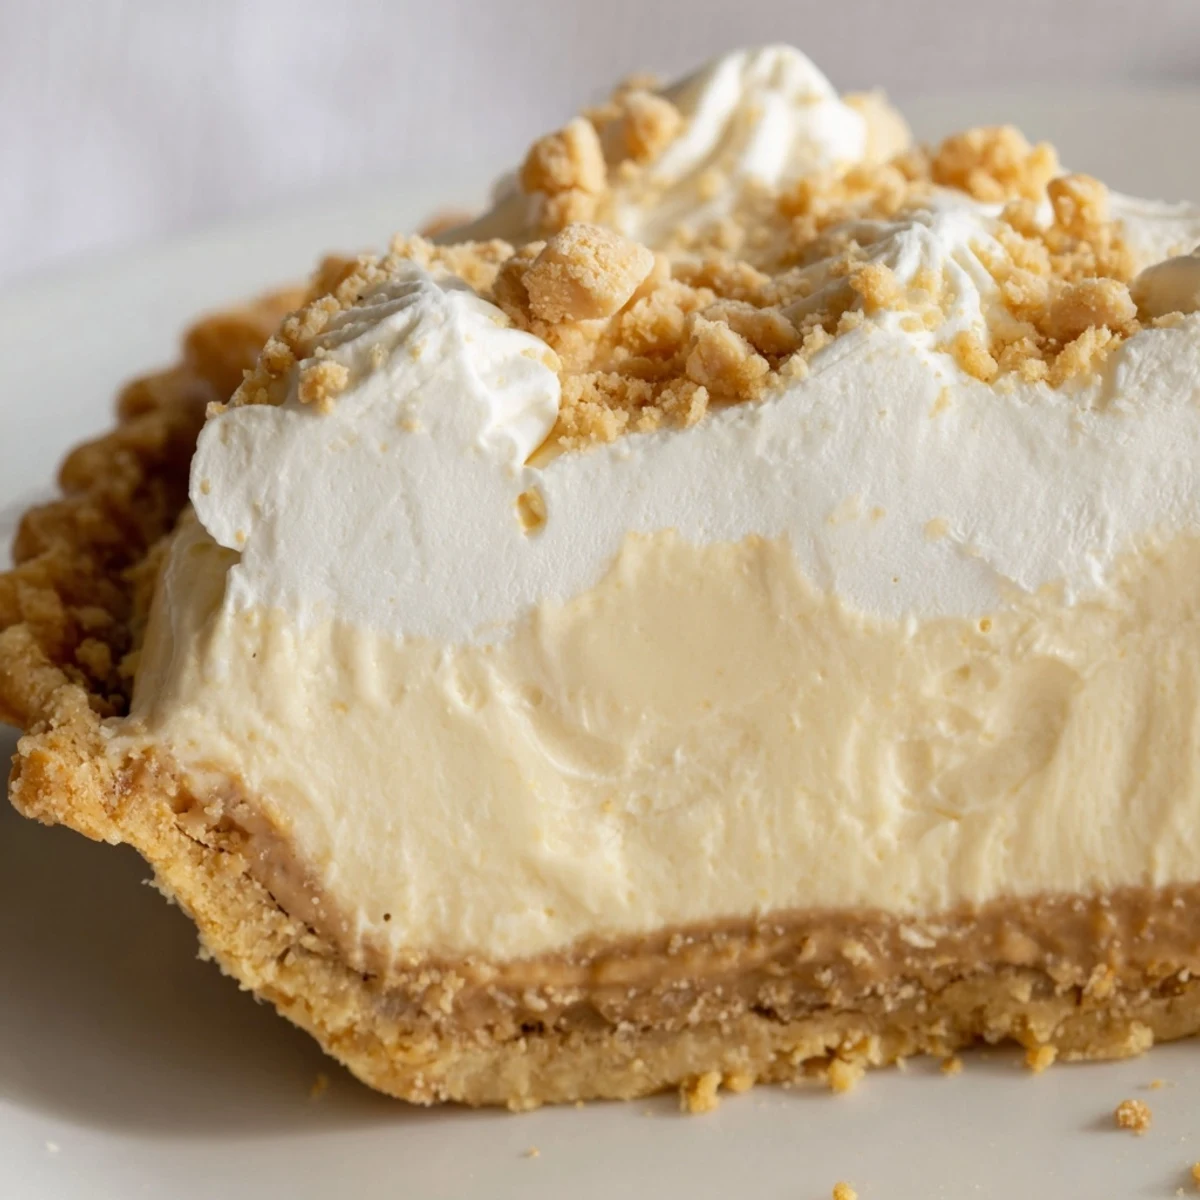
 This indulgent Amish-style dessert combines a velvety custard filling with the irresistible flavor of creamy peanut butter. The creation features a buttery pie crust layered with sweet peanut butter crumbs, topped with a silky vanilla-infused pudding, and finished with freshly whipped cream.
The preparation involves making homemade peanut butter crumble, cooking a thickened custard base on the stovetop, and allowing ample chilling time for the perfect sliceable texture. Each bite delivers a harmonious blend of creamy, crunchy, and buttery elements that evoke classic American comfort.
The first time I encountered this pie was at a roadside Amish bakery in Lancaster County, where a handwritten index card described it simply as "the pie that makes children stop running." Something about that description stuck with me, and after one taste of that creamy peanut butter filling, I understood completely. Now it is the dessert my family requests for every birthday and holiday gathering.
I made this for a summer potluck last year and watched my friend Sarah take three consecutive bites before even looking up from her plate. When she finally did, she had this look on her face like she had just remembered something wonderful from childhood. That moment of watching someone discover pure comfort food joy is exactly why I keep making this pie.
Ingredients
- 1 9-inch prepared pie crust: Using a store-bought crust saves time but feel free to make your own graham cracker or shortbread version for extra homemade charm
- 3/4 cup creamy peanut butter: Choose a brand without added sugars for the best flavor balance in your crumb layer
- 1 cup powdered sugar: This sweetens the peanut butter crumbs perfectly while helping them achieve that crumbly texture
- 2/3 cup granulated sugar: Sweetens the custard filling without overwhelming the peanut butter flavor
- 1/3 cup all-purpose flour: The essential thickener that transforms milk into a silky pudding-like filling
- 1/4 teaspoon salt: Enhances all the flavors and prevents the pie from tasting flat
- 2 cups whole milk: Creates the rich creamy base for your filling, though you can use low-fat if preferred
- 3 large egg yolks: These give the filling body and that gorgeous glossy finish
- 1 teaspoon pure vanilla extract: Rounds out the filling and adds warmth
- 2 tablespoons unsalted butter: Adds the final velvety richness to your cooked filling
- 1 cup heavy whipping cream: Whips up into that cloud-like topping that makes the pie irresistible
- 2 tablespoons powdered sugar: Just enough to sweeten the whipped cream without making it cloying
- 1/2 teaspoon vanilla extract: Complements the peanut butter beautifully in the topping
Instructions
- Make the magic crumbs:
- Mix the peanut butter and powdered sugar in a medium bowl with a fork until it becomes crumbly and resembles wet sand, then set it aside while you prepare everything else
- Layer the first crumb base:
- Spread half of your peanut butter crumbs evenly across the bottom of your baked and cooled pie crust, pressing them down gently to create a solid foundation
- Start the creamy filling:
- Whisk together the granulated sugar, flour, and salt in a saucepan, then gradually whisk in the milk until absolutely no lumps remain
- Cook until thickened:
- Place the saucepan over medium heat and whisk constantly until the mixture bubbles and thickens enough to coat the back of a spoon, which should take about 4 or 5 minutes
- Temper your egg yolks:
- Whisk your yolks in a separate bowl, then slowly whisk in about half a cup of the hot milk mixture to warm them gently without scrambling
- Combine and cook again:
- Pour the warmed egg mixture back into the saucepan while whisking constantly, then cook for 2 more minutes until the filling becomes thick and glossy
- Add the finishing touches:
- Remove from heat and stir in the butter and vanilla until smooth, then pour this gorgeous filling over your crumb layer in the pie shell
- Let it set properly:
- Allow the pie to cool for about 15 minutes at room temperature, then refrigerate for at least 2 hours until completely firm and set
- Prepare the cloud topping:
- Beat the heavy cream with the powdered sugar and vanilla until stiff peaks form, then spread this over your thoroughly chilled pie
- Add the final crumb crown:
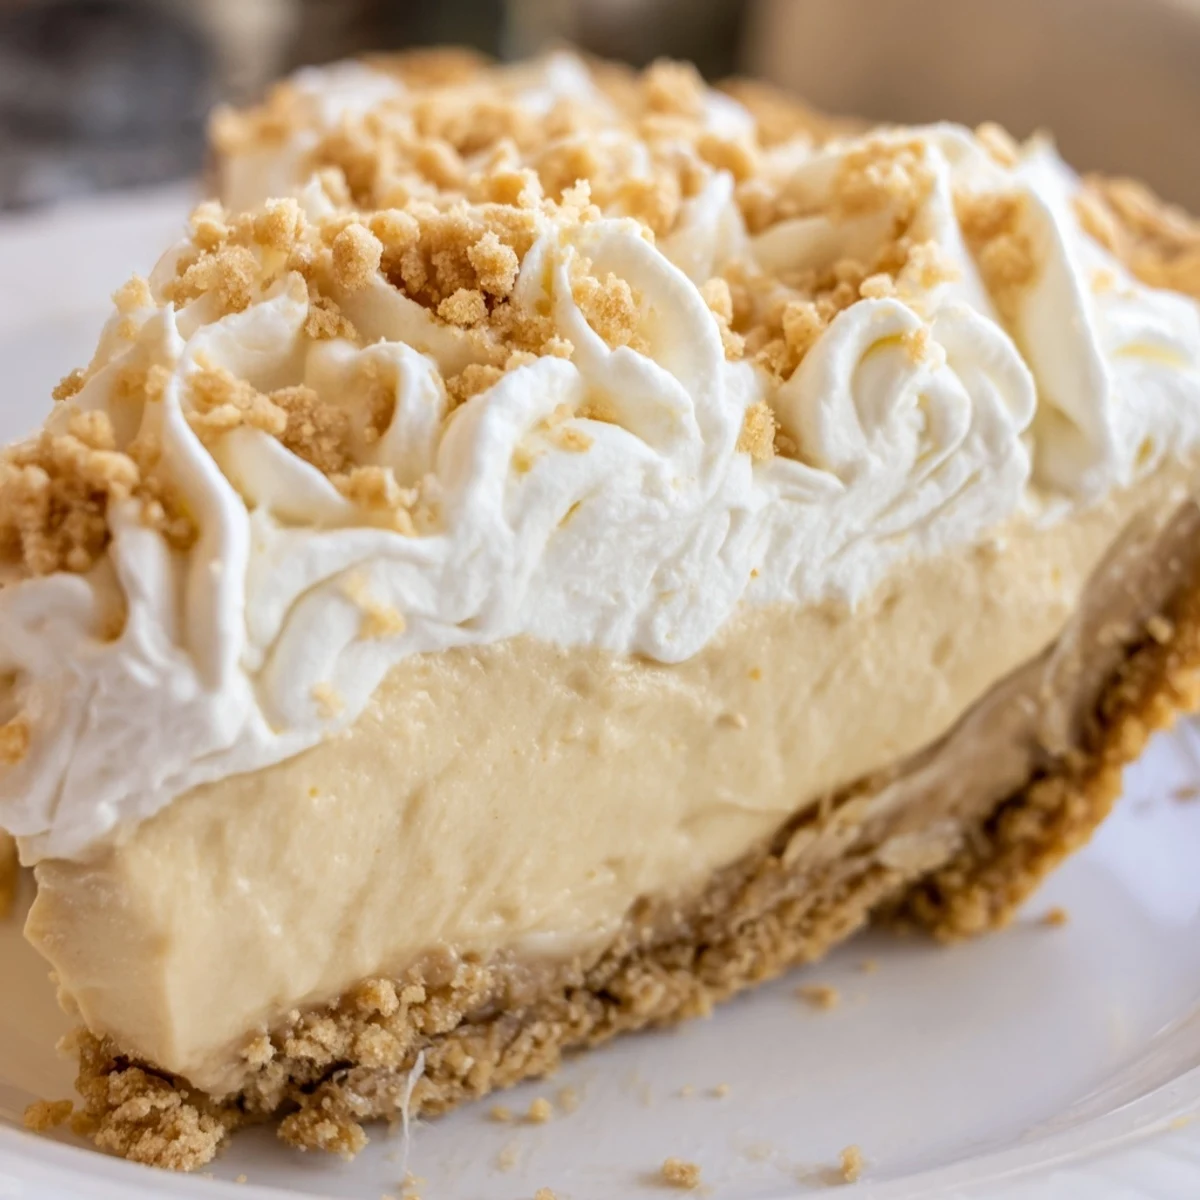
- Sprinkle the remaining peanut butter crumbs over the whipped cream just before serving to create that beautiful layered presentation
 Pin It
 Last Thanksgiving my usually picky nephew took one bite and announced it was better than ice cream, which is basically the highest compliment an eight year old can give. Watching him scrape his plate clean and immediately ask if there was more left in the kitchen reminded me why simple comfort desserts matter so much.
Making It Ahead
You can prepare this pie up to two days in advance, which actually makes it an ideal dessert for entertaining. The filling develops an even deeper peanut butter flavor after resting overnight in the refrigerator, and the crust softens slightly to create the perfect texture contrast with the creamy layers.
Serving Suggestions
This pie cuts best when chilled but tastes most divine at cool room temperature, so let it sit out for about fifteen minutes before serving. A hot cup of coffee or a cold glass of milk alongside each slice makes the experience feel complete and nostalgic.
Storage And Leftovers
Store any leftovers covered in the refrigerator where they will keep happily for three to four days, though I have never seen this pie last that long in my house. The whipped cream may weep slightly after day two but the flavors remain absolutely spectacular.
- Place a piece of wax paper between the pie plate and plastic wrap to prevent the topping from sticking
- Individual slices freeze well for up to one month if you somehow have extras
- Bring frozen slices to the refrigerator overnight before serving for best texture
 Pin It
 There is something profoundly satisfying about serving a dessert that makes people close their eyes and savor every single bite. This pie has become my go-to for bringing comfort and joy to any table.
Recipe Questions & Answers
- → How long should the pie chill before serving?
-
Refrigerate for at least 2 hours until completely set. The filling needs proper chilling to achieve the right consistency for clean slicing.
- → Can I use a different type of nut butter?
-
While creamy peanut butter provides the classic taste, you can substitute with almond or cashew butter. The flavor profile will change slightly but still create a delicious dessert.
- → What's the purpose of tempering the egg yolks?
-
Tempering prevents the eggs from scrambling when added to the hot milk mixture. Gradually warming the yolks ensures a smooth, glossy custard without cooked egg bits.
- → Can I make this ahead of time?
-
Yes, prepare the pie up to 24 hours in advance. Store covered in the refrigerator and add the whipped cream topping and final crumb sprinkle shortly before serving for best texture.
- → Why does my filling seem too thin?
-
The filling thickens as it cools and sets in the refrigerator. If it's still too runny after chilling, the custard may not have cooked long enough on the stovetop to reach proper thickness.
- → What type of crust works best?
-
A traditional 9-inch baked pie shell works beautifully, but a homemade graham cracker or shortbread crust adds extra buttery flavor and complements the creamy filling wonderfully.
