 Pin It
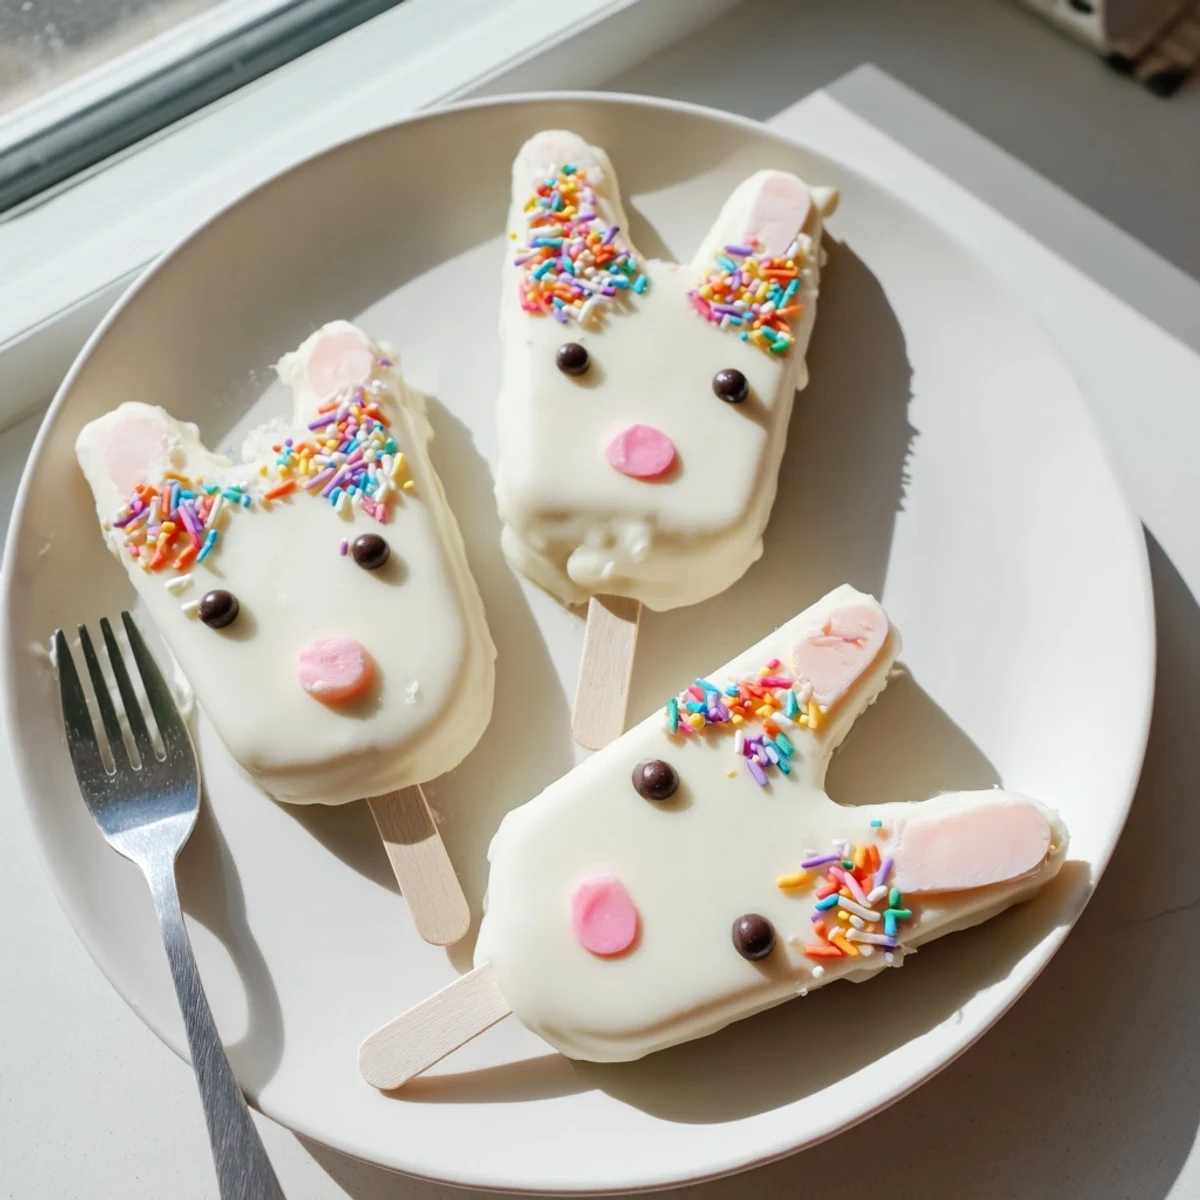
 These delightful bunny-shaped treats combine moist vanilla cake with a rich white chocolate coating, creating adorable Easter desserts that both kids and adults will love. The process involves mixing cake crumbs with cream cheese and butter, shaping them into bunny faces, then dipping them in melted white chocolate.
The preparation takes just 25 minutes of active time, with an additional 30 minutes for setting. You can customize these treats with various decorations like candy eyes, sprinkles, and fondant ears to make each bunny unique.
Perfect for Easter parties, spring celebrations, or as a fun weekend baking project with family. Store them in the refrigerator for up to three days, making them ideal for preparing ahead of your festive gathering.
The first time I made these bunny cakesicles, my kitchen counter looked like a pastel explosion had gone off, but my daughter's face when she saw those little bunny faces peeking up from the tray made every sprinkle worth it. These became our Easter morning tradition faster than I could say 'hop to it.' Something about cake on a stick makes everything feel more festive, like a carnival booth landed right in your holiday brunch.
Last year I made thirty of these for our neighborhood egg hunt, and I learned the hard way that you should always make extra because they disappear faster than you can say 'chocolate bunny.' The neighbor kids still ask about them in February, which is either a compliment or a very subtle hint.
Ingredients
- Vanilla cake crumbs: I use leftover cupcakes or a store-bought sheet cake crumbled up, anything with a tender crumb works beautifully here
- Cream cheese: This is the secret binding agent that holds everything together while adding that tangy richness we all secretly love
- Unsalted butter: Room temperature is non-negotiable here, cold butter will leave you with frustrating lumps in your mixture
- Powdered sugar: Just enough to sweeten the filling without making it cloying, trust me on this amount
- Vanilla extract: Pure vanilla makes a noticeable difference here, especially since the cake flavor shines through
- White chocolate: Candy melts are easier to work with, but good quality white chocolate melts into the dreamiest coating
- Edible gel food coloring: Get the gel kind, not liquid, which will seize your chocolate into an unusable mess
- Cakesicle sticks: Paper straws work in a pinch, but proper food-safe sticks give you that professional look
Instructions
- Mix the cake mixture:
- Combine cake crumbs, cream cheese, butter, powdered sugar, and vanilla in a medium bowl, mixing with your hands until you have a dough that holds together when squeezed, about 2-3 minutes of working it.
- Shape the bunnies:
- Portion into 8 equal pieces and gently flatten each into an oval bunny face shape, slightly narrower at the top where the ears will go.
- Add the sticks:
- Press a stick about halfway into each bunny shape, then arrange on a parchment-lined tray and refrigerate for at least 20 minutes until firm to the touch.
- Melt the coating:
- Melt white chocolate in 30-second intervals in the microwave, stirring thoroughly between each burst until completely smooth and glossy.
- Dip and coat:
- Dip each chilled cake pop straight down into the melted chocolate, lift slowly while gently tapping to remove excess coating.
- Decorate immediately:
- While the chocolate is still soft, add candy eyes, sprinkle whiskers, or fondant ears before the coating sets.
- Set and serve:
- Let the cakesicles firm up at room temperature for about 30 minutes, or pop them in the fridge for 10 minutes if you are impatient like me.
 Pin It
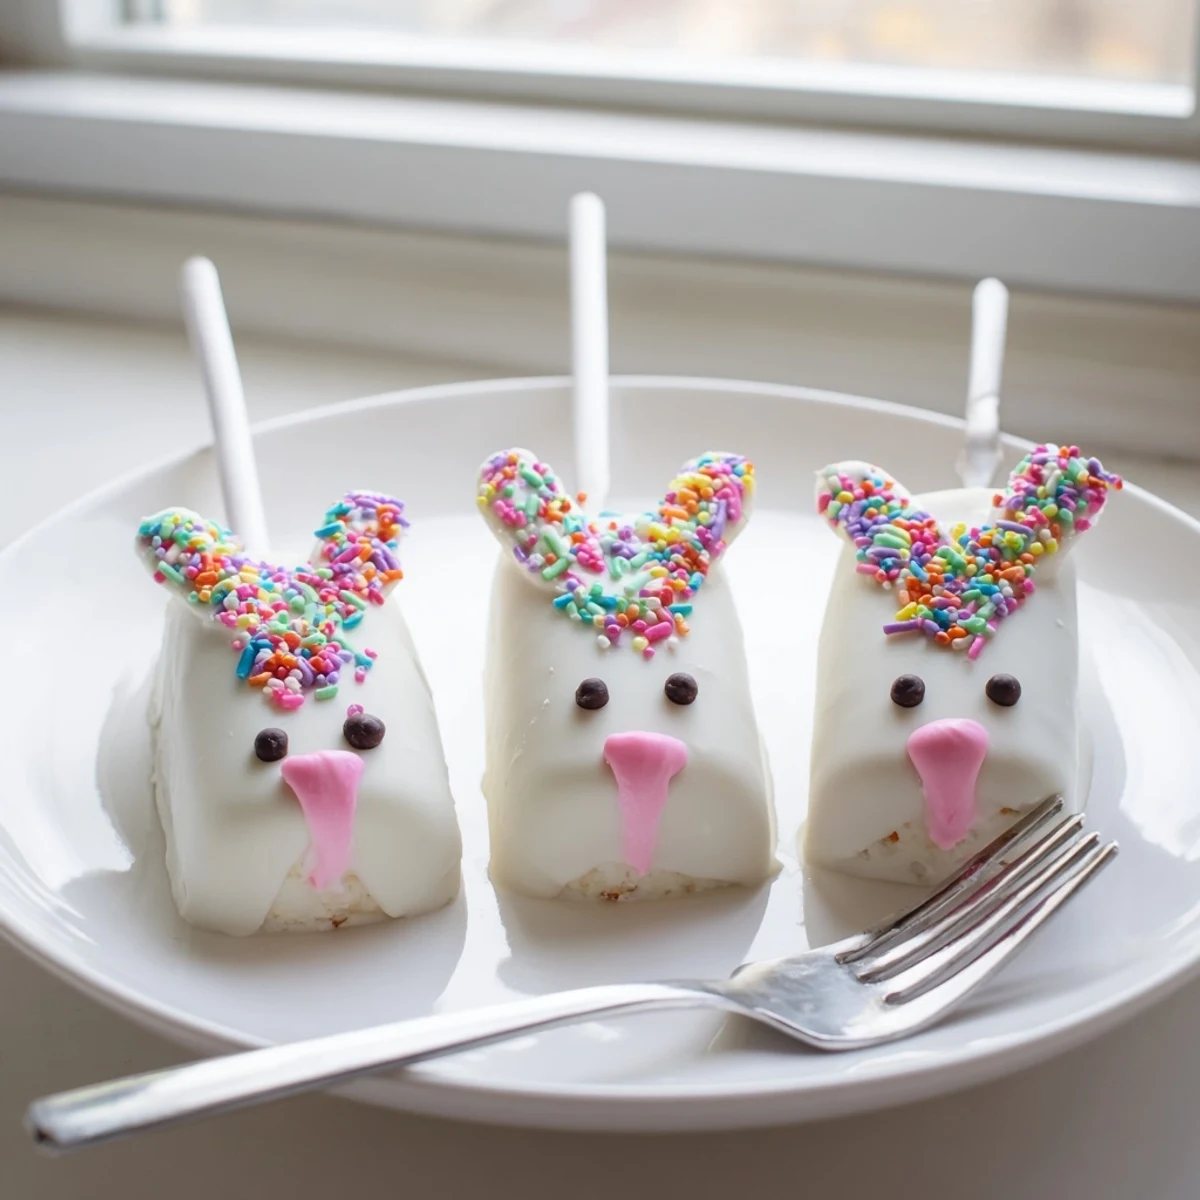
 My niece accidentally made a bunny with three ears one year and we all pretended it was an artistic choice, which just goes to show that imperfect bunnies have more personality anyway. Now I purposefully make one slightly wonky bunny because it always gets the most laughs.
Getting That Perfect Coating
The temperature of your chocolate makes or breaks the final look, too hot and it runs off too thin, too cool and it goes on thick and clumpy. I keep a thermometer in my chocolate bowl now, aiming for 90 degrees Fahrenheit, which sounds ridiculously precise but changed my dipping game completely.
Decoration Ideas That Work
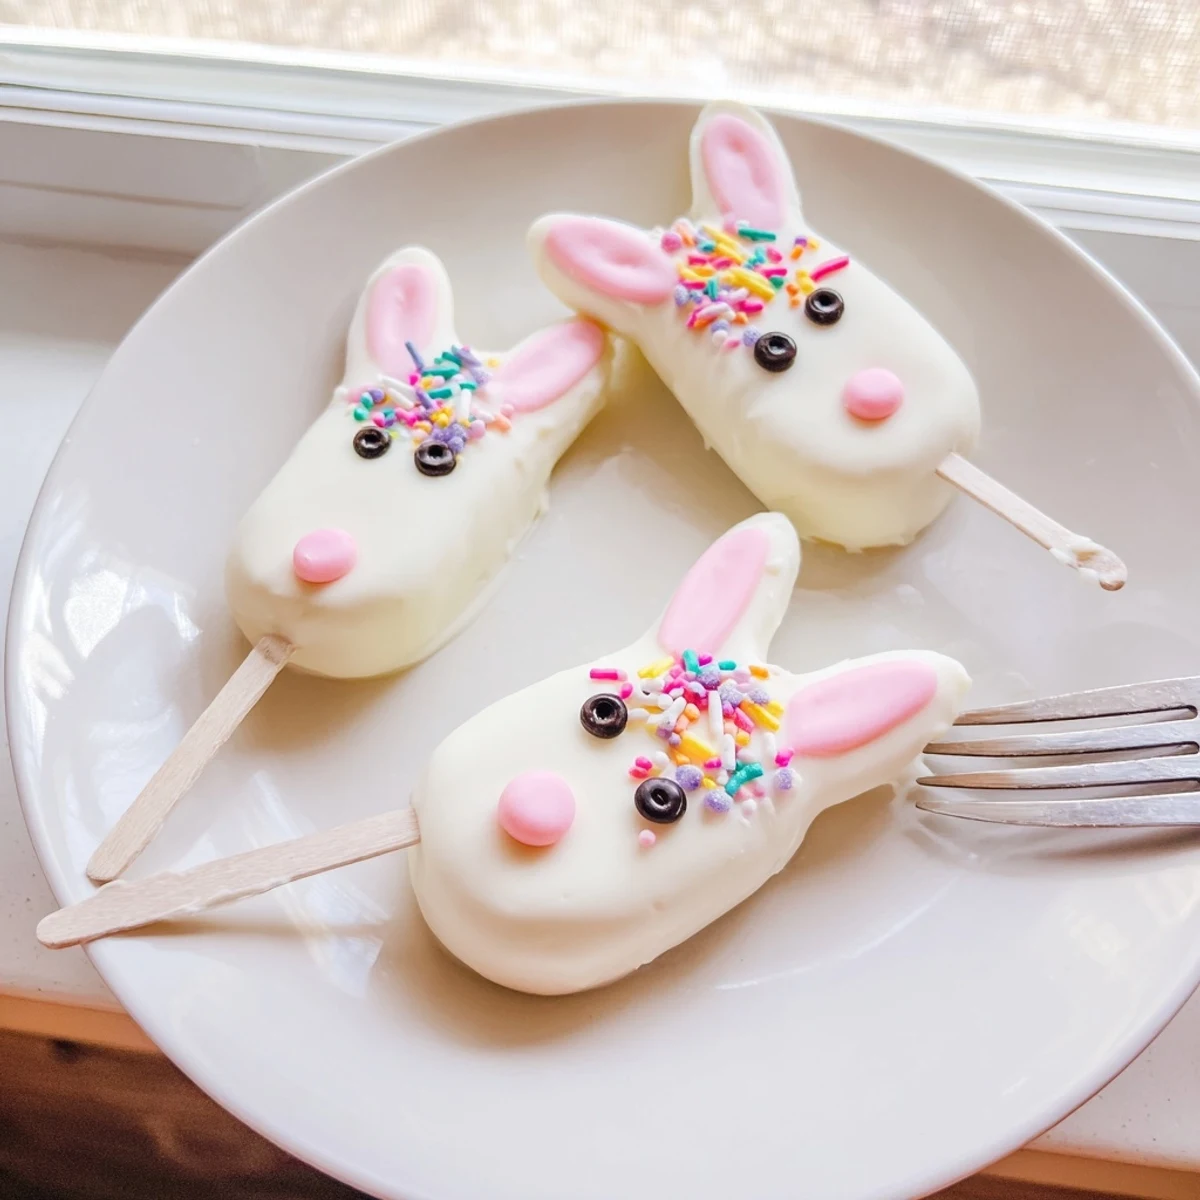
Pink candy melts make adorable ears, just pipe small triangles onto parchment and let them set before pressing them into the soft chocolate. I have also used sliced almonds for ears and pink sprinkles for noses when I was feeling lazy but still wanted them to look deliberate.
Storage And Make Ahead Tips
These actually improve after a night in the fridge, the flavors meld together and the coating firms up beautifully. I make the cake mixture up to two days ahead, storing it tightly wrapped, then dip and decorate the day before serving.
- Store finished cakesicles between layers of parchment paper so they do not stick together
- If the coating looks dull after refrigerating, give each one a quick gentle buff with a soft paper towel
- Bring them to room temperature for 10 minutes before serving for the best texture
 Pin It
 These bunny cakesicles have become such a part of our Easter that I cannot imagine the holiday without them anymore. Hope they hop right into your family traditions too.
Recipe Questions & Answers
- → How far in advance can I make these bunny treats?
-
You can prepare these up to 3 days in advance and store them in an airtight container in the refrigerator. The white chocolate coating helps keep the cake inside moist and fresh.
- → Can I use different cake flavors besides vanilla?
-
Absolutely! Chocolate, lemon, red velvet, or funfetti cake crumbs work beautifully. The white chocolate coating complements most flavors perfectly.
- → What if I don't have a cakesicle mold?
-
You can shape the mixture by hand into flattened ovals or use a standard cookie cutter. Freezing the shaped cakes for 20-30 minutes before dipping helps them maintain their shape during the coating process.
- → How do I prevent the white chocolate from seizing when melting?
-
Melt in short 30-second bursts, stirring thoroughly between each interval. Avoid getting any moisture into the chocolate, as even a few drops can cause seizing. If it does seize, add a teaspoon of vegetable oil to smooth it out.
- → Can these be made dairy-free?
-
Yes! Use dairy-free cream cheese, vegan butter, and dairy-free white chocolate melts. The texture and taste remain delicious while accommodating dietary restrictions.
