 Pin It
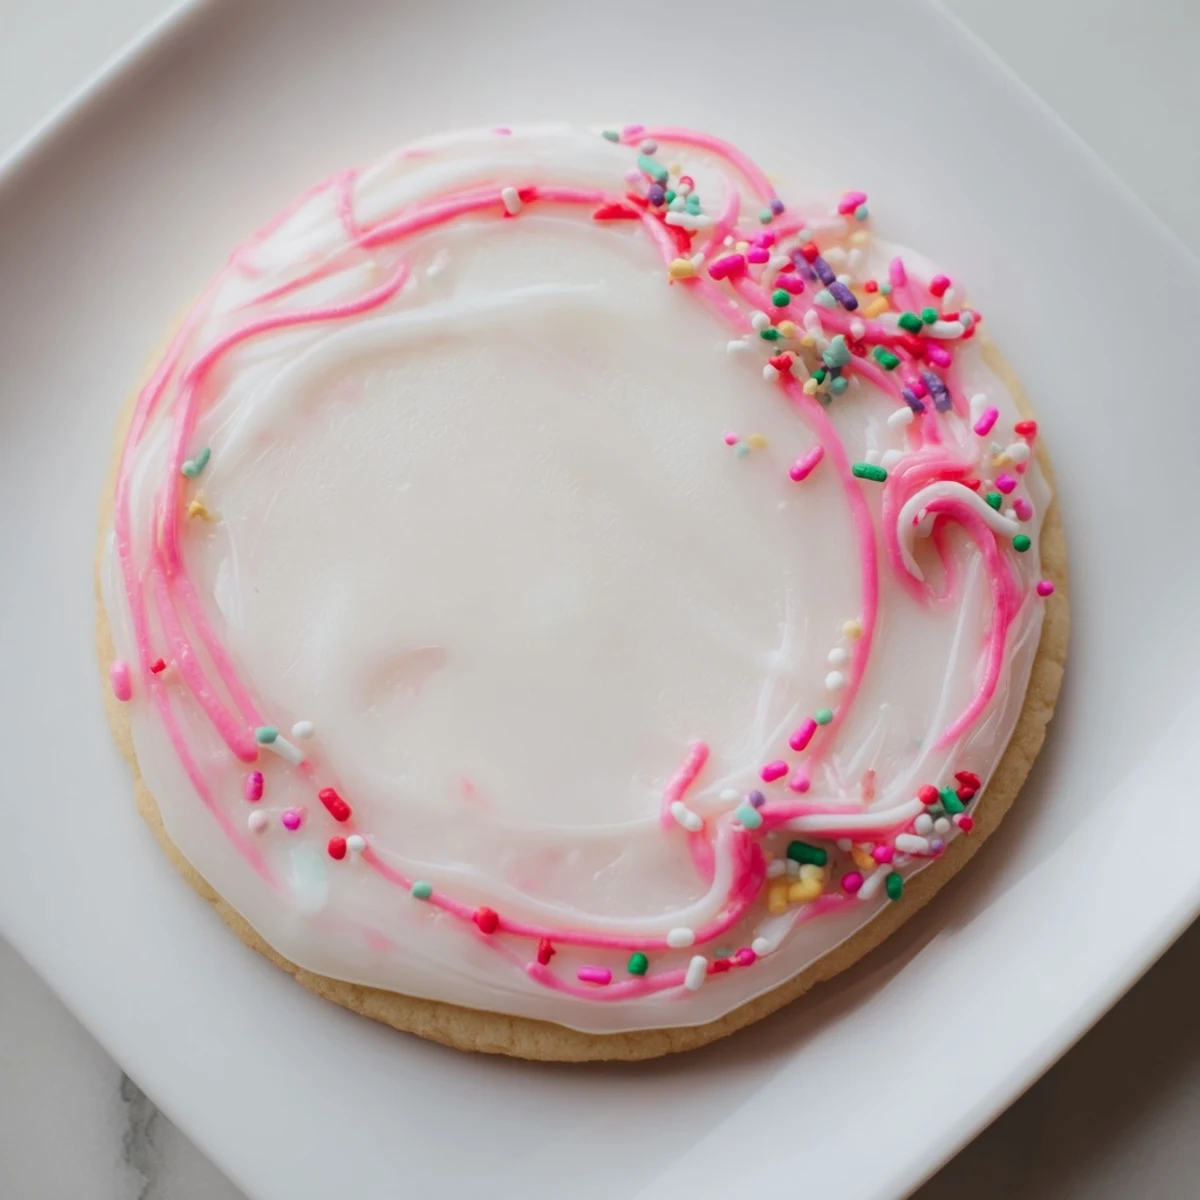
 This simple icing creates a professional, glossy finish on your baked sugar cookies. Made with pantry staples like powdered sugar, milk, and corn syrup, it dries to a smooth, firm surface within 4 hours. The consistency is easily adjustable—thicken for piping detailed designs or thin for flooding larger areas. Customize with gel or liquid food coloring for any occasion. Makes enough to decorate about two dozen cookies and stores refrigerated for up to a week.
Last Christmas Eve found me elbow-deep in powdered sugar at midnight, desperately trying to save what would become our family's new favorite tradition. The kids had already gone to bed dreaming of Santa, but there I was, determined that tomorrow's cookie exchange would feature something special. That kitchen experiment taught me that the simplest recipes often carry the most joy.
My neighbor Sarah called me in a panic last week when she realized she'd forgotten to buy cookie decorations for her daughter's birthday party. I walked her through this recipe over the phone, and she sent me a photo of the most gorgeous rainbow-frosted cookies I've ever seen. Sometimes the best kitchen discoveries happen out of pure necessity.
Ingredients
- 2 cups powdered sugar: Sifting first prevents those frustrating lumps that never seem to dissolve no matter how much you whisk
- 2–3 tablespoons milk: Start with less because you can always add more, but you cannot take it back once the consistency gets too thin
- 1 tablespoon light corn syrup: This secret ingredient creates that professional glossy shine and helps the icing dry firm enough for stacking
- 1/2 teaspoon pure vanilla extract: Don't skip this even if you are adding other flavors later, it provides a warm background note
- Food coloring: Gel colors work best for vibrant shades without thinning the icing, but drops work fine too
Instructions
- Mix the base:
- Whisk together powdered sugar, 2 tablespoons milk, corn syrup and vanilla in a medium bowl until completely smooth and glossy. The mixture should feel thick and velvety against your whisk.
- Adjust the consistency:
- Add milk just 1/2 teaspoon at a time if needed, testing by drizzling a bit back into the bowl to see how it flows.
- Add colors if desired:
- Divide into separate bowls and stir in food coloring drop by drop, remembering that colors deepen as they sit.
- Decorate the cookies:
- Dip cookie edges, spread with a small knife, or pipe designs using bags or squeeze bottles while working quickly.
- Let everything set:
- Leave cookies undisturbed at room temperature for at least 4 hours until the icing is completely dry and firm to the touch.
 Pin It
 My daughter now asks to make these every Sunday afternoon. We have developed quite the collection of mismatched cookies, each one telling its own colorful story.
Getting the Consistency Just Right
The perfect icing should flow slowly off your spoon like warm honey, leaving a ribbon that disappears back into the bowl within about 10 seconds. I keep a tiny bowl of extra powdered sugar and another spoon of milk beside me when decorating, making micro-adjustments as needed. Weather affects this dramatically, so what worked yesterday might need tweaking today.
Application Methods That Work
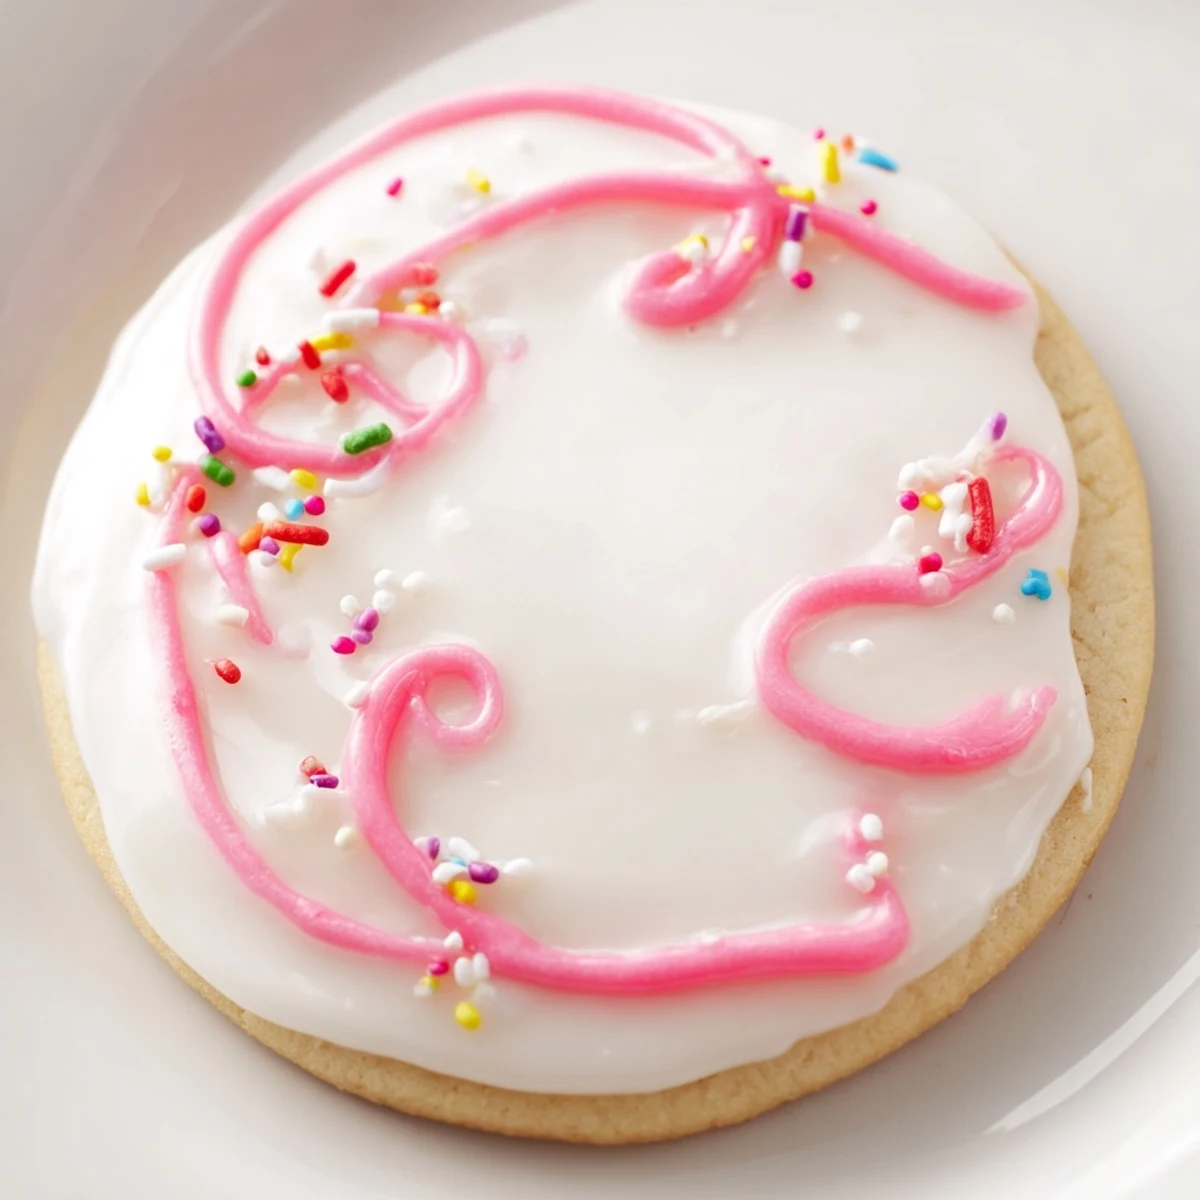
Dipping produces the smoothest finish but requires quite a bit more icing. Spreading with an offset spatula gives you that rustic handmade look that I personally love. Piping detailed designs works best when you thicken the icing slightly with additional powdered sugar first.
Storing and Making Ahead
You can store this icing in an airtight container in the refrigerator for up to a week, though it may need thinning again after sitting. When planning a big decorating project, I make the base the night before and let it come to room temperature before coloring portions. Never freeze decorated cookies because the icing will separate and become grainy.
- Place a slice of bread in the container with leftover icing to keep it from forming a crust
- If separated after refrigeration, whisk vigorously rather than adding more liquid
- Colored icing often darkens overnight, so make shades slightly lighter than your target
 Pin It
 There is something magical about watching a plain cookie transform into something special. These little moments of creativity are what baking is all about.
Recipe Questions & Answers
- → How long does the icing take to dry completely?
-
The icing typically dries completely at room temperature within 4 hours. Humidity may extend drying time slightly. For best results, decorate on a dry day and avoid stacking until fully set.
- → Can I make this icing ahead of time?
-
Yes, store the icing in an airtight container in the refrigerator for up to 1 week. Before using, bring to room temperature and stir well. Add small amounts of milk if needed to restore consistency.
- → What's the purpose of corn syrup in the icing?
-
Corn syrup creates the glossy, smooth finish and helps the icing dry firm without cracking. It also adds elasticity, making the finished surface less prone to chipping or breaking.
- → Can I use water instead of milk?
-
Yes, water works as a substitute for milk. However, milk adds a subtle creaminess and helps the icing adhere slightly better to the cookie surface. Non-dairy milk alternatives also work well.
- → How do I achieve the right consistency for piping versus flooding?
-
For flooding (covering entire cookie surfaces), use a thinner consistency by adding more milk. For piping borders and detailed designs, add additional powdered sugar until the icing holds its shape when dropped from a spoon.
- → What type of food coloring works best?
-
Gel food coloring provides the most vibrant colors without thinning the icing. Liquid food coloring works but may require slight adjustments to powdered sugar amounts to maintain proper consistency.
