 Pin It
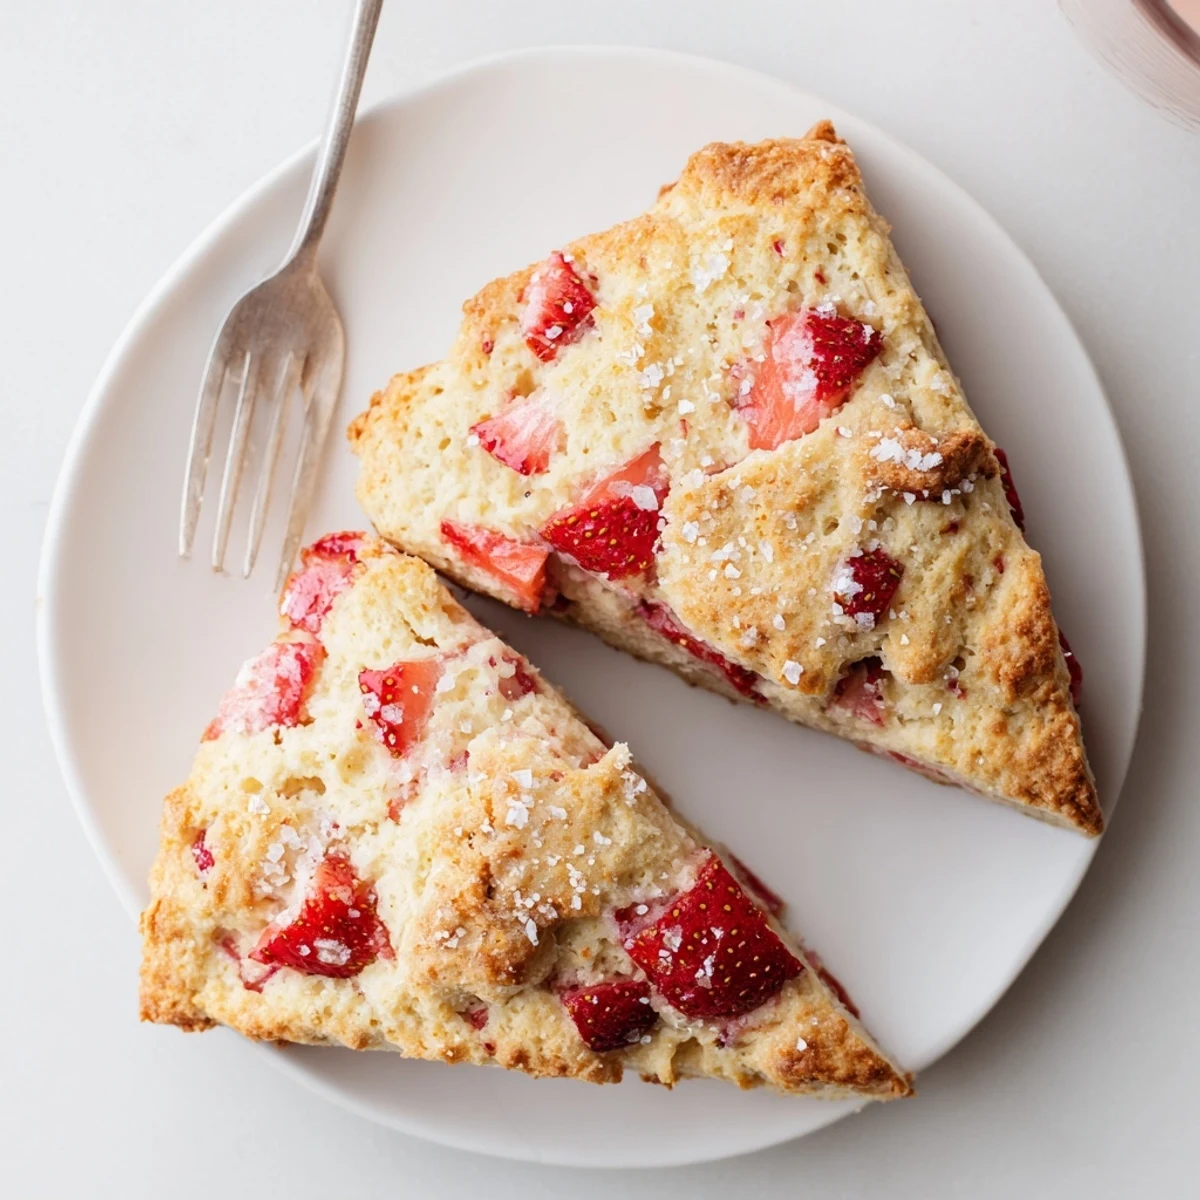
 These tender, buttery scones feature fresh strawberries throughout every bite. The dough comes together quickly with basic pantry staples, and the entire batch bakes in just 18 minutes. Keep your butter and cream ice-cold for the flakiest results.
The wedges bake until golden with a crisp exterior and soft, pillowy interior. Brush with extra cream and sprinkle coarse sugar for a sweet, crunchy topping. Perfect warm from the oven with clotted cream or butter.
Swap strawberries for blueberries or raspberries depending on the season. Freeze unbaked wedges for fresh treats anytime, or freeze baked scones and reheat as needed.
There's something magical about strawberries showing up at the farmers market in spring. I started making these scones one rainy Saturday when I couldn't decide between buying pastry or baking something myself. The way the strawberry juices swirl into the dough creates these gorgeous pink pockets that make every bite feel like a surprise.
I brought a batch to my neighbor's porch last summer and she texted me before she'd even finished her first one. There's something about homemade scones that makes people feel genuinely cared for, like you went out of your way just for them. Now they're the first thing I bake when I need a little kitchen therapy.
Ingredients
- All-purpose flour: The structure here is everything, so dont be tempted to swap in whole grain which makes them heavy
- Granulated sugar: Just enough to balance the tartness of fresh berries without becoming a dessert
- Baking powder: This is what creates those beautiful flaky layers, so make sure yours isn't expired
- Salt: A half teaspoon might seem small but it's essential for balancing the sweetness
- Cold unsalted butter: Keeping it ice cold is the secret to creating those tender flaky pockets we love
- Heavy cream: The fat content creates richness while helping the dough come together without overworking
- Egg: Adds structure and helps the scones rise tall and golden
- Vanilla extract: Always use pure vanilla here, it makes a noticeable difference in the final flavor
- Fresh strawberries: Pick ones that are slightly underripe so they hold their shape during baking
- Coarse sugar: This creates that professional bakery sparkle and adds the most satisfying crunch
Instructions
- Heat things up:
- Preheat your oven to 400°F and line a baking sheet with parchment paper, which makes cleanup effortless
- Mix your dry base:
- Whisk together the flour, sugar, baking powder, and salt in a large bowl until everything is evenly distributed
- Work in the butter:
- Add those cold butter cubes and use a pastry cutter or your fingers to break them down until you see coarse, pebble-sized pieces throughout
- Combine the wet ingredients:
- Whisk the cream, egg, and vanilla in a separate bowl, then pour this mixture over your flour mixture
- Gentle folding:
- Stir with a spatula just until you no longer see dry flour, then gently fold in those chopped strawberries
- Shape and portion:
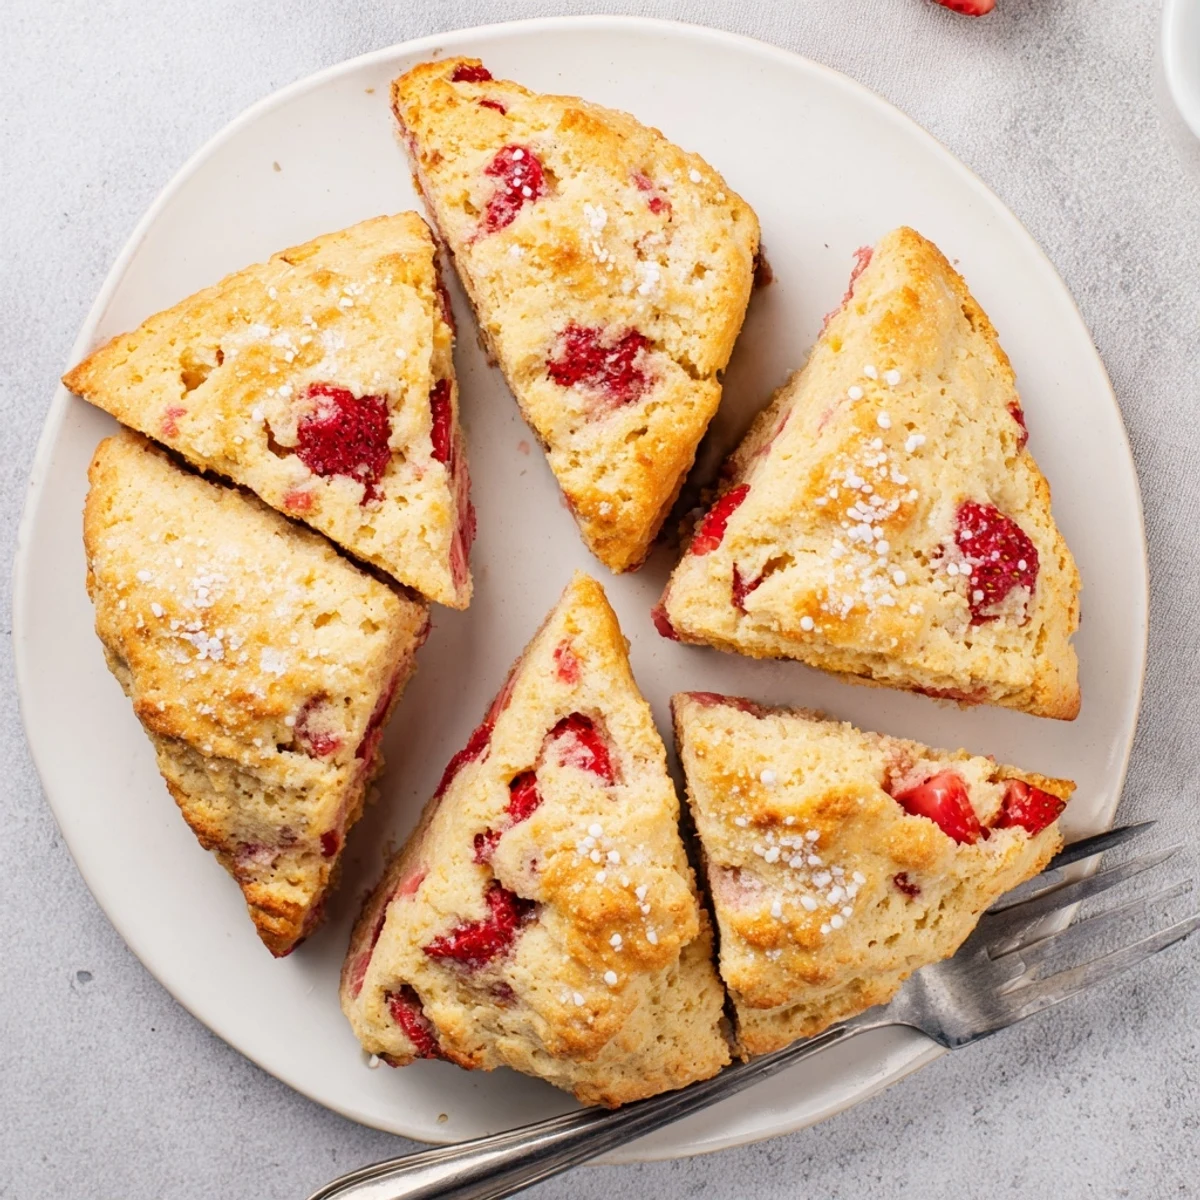
- Turn the dough onto a floured surface, pat it into a 1-inch thick round, and cut into 8 wedges like a pizza
- Add the finishing touches:
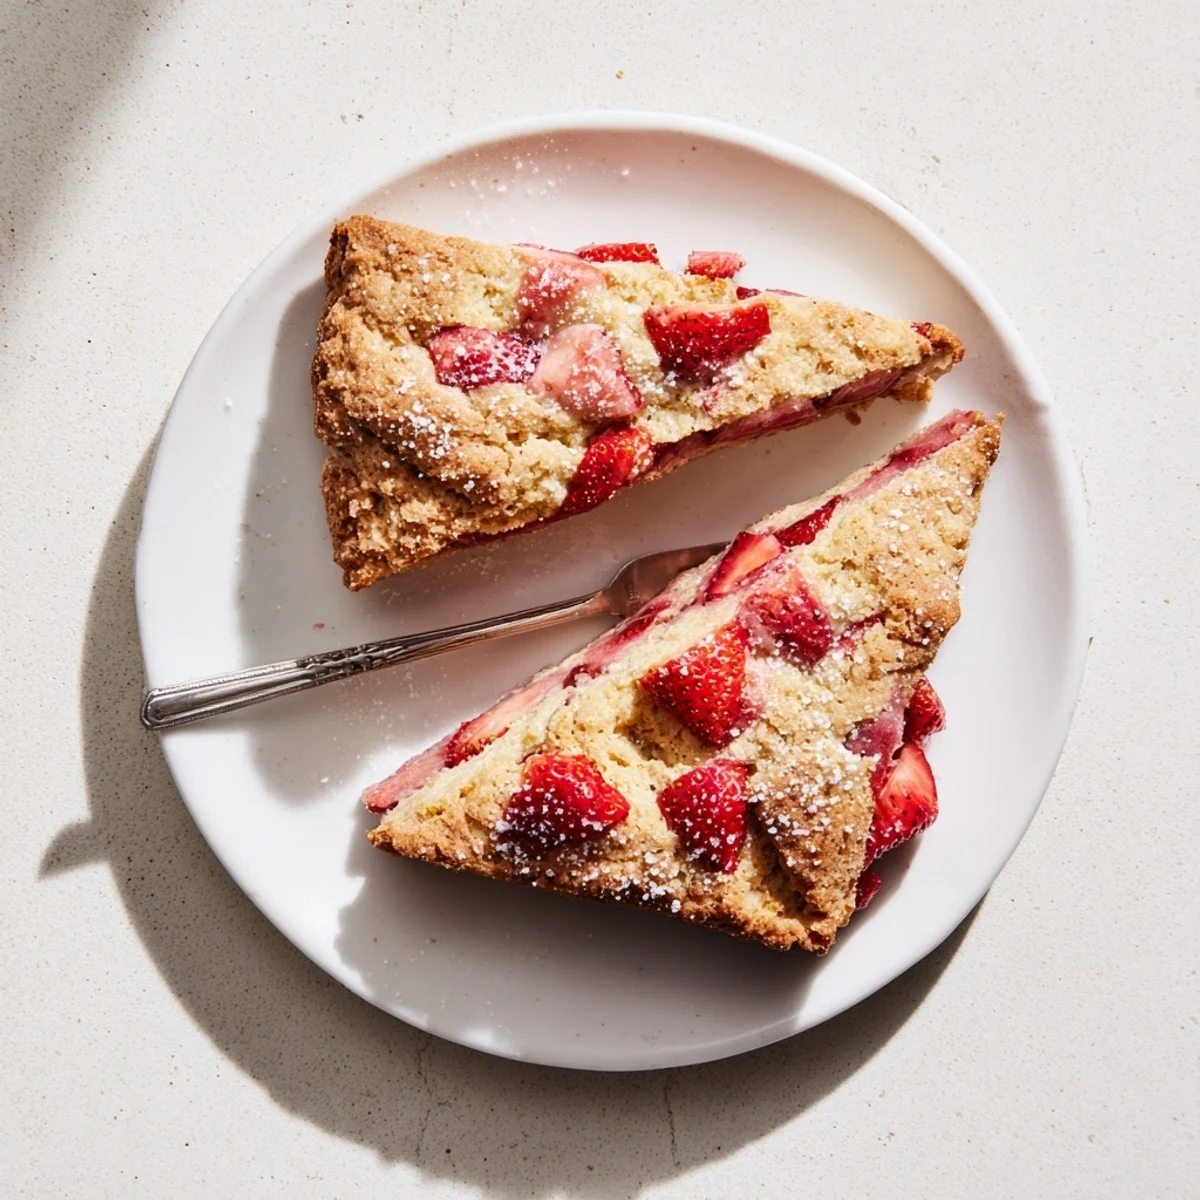
- Brush the tops with extra cream and sprinkle with coarse sugar for that bakery style sparkle
- Bake to golden:
- Bake for 16 to 18 minutes until they're golden on top and a toothpick comes out clean
 Pin It
 My sister admitted she ate three warm from the oven with nothing but melting butter. These scones have become my go-to when I want to make someone feel special without spending hours in the kitchen.
Make Them Your Own
Blueberries work beautifully in place of strawberries, especially when they're in season and practically bursting with sweetness. I've also made these with chopped peaches in summer and frozen cranberries in winter, so let the seasons guide you.
Serving Suggestions
While these are perfect on their own, a dollop of clotted cream or lemon curd takes them over the top. I love serving them alongside a cup of earl grey tea for a simple yet elegant afternoon moment.
Storage And Freezing
These scones freeze beautifully, so I often double the batch and tuck half away for busy mornings. Wrap each one individually in plastic, then place them all in a freezer bag for up to three months. To reheat, let them thaw at room temperature, then warm in a 350°F oven for about 5 minutes.
- Freeze unbaked scones on a parchment lined sheet before transferring to a bag
- Add 2 to 3 extra minutes to baking time if baking from frozen
- Never reheat in the microwave or they'll lose their crisp exterior
 Pin It
 There's nothing quite like the smell of fresh baked scones to make a house feel like home.
Recipe Questions & Answers
- → Why must the butter and cream stay cold?
-
Cold butter creates small pockets of steam as it melts in the oven, producing flaky, tender layers. Warm butter blends into the flour, resulting in denser scones. Keep everything chilled until baking.
- → Can I use frozen strawberries instead of fresh?
-
Frozen strawberries release more liquid during baking, which can make the dough soggy. If using frozen, thaw and pat them completely dry before folding into the dough. Fresh berries yield the best texture.
- → How do I know when the scones are done baking?
-
The tops should be golden brown, and the bottoms should be lightly browned as well. A toothpick inserted into the center should come out clean or with just a few moist crumbs. They should feel firm but spring back slightly when touched.
- → Can I prepare the dough ahead of time?
-
Yes. Cut the dough into wedges and freeze them on a baking sheet until solid. Transfer to a freezer bag and store for up to 3 months. Bake frozen wedges, adding 2–3 minutes to the baking time—no thawing needed.
- → What's the best way to store baked scones?
-
Store completely cooled scones in an airtight container at room temperature for up to 2 days. For longer storage, freeze individually wrapped scones and reheat in a 350°F oven for 5–10 minutes until warm.
- → Why is my dough sticky or difficult to handle?
-
Sticky dough usually means the butter warmed up during prep or the strawberries released too much juice. Chill the dough for 15–20 minutes before shaping. Lightly flour your hands and work surface to prevent sticking without adding too much extra flour.
