 Pin It
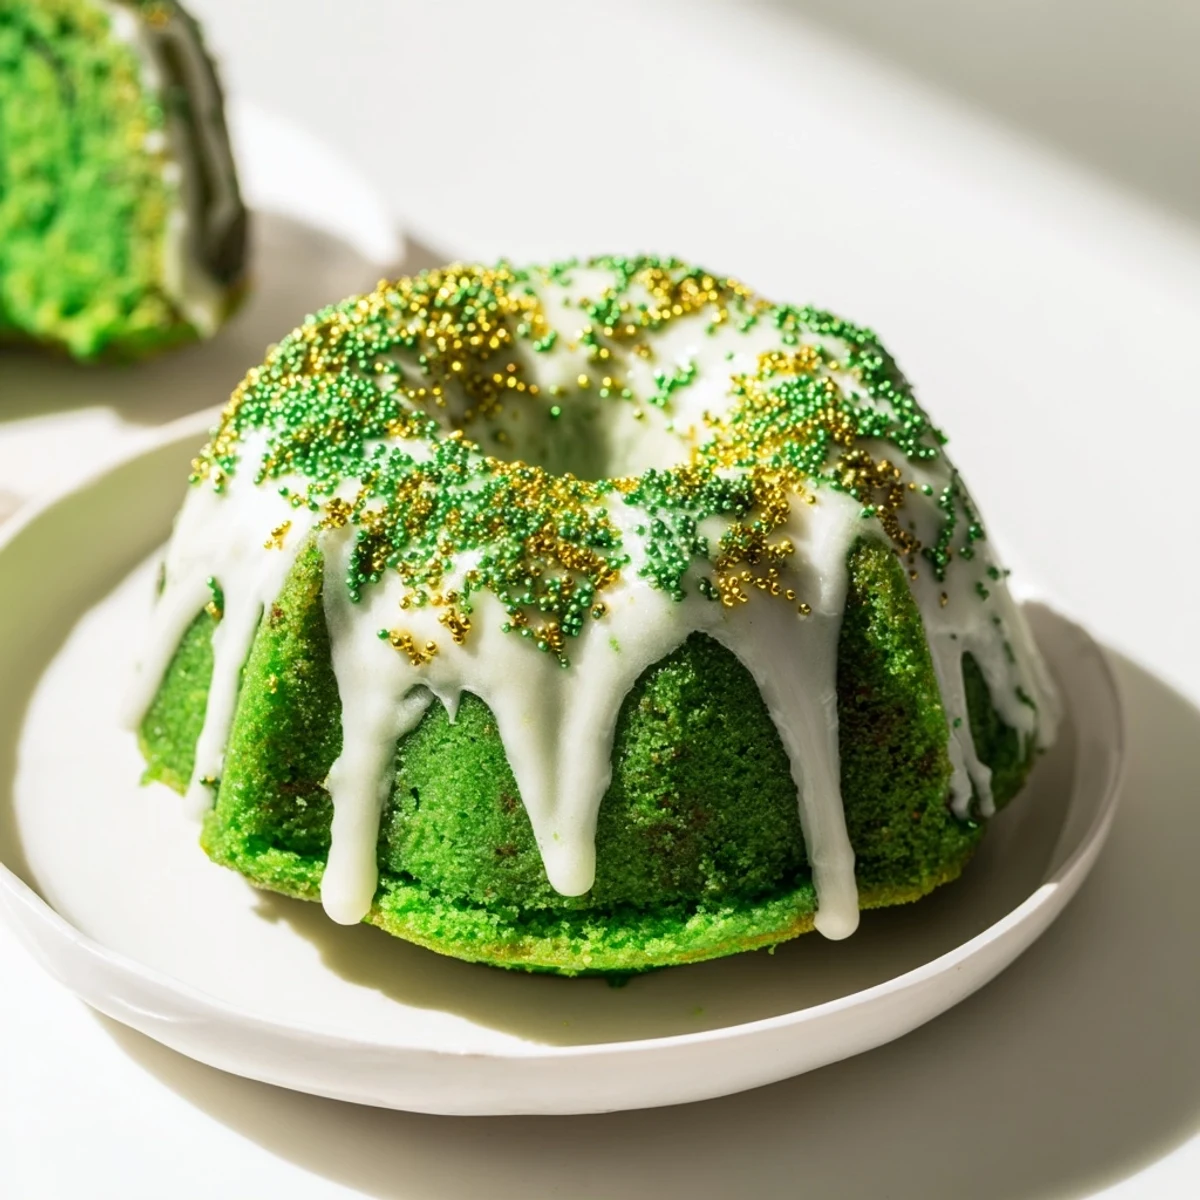
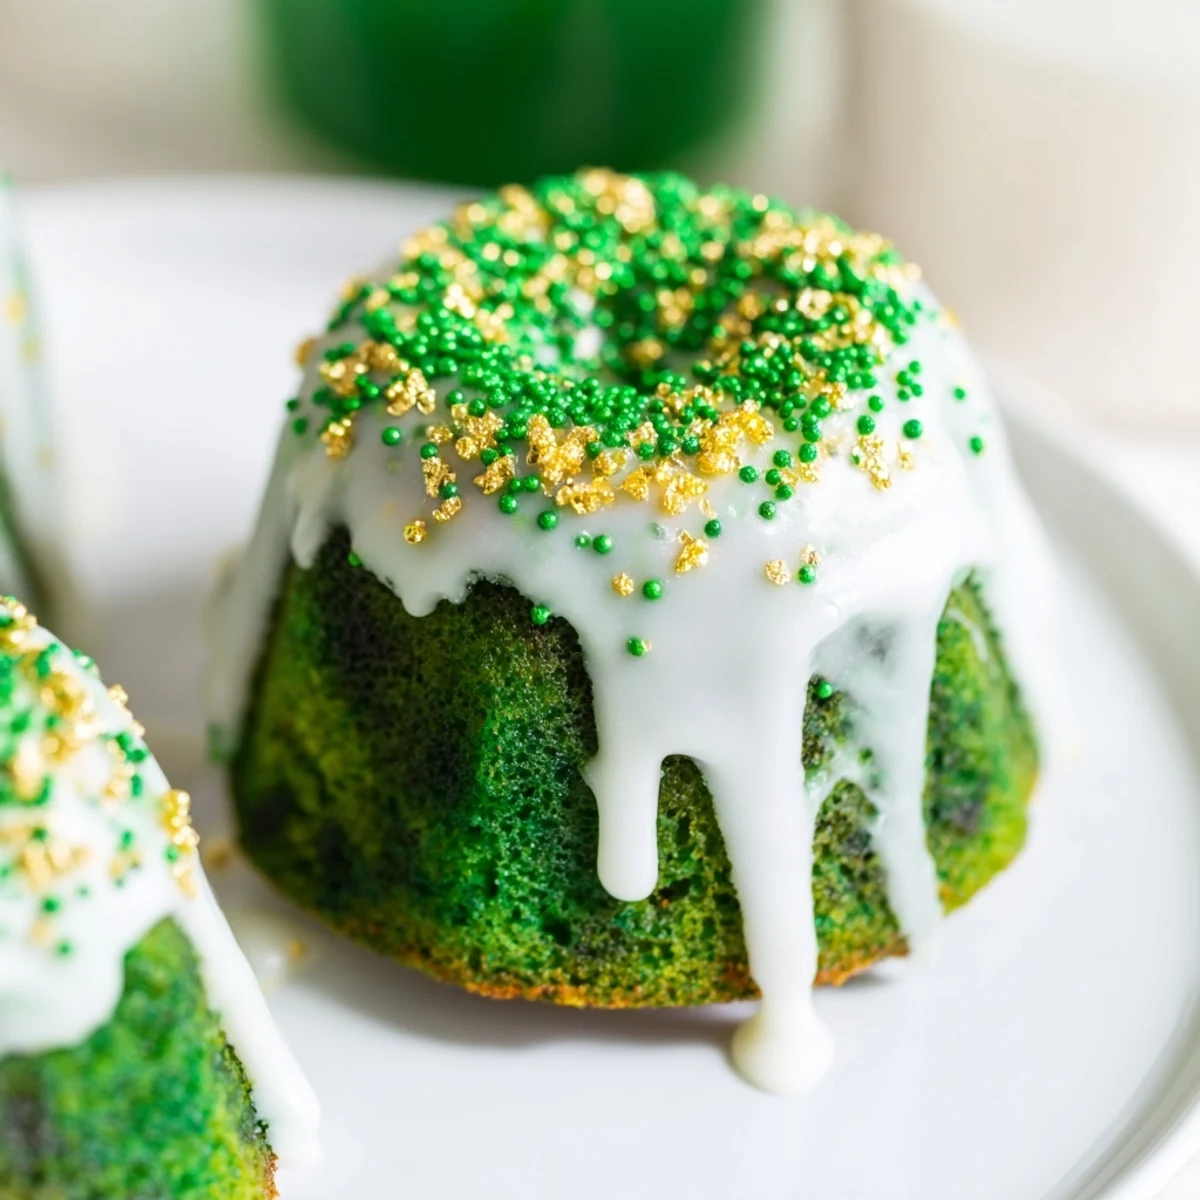
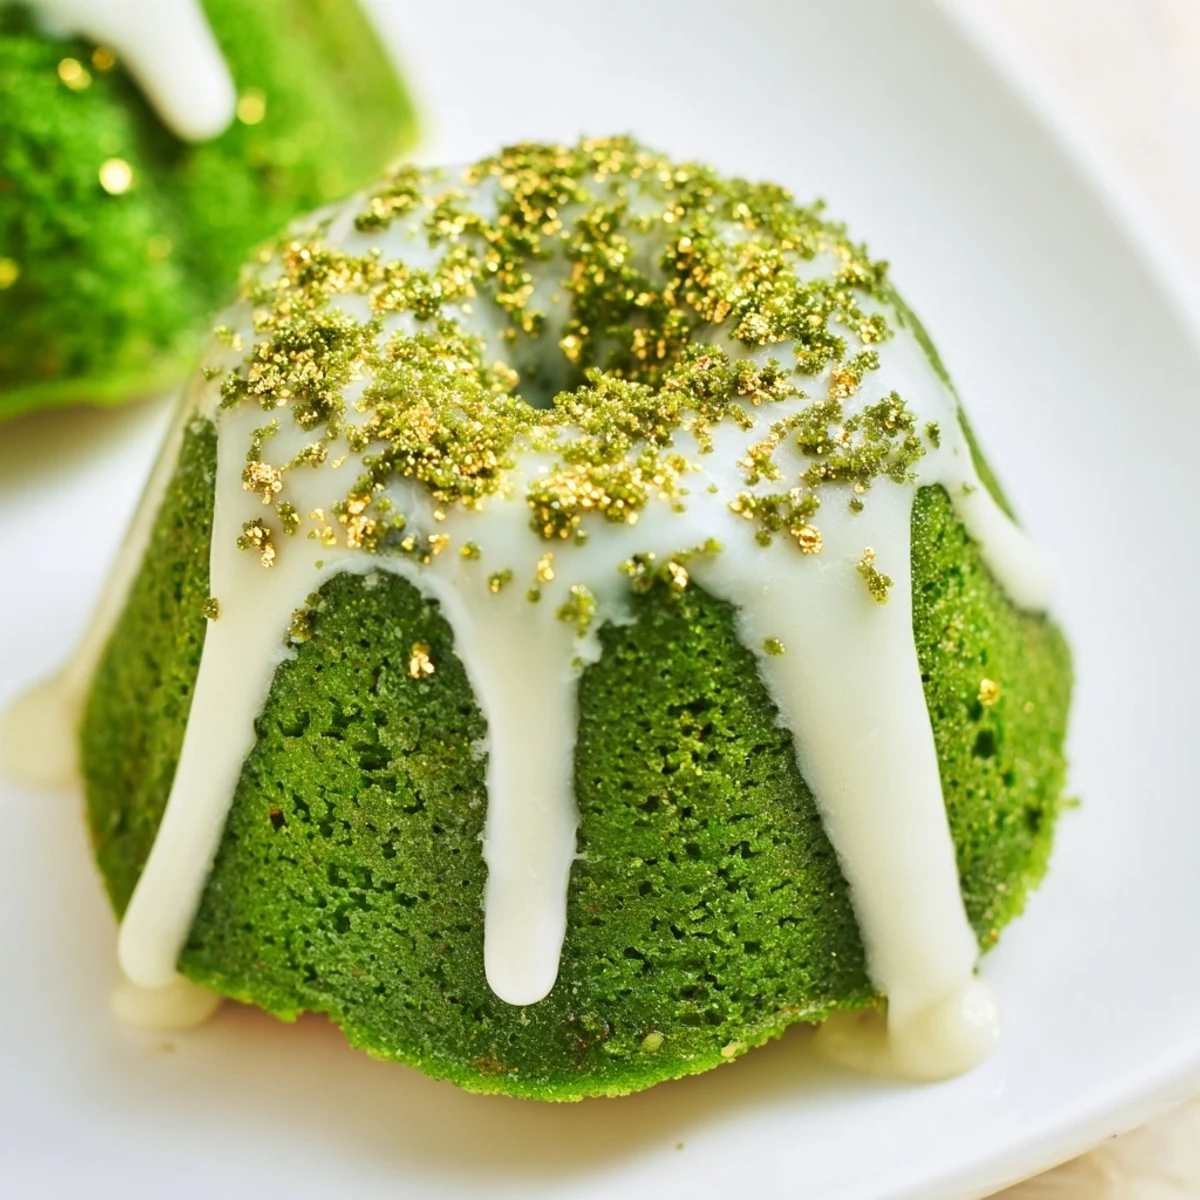
 These vibrant green velvet mini bundt cakes combine the classic red velvet texture with festive St. Patricks Day flair. The batter features a touch of cocoa powder for depth, while buttermilk and vinegar ensure exceptional moistness. Each bite delivers a tender crumb with rich vanilla notes, perfectly balanced by the creamy glaze.
Baking takes just 20 minutes in a mini bundt pan, yielding twelve individual portions ideal for gatherings. The signature green color comes from gel food coloring, easily adjusted to achieve your preferred shade. Top the cooled cakes with a simple vanilla-milk glaze and finish with green and gold sprinkles for maximum celebration impact.
My daughter begged for green treats for her class St. Patrick's Day party last year, and I refused to make yet another batch of boxed cupcakes with neon food dye. These mini bundt cakes were born from that kitchen standoff, and honestly they're now the first thing everyone asks for when March rolls around.
I made twenty-four of these for a neighborhood gathering once, and watched in amusement as adults argued over who got the last one. Something about that perfect ring shape and drippy white glaze makes people feel like they're getting something special, even though they're surprisingly simple to pull together.
Ingredients
- All-purpose flour: The backbone of these tender cakes, providing structure without being heavy
- Unsweetened cocoa powder: Just enough to give depth and that signature velvet cake flavor without dominating
- Baking soda: Works with the acidic buttermilk and vinegar to create the perfect rise
- Salt: Essential for balancing sweetness and enhancing chocolate notes
- Unsalted butter: Room temperature butter creams perfectly and contributes to that velvety texture
- Granulated sugar: Sweetens while also creating a tender crumb structure
- Large eggs: Must be at room temperature to properly emulsify with the butter
- Buttermilk: The secret to moisture and tenderness, plus it activates the baking soda
- Vanilla extract: Pure extract makes all the difference in the final flavor profile
- White vinegar: Enhances the chocolate flavor and reacts with baking soda for extra lift
- Green gel food coloring: Gel coloring gives the most vibrant shade without thinning the batter
- Powdered sugar: Creates that smooth, pourable glaze that sets beautifully on the cooled cakes
- Milk: Adjust the amount to get your glaze to the perfect pouring consistency
- Green and gold sprinkles: The festive finishing touch that makes these party-ready
Instructions
- Preheat your oven and prepare the pan:
- Get your oven to 350°F and generously grease every nook and cranny of your mini bundt pan with butter or nonstick spray
- Whisk together the dry ingredients:
- In a medium bowl, combine flour, cocoa powder, baking soda, and salt until well blended
- Cream the butter and sugar:
- Beat the softened butter and sugar together for about 3 minutes until they're light, fluffy, and noticeably pale in color
- Add the eggs:
- Drop in eggs one at a time, letting each one fully incorporate before adding the next
- Mix the wet ingredients:
- Whisk together buttermilk, vanilla, vinegar, and that gorgeous green food coloring in a separate small bowl
- Combine everything:
- Add half the dry ingredients to the butter mixture, then pour in the buttermilk mixture, then finish with the remaining dry ingredients, mixing just until smooth
- Fill the pans:
- Spoon batter into each mini bundt cavity until they're about two-thirds full, being careful not to overfill
- Bake to perfection:
- Slide into the oven for 18 to 22 minutes, checking with a toothpick that comes out clean from the thickest part
- Cool carefully:
- Let them rest in the pan for 10 minutes, then turn them out onto a wire rack to cool completely
- Make the glaze:
- Whisk powdered sugar, milk, and vanilla until you have a smooth, pourable consistency
- Finish with flair:
- Drizzle that white glaze over the cooled cakes and immediately sprinkle with festive green and gold
 Pin It
 Last year I forgot to properly grease one section of the bundt pan and spent twenty minutes carefully coaxing stuck cakes out with a butter knife while my husband pretended not to laugh. Now I treat pan preparation like a sacred ritual.
Making Them Ahead
These cakes freeze beautifully without the glaze. Wrap each cooled cake individually in plastic wrap, then place them all in a freezer bag for up to three months. Thaw at room temperature for about an hour before glazing.
Getting That Perfect Green
Start with half a tablespoon of gel coloring, then add more drop by drop until you reach your desired shade. Remember the color will bake slightly lighter than it appears in the raw batter.
Glaze Like a Pro
Set your cooling rack over a sheet of parchment paper before glazing. This catches all the drips and makes cleanup effortless while letting you reclaim any glaze that runs off for a second pass.
- Work quickly once the glaze is mixed, as it begins to set after about ten minutes
- If your glaze seems too thick, add milk one teaspoon at a time
- For extra shine, let the first layer of glaze set for 15 minutes before adding a second coat
 Pin It
 There's something magical about cutting into that vibrant green crumb and seeing everyone's eyes light up. May your kitchen be filled with laughter and these little cakes all year round.
Recipe Questions & Answers
- → What makes these cakes green?
-
The signature green color comes from gel food coloring added to the buttermilk mixture. Start with half a tablespoon and increase up to one full tablespoon depending on how vibrant you want the final shade to be.
- → Can I make these ahead of time?
-
Yes, bake the cakes up to two days in advance and store in an airtight container. Add the glaze and sprinkles on the day you plan to serve them for the freshest appearance and texture.
- → What if I don't have buttermilk?
-
Combine half a cup of regular milk with one teaspoon of lemon juice and let it sit for five minutes. This homemade substitute provides the same acidity needed for tender, moist cakes.
- → Why is there cocoa powder in green cakes?
-
The two tablespoons of cocoa powder create that classic velvet texture and subtle depth characteristic of traditional velvet cakes, without adding noticeable chocolate flavor or altering the vibrant green appearance.
- → How should I store leftovers?
-
Keep glazed cakes in an airtight container at room temperature for up to three days. Place parchment paper between layers to prevent sticking. For longer storage, freeze unglazed cakes for up to two months.
- → Can I use a regular bundt pan instead?
-
You can use one standard 12-cup bundt pan, though baking time will increase to 35-40 minutes. The mini versions are perfect for individual portions and bake more quickly and evenly.
