 Pin It
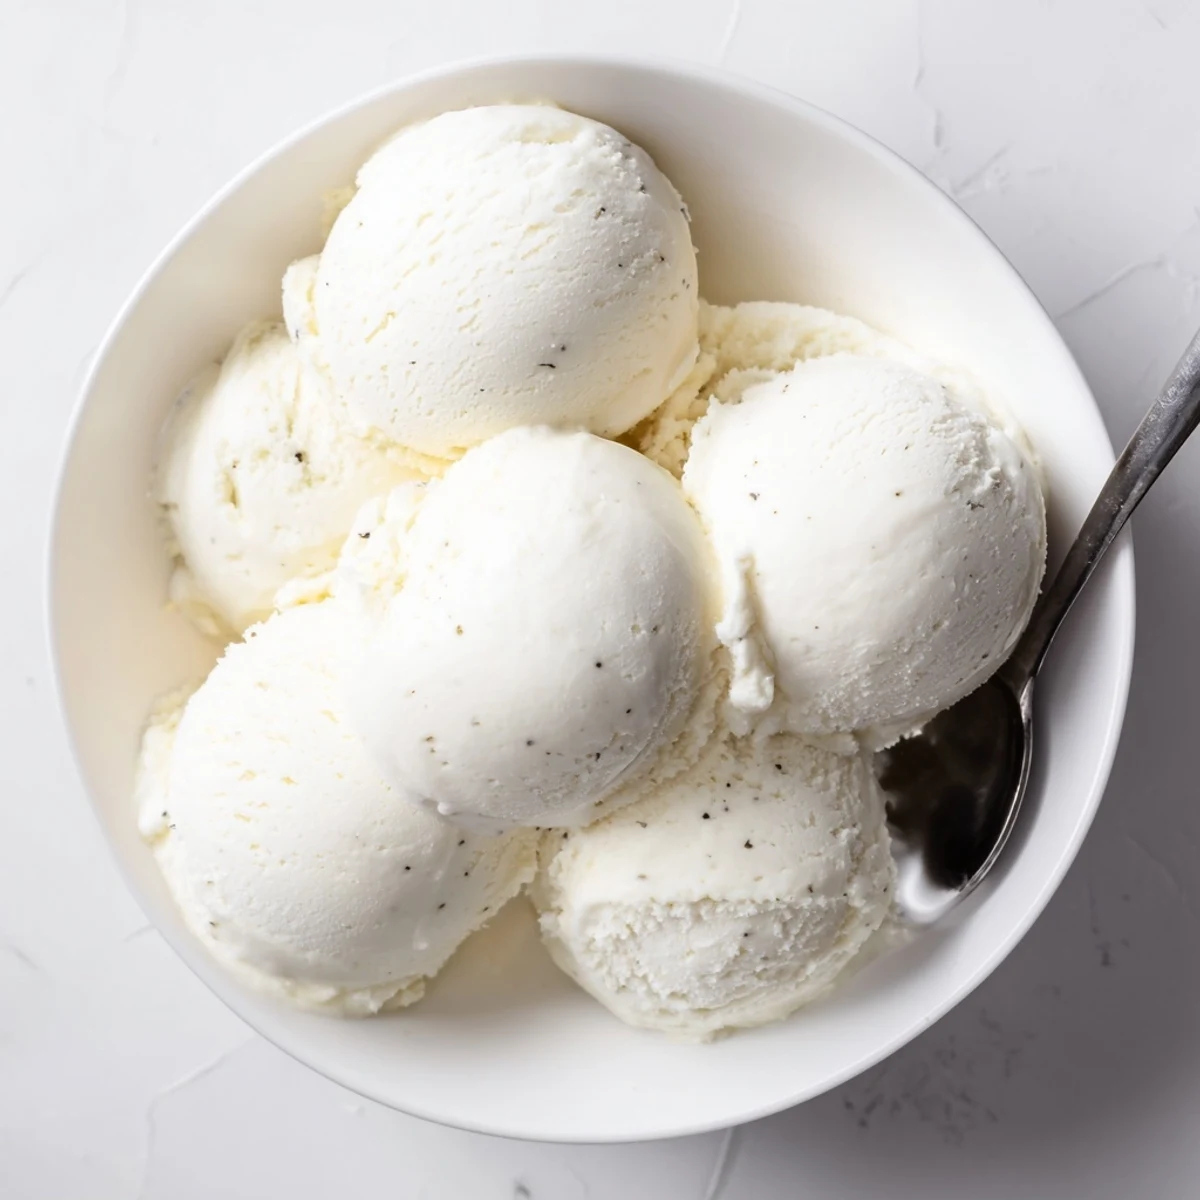
 This rich and creamy vanilla frozen dessert combines heavy cream, whole milk, and egg yolks for a luxurious texture. The process involves creating a custard base, tempering eggs, and churning until perfectly smooth. After chilling for at least 4 hours, the mixture transforms into a thick, velvety treat ideal for hot summer days.
Customize with chocolate chips, fresh fruit, or swirls of caramel and fudge. For those avoiding dairy, coconut milk makes an excellent substitute while maintaining the creamy consistency everyone loves.
The summer I turned twelve, my grandmother handed me a wooden spoon and told me real ice cream demands patience. We stood in her tiny kitchen stirring custard until my arm ached, and when we finally tasted the result, every store bought pint I had ever eaten felt like a lie. That vanilla richness, impossibly silky and cold, ruined me for anything less. I have been chasing that moment in my own kitchen ever since.
I once served this at a backyard gathering in July when the thermometer read 95 degrees and everyone was wilted. The silence that followed the first bite was the best compliment I have ever received.
Ingredients
- Heavy cream (2 cups): The fat here is everything, so do not even think about reaching for the light stuff.
- Whole milk (1 cup): Balances the richness of the cream without making the base too dense.
- Granulated sugar (3/4 cup): Dissolves into the base and keeps the frozen result scoopable rather than rock hard.
- Salt (a pinch): Just enough to make the vanilla sing and round out the sweetness.
- Pure vanilla extract (1 tablespoon): Splurge on the real thing because imitation extract will betray every other effort you made.
- Large egg yolks (5): These give the custard its body and that unmistakable silky mouthfeel.
Instructions
- Warm the base:
- Combine the cream, milk, sugar, and salt in a saucepan over medium heat, stirring gently until the sugar melts and the mixture is hot but not bubbling.
- Prep the yolks:
- Give the egg yolks a light whisk in a separate bowl just until they loosen up and lose their gelatinous look.
- Temper carefully:
- Slowly stream about a cup of the hot cream into the yolks while whisking like your dessert depends on it, because it absolutely does.
- Cook the custard:
- Pour everything back into the pan and stir over medium low heat until the mixture thickens enough to coat the back of a spoon.
- Add the vanilla:
- Pull the pan off the heat and stir in the vanilla extract, letting the aroma bloom through the warm custard.
- Strain and chill:
- Press the custard through a fine mesh sieve into a clean bowl, cool it to room temperature, then tuck it into the fridge for at least four hours.
- Churn it up:
- Pour the chilled base into your ice cream maker and churn following the manufacturer directions until it looks thick and softly frozen.
- Freeze to finish:
- Scrape everything into a freezer safe container, seal it tight, and let it firm up for at least two hours before you dig in.
 Pin It
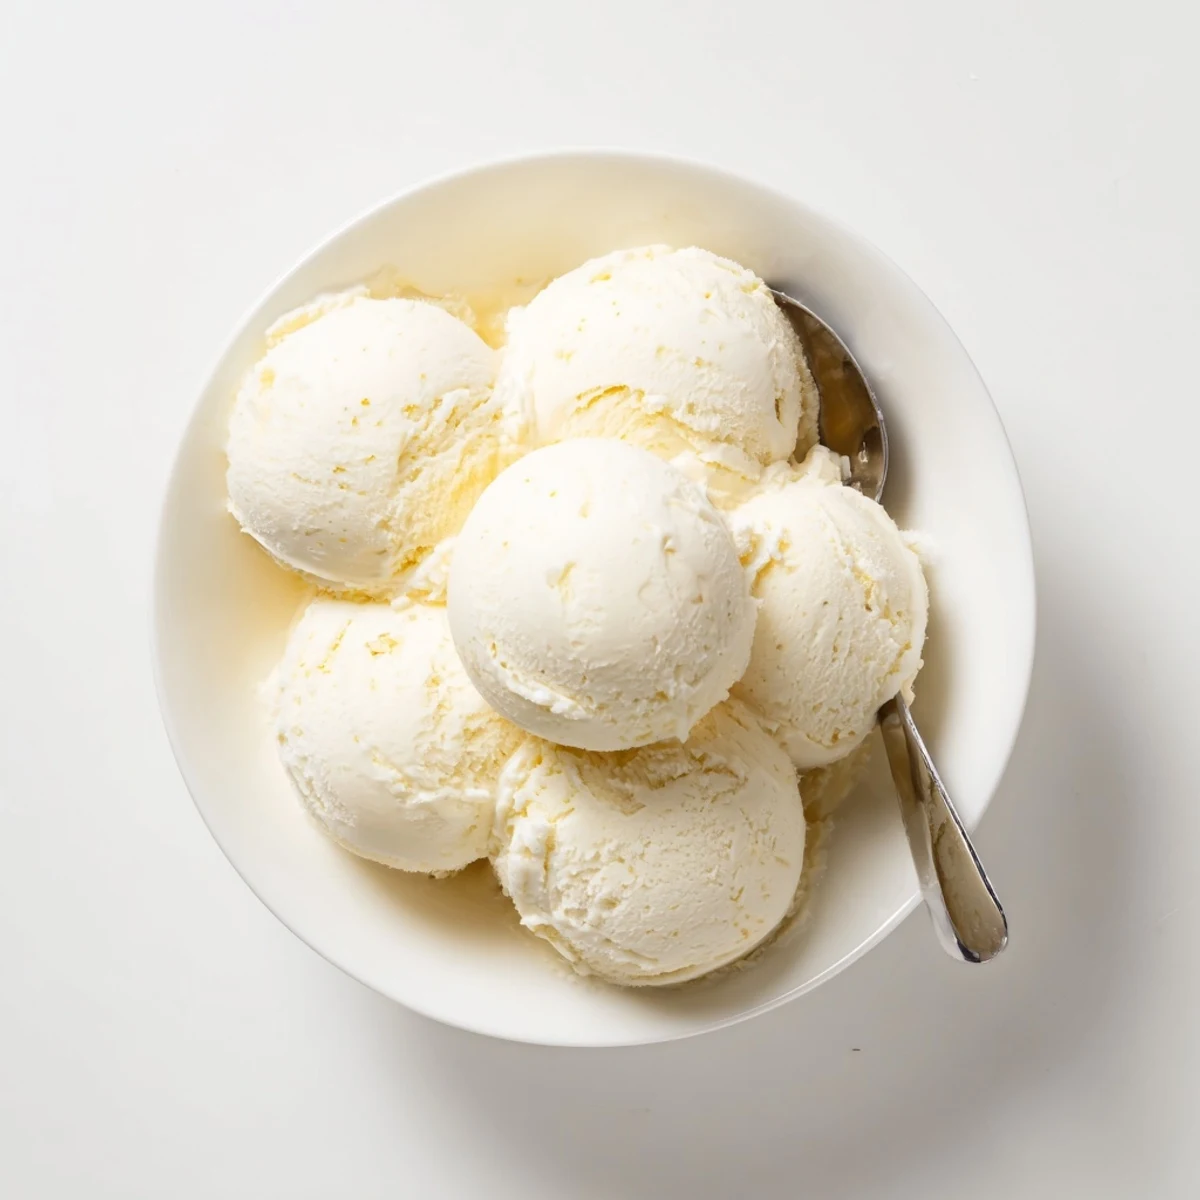
 Scooping this for my partner after a long week, watching her close her eyes at the first taste, reminded me why cooking for someone is its own language.
Mix In Ideas
Fold in chocolate chips, fresh berries, or a ribbon of warm caramel right after churning for a custom twist each time you make it.
Making It Dairy Free
Full fat coconut milk stands in beautifully for both the cream and the milk, giving you a tropical undertone that pairs surprisingly well with vanilla.
Serving And Storing
Let the container sit on the counter for five minutes before scooping so you do not bend your best spoon.
- A warm scoop dipped in hot water between servings keeps the portions clean and pretty.
- Press plastic wrap directly against the surface before sealing to fend off ice crystals.
- Homemade ice cream is best eaten within one week, though it rarely lasts that long.
 Pin It
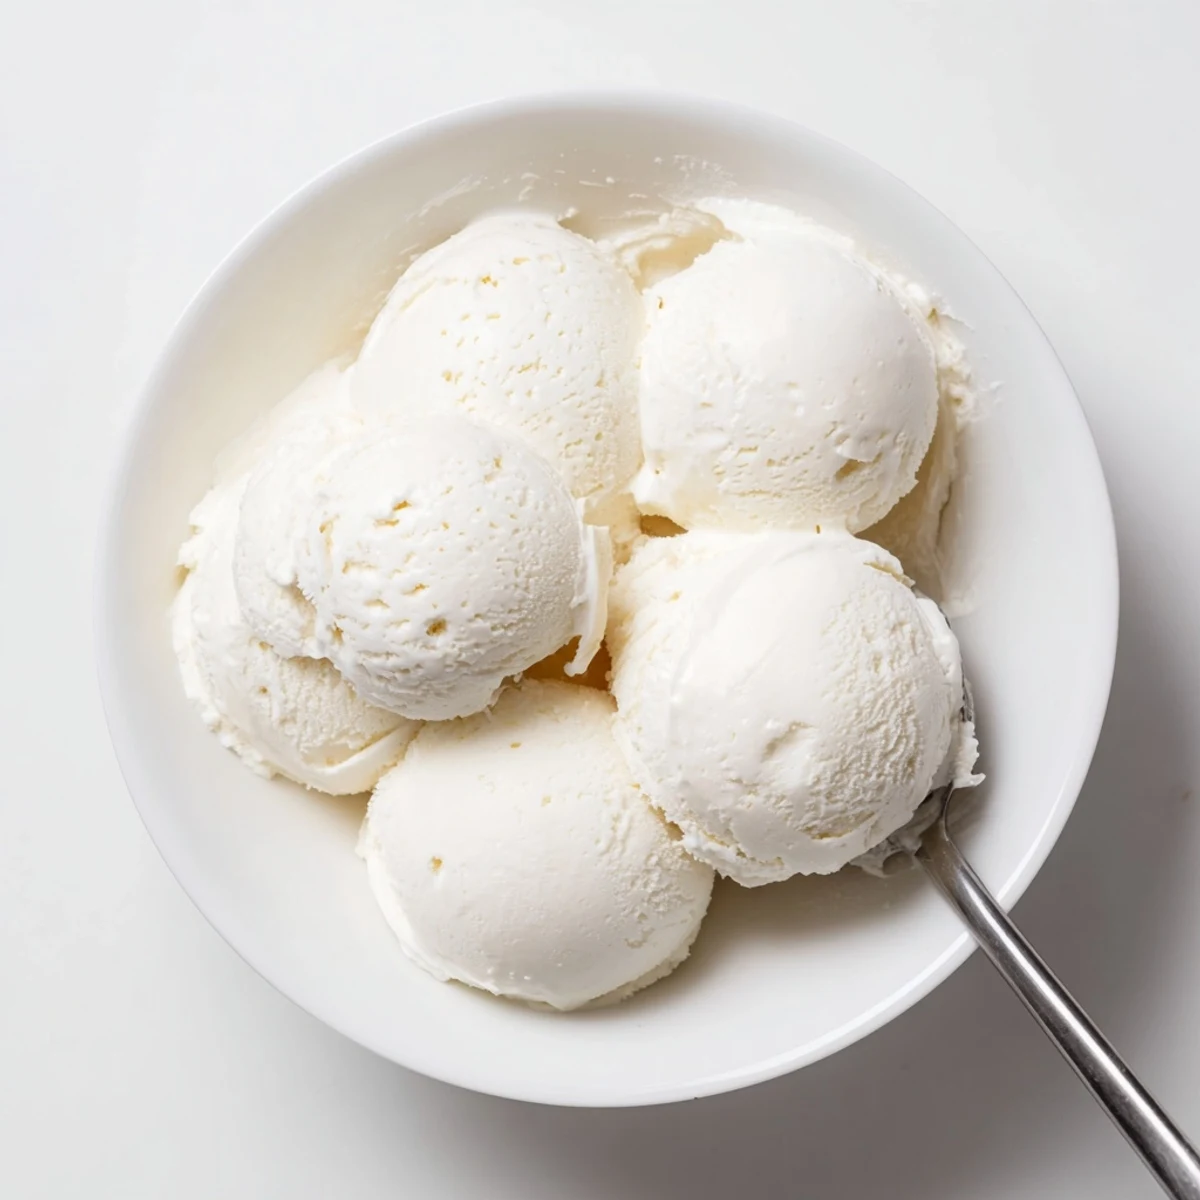
 Homemade ice cream is less about perfection and more about showing up with a spoon and a little love. Every batch tells a different story.
Recipe Questions & Answers
- → How long does it take to make this frozen dessert?
-
The active preparation takes about 30 minutes, but you'll need to chill the custard for at least 4 hours before churning. After churning, freeze for 2 hours for the best texture. Total time is approximately 6 hours including freezing.
- → Can I make this without an ice cream maker?
-
Yes! After chilling the custard, pour it into a freezer-safe container and freeze. Every 30 minutes for the first 3 hours, remove and stir vigorously with a fork or whisk to break up ice crystals. The texture will be slightly different but still delicious.
- → Why do I need to temper the egg yolks?
-
Tempering prevents the eggs from scrambling when added to the hot cream. Slowly introducing warm liquid while whisking creates a smooth, safe custard base that thickens beautifully without cooked egg bits.
- → How should I store leftovers?
-
Keep in an airtight freezer-safe container for up to 2 weeks. Place a piece of parchment paper directly on the surface before sealing to prevent ice crystals from forming. Let soften 5-10 minutes before serving.
- → What variations can I try?
-
Add mix-ins like chocolate chips, crushed cookies, or fresh fruit during the last 5 minutes of churning. Swirl in caramel, fudge, or fruit preserves before freezing. You can also infuse the cream with mint leaves, coffee beans, or lavender for unique flavors.
- → Is there a dairy-free option?
-
Absolutely! Substitute full-fat coconut milk for both the heavy cream and whole milk. The naturally rich coconut fat creates a wonderfully creamy texture. Just be sure to use unsweetened varieties to control the sweetness level.
