 Pin It
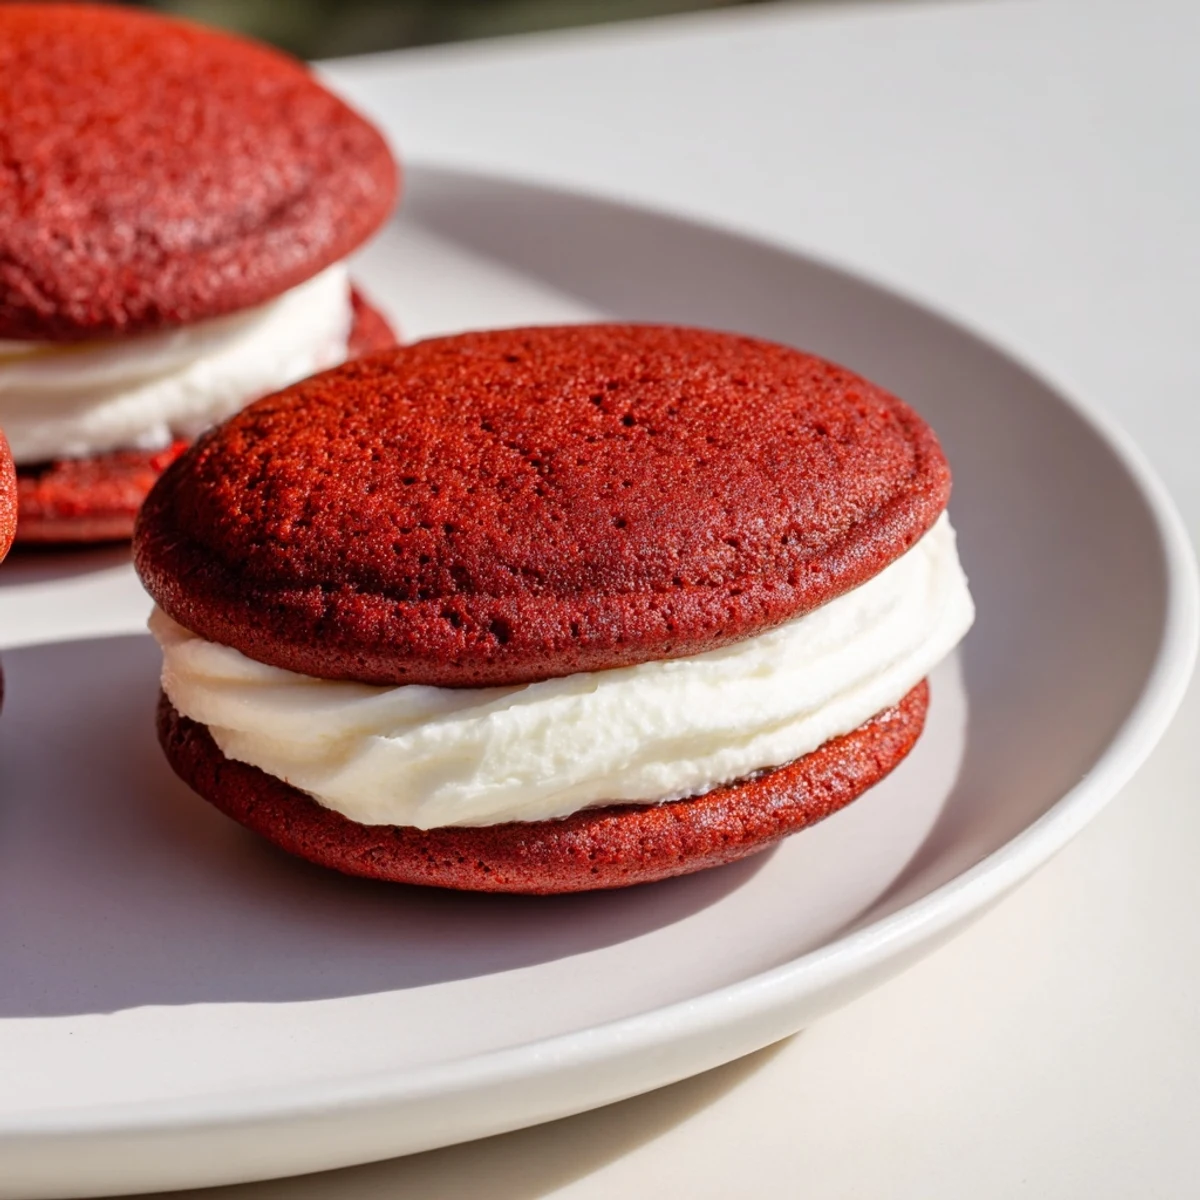
 These red velvet whoopie pies feature rich, tender cakes sandwiched with a luscious cream cheese filling. The batter blends cocoa powder, buttermilk, and a hint of vinegar for a classic texture and flavor. Baked to a soft, cakey finish, the cookies are paired with a creamy, sweet filling made of cream cheese, butter, powdered sugar, and vanilla. Perfect for gatherings, these treats can be stored chilled for several days and customized with chocolate chips or sprinkles for added flair.
The first time I made whoopie pies, I accidentally dyed my kitchen counter pink. That vibrant red food coloring has a way of getting everywhere, but the look on my friends' faces when they bit into these sandwich cookies made every stained fingertip worth it.
My grandmother kept a vintage whoopie pie tin in her cupboard, though she rarely used it. Now whenever I make these, I imagine her hands working the same dough, probably with much less food coloring chaos than my own attempts.
Ingredients
- All-purpose flour: Provides structure without making the cookies too dense
- Unsweetened cocoa powder: Deepens the flavor without overpowering the delicate red velvet taste
- Baking powder and baking soda: Work together to give the cookies their signature lift
- Unsalted butter: Room temperature butter is non-negotiable for proper creaming
- Granulated sugar: Sweetens and helps create that tender crumb texture
- Red food coloring: Gel coloring gives the most vibrant hue without adding extra liquid
- Buttermilk: The acidity tenderizes the crumb and enhances the chocolate flavor
- Cream cheese: Full fat and softened to room temperature for silky smooth filling
Instructions
- Prep your workspace:
- Preheat oven to 350°F and line baking sheets with parchment paper
- Mix the dry ingredients:
- Whisk flour, cocoa powder, baking powder, baking soda, and salt in a medium bowl
- Cream butter and sugar:
- Beat softened butter and granulated sugar until light and fluffy, about 2 to 3 minutes
- Add wet ingredients:
- Mix in egg, vanilla, red food coloring, and vinegar until combined
- Combine everything:
- Add dry ingredients in two parts, alternating with buttermilk, mixing until just combined
- Scoop and bake:
- Drop tablespoon-sized mounds 2 inches apart and bake 10 to 12 minutes until set
- Make the filling:
- Beat cream cheese and butter until smooth, then gradually add powdered sugar and vanilla
- Assemble the pies:
- Pair similar-sized cookies and spread filling on one, then top with its match
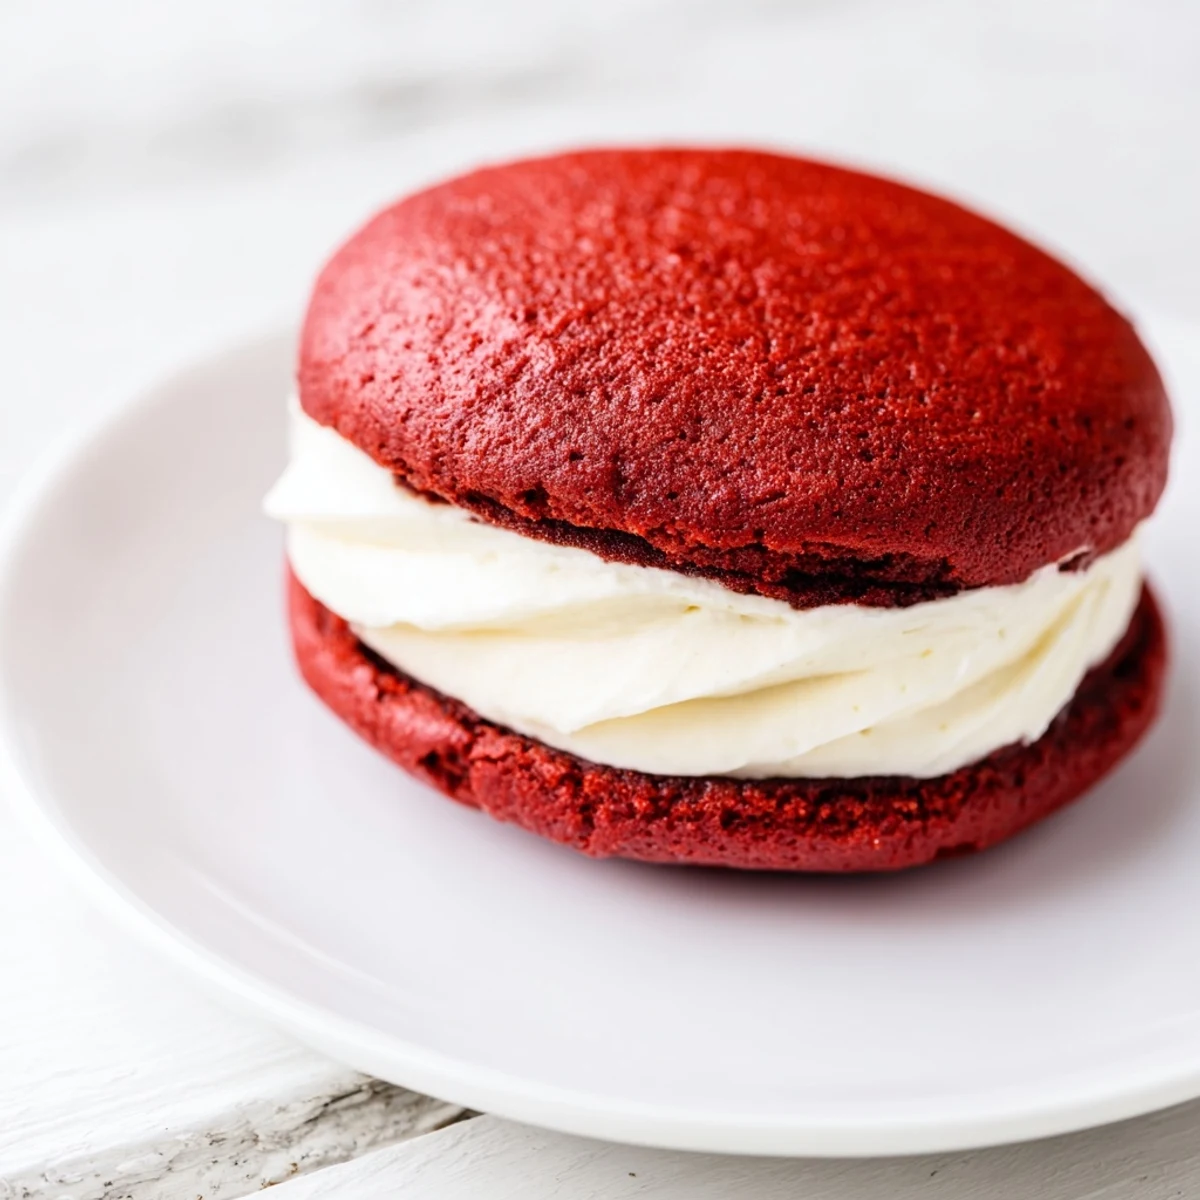 Pin It
 These showed up at my sister's bridal shower, arranged on a tiered stand like little red jewels. They disappeared faster than the champagne, which is saying something.
Getting That Perfect Red
Liquid food coloring can sometimes affect the batter consistency, which is why gel coloring is worth the extra trip to the baking aisle. A little goes a long way, so start with less and add more until you reach your desired shade.
Filling Consistency
The cream cheese frosting should hold its shape but still spread easily. If it is too stiff, let it sit at room temperature for 10 minutes. Too soft, pop it in the fridge briefly.
Storage and Serving
These actually taste better after a night in the refrigerator, as the flavors meld together and the cookies soften slightly. Serve them chilled or let them come to room temperature, depending on your texture preference.
- Layer them between wax paper in an airtight container
- They freeze beautifully for up to a month
- Bring to room temperature 20 minutes before serving
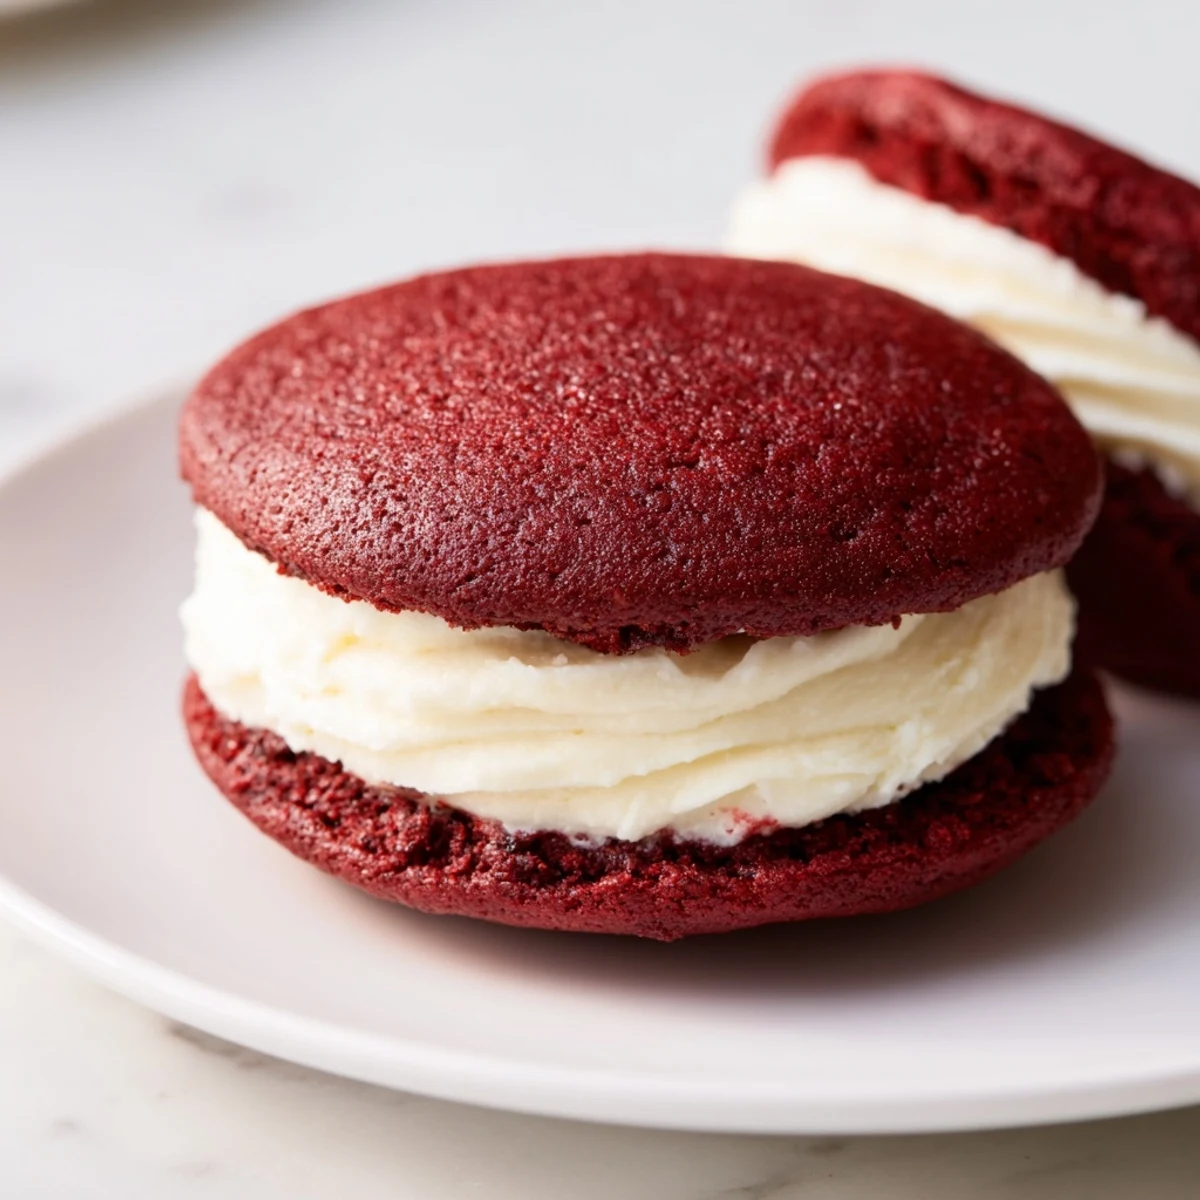 Pin It
 There is something joyful about biting into two cookies held together by sweet, creamy filling. These whoopie pies have become my go-to for bringing happiness to any gathering.
Recipe Questions & Answers
- → What gives the cakes their red color?
-
The vibrant red hue comes from red food coloring added to the batter, which is balanced with cocoa powder for a mild chocolate undertone.
- → How do I ensure the cakes stay tender?
-
Using buttermilk and vinegar in the batter helps activate baking soda and keeps the cakes moist and tender.
- → Can the filling be made ahead of time?
-
Yes, the cream cheese filling can be prepared in advance and stored in the refrigerator until assembly.
- → What is the best way to store the assembled treats?
-
Store them in an airtight container in the refrigerator for up to three days to maintain freshness.
- → Are there tips to add texture or decoration?
-
Rolling the edges in mini chocolate chips or colorful sprinkles adds both texture and visual appeal.
