 Pin It
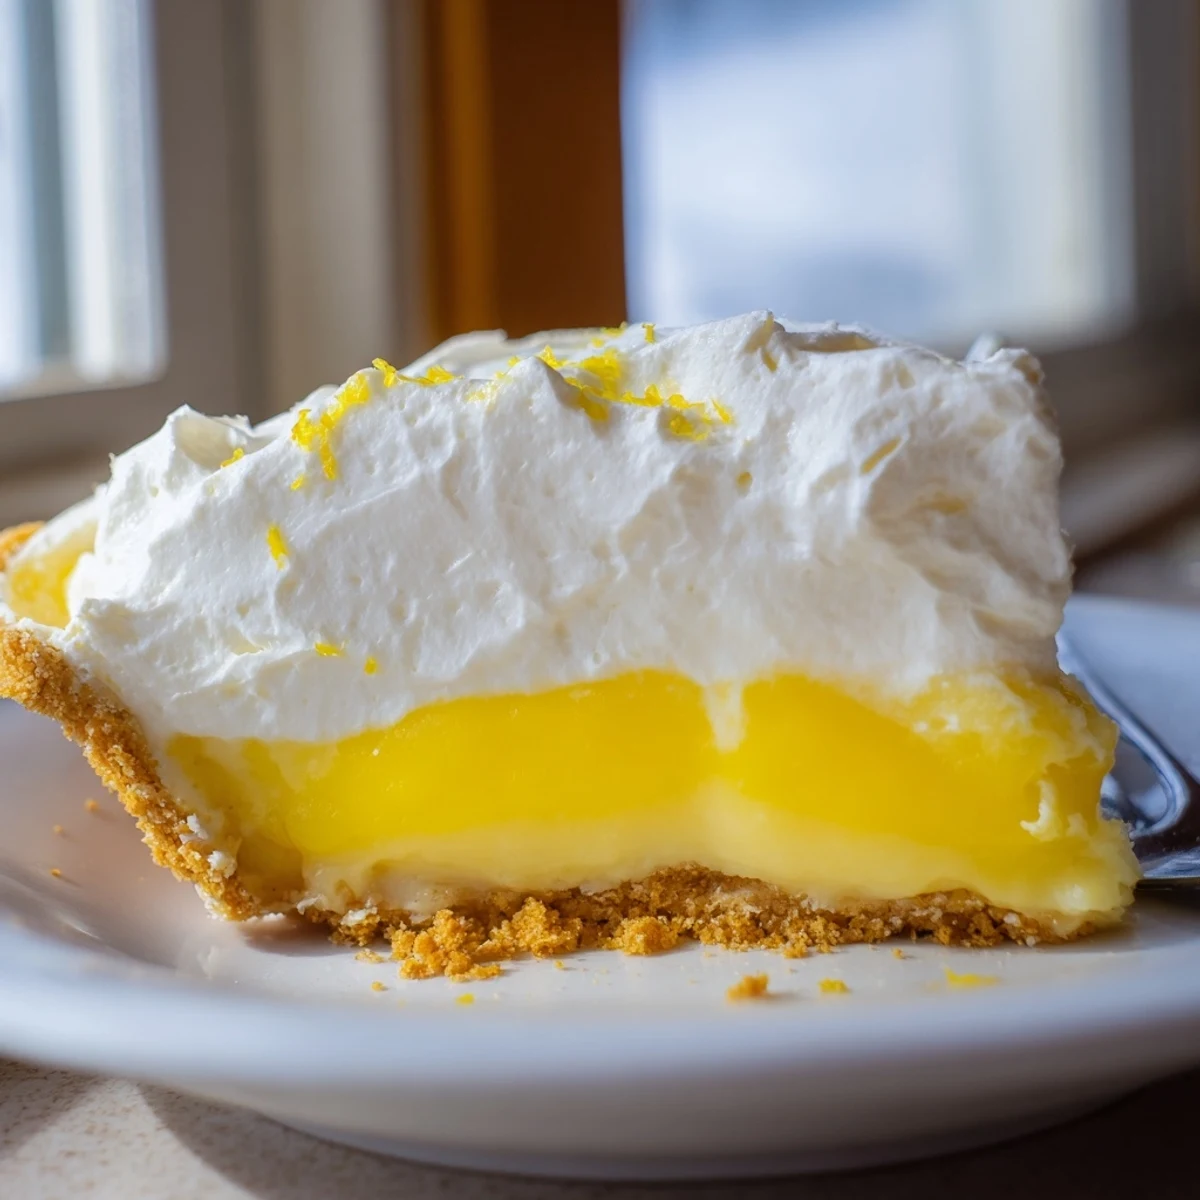
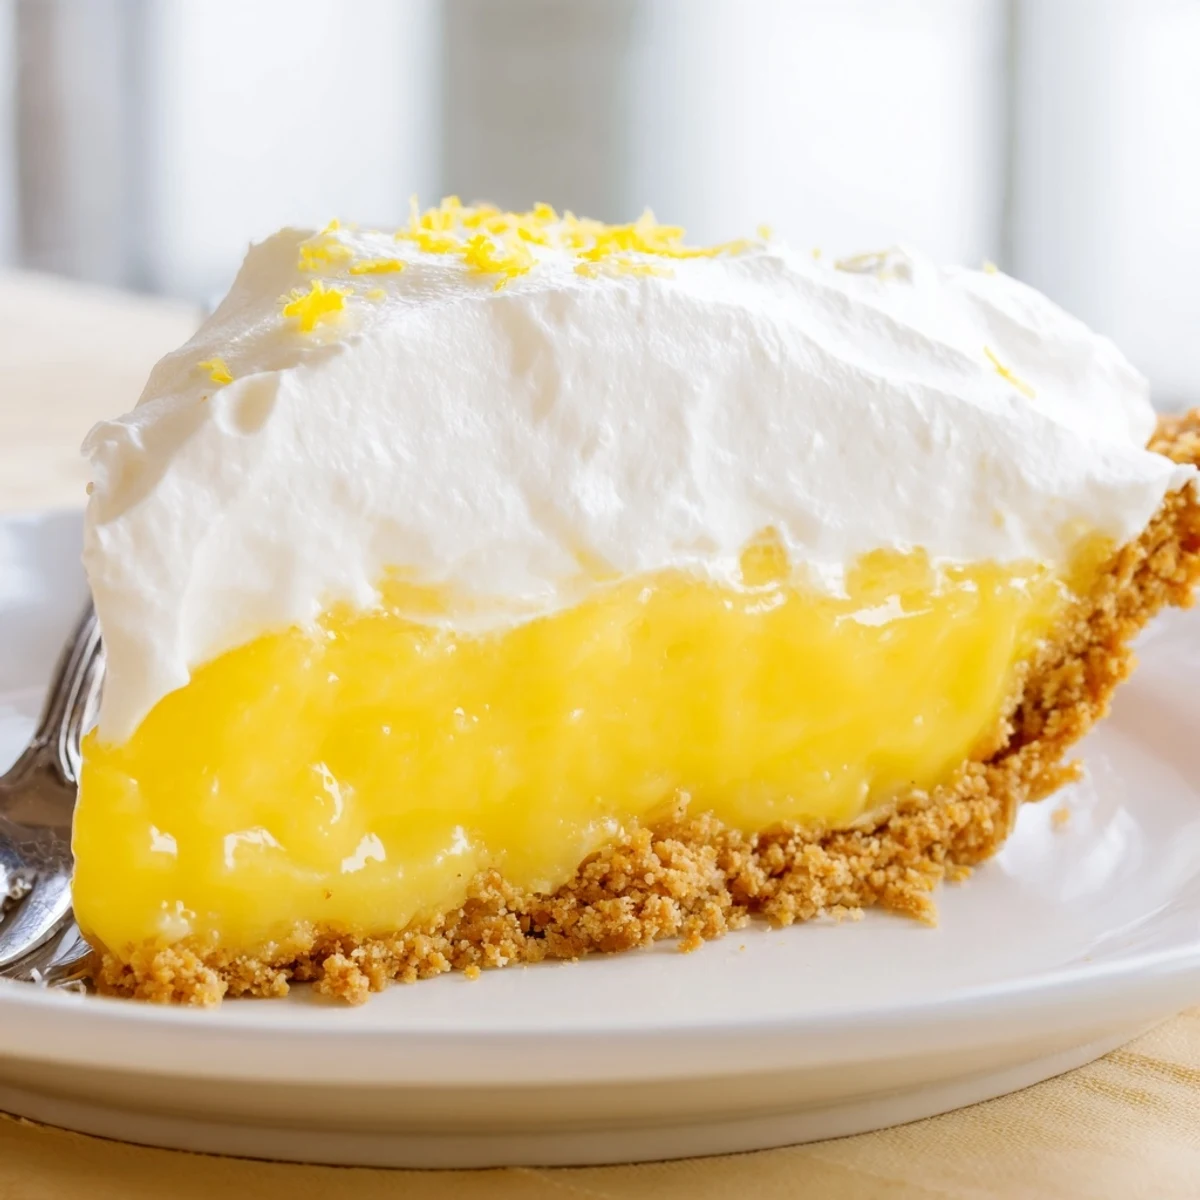
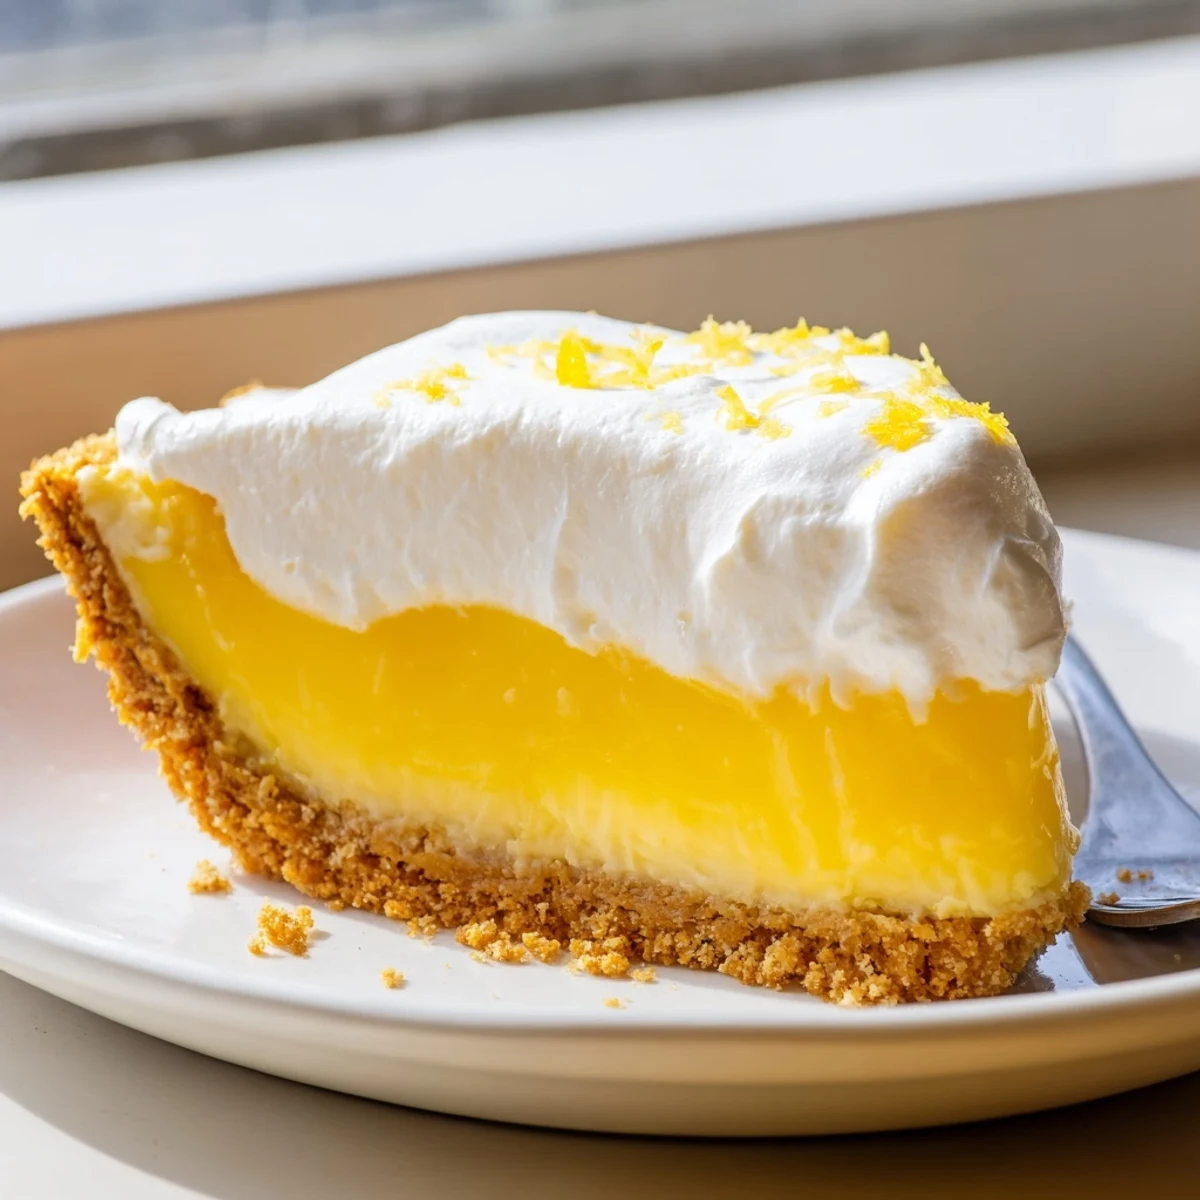
 This classic American lemon pie features a buttery graham cracker crust filled with a silky, tangy lemon custard made from freshly squeezed lemon juice, zest, and egg yolks.
The filling is cooked on the stovetop with sugar, cornstarch, and flour until thick and glossy, then poured into the cooled crust and chilled until perfectly set.
Topped with freshly whipped cream and served chilled, each slice delivers a bright citrus punch balanced by the sweet, crumbly crust — ideal for summer gatherings, holidays, or anytime you crave something sweet and refreshing.
The screen door slammed shut behind me as I carried a lemon pie out to my aunts backyard table one July evening, and the whole yard seemed to pause midconversation when I set it down. Something about a homemade lemon pie does that to people. The buttery crust crumbles just right, and the filling is this wobbly, sunshine colored custard that tastes like someone bottled summer and poured it into a tin. This is the recipe that earned me the title of designated dessert person at every family gathering since.
My cousin Rachel once stood at the kitchen counter eating leftovers straight from the dish with a fork at midnight, and honestly I could not judge her even a little.
Ingredients
- Graham cracker crumbs (1 1/2 cups, 150 g): Fresh crumbs make a huge difference, so I pulse whole crackers in a food processor instead of buying precrushed ones.
- Granulated sugar for crust (1/4 cup, 50 g): Just enough sweetness to hold the crust together without making it candy hard.
- Unsalted butter, melted (6 tbsp, 85 g): The glue that binds everything, and the aroma while the crust bakes is reason enough to make this pie.
- Granulated sugar for filling (1 cup, 200 g): Balances the tartness of the lemon juice so the filling is bright, not punishing.
- Cornstarch (2 tbsp, 15 g): This is what gives the filling its glossy, pudding like body.
- All purpose flour (1 tbsp, 10 g): Works alongside the cornstarch for a more stable set that does not weep after chilling.
- Salt (1/4 tsp): A tiny pinch wakes up every other flavor in the filling.
- Water (1 cup, 240 ml): The base liquid that lets the lemon flavor shine without being overpowering.
- Lemon zest (2 tsp grated): Rub the zest into the sugar with your fingers first to release the oils, and your whole kitchen will smell incredible.
- Freshly squeezed lemon juice (1/2 cup, 120 ml, about 2 to 3 lemons): Please use real lemons here because the bottled stuff tastes flat and metallic by comparison.
- Large egg yolks, lightly beaten (3): Yolks give the filling its rich golden color and a silky texture that whole eggs cannot match.
- Unsalted butter for filling (2 tbsp, 30 g): Stirred in at the end for a velvety finish that coats your spoon beautifully.
- Heavy whipping cream (1 cup, 240 ml): Make sure it is cold straight from the fridge for the best whip.
- Powdered sugar (2 tbsp, 15 g): Sweetens the cream gently without making it grainy.
- Vanilla extract (1/2 tsp): A warm background note that rounds out the lemon beautifully.
Instructions
- Bake the crust:
- Preheat your oven to 350 degrees F (175 degrees C). Toss the graham crumbs, sugar, and melted butter together until the mixture feels like damp sand, then press it firmly into a 9 inch pie dish going up the sides. Bake for 8 to 10 minutes until the edges are golden and your kitchen smells like a bakery.
- Start the filling:
- In a medium saucepan, whisk the sugar, cornstarch, flour, and salt together so there are no lumps hiding anywhere. Pour in the water, lemon zest, and lemon juice gradually while whisking, then set it over medium heat and stir constantly until the mixture thickens and starts bubbling, about 4 to 6 minutes.
- Temper the yolks:
- Scoop a few spoonfuls of the hot mixture into your beaten egg yolks very slowly while whisking like your pie depends on it, because it does. Pour the warmed yolks back into the saucepan and cook for another 2 minutes, stirring, until everything is thick and glossy.
- Finish the filling:
- Pull the pan off the heat and drop in the butter, stirring until it melts into the filling and makes everything shimmer. Pour this golden custard straight into your cooled crust and let it come to room temperature, then tuck it into the fridge for at least 2 hours until it sets completely.
- Whip the topping:
- Beat the cold cream, powdered sugar, and vanilla with an electric mixer until you get stiff peaks that hold their shape when you lift the beaters. Spread or pipe it over the chilled pie however you like.
- Serve:
- Slice with a sharp knife dipped in hot water for the cleanest cuts, and serve it cold.
 Pin It
 One Thanksgiving I brought this pie instead of pumpkin, and my uncle quietly ate three slices before anyone else got to the dessert table.
When Life Gives You Lemons
I have learned through many batches that Meyer lemons make a sweeter, more floral filling, while regular Eureka lemons give you that classic punchy tartness most people expect. Both are wonderful, but they are different pies entirely.
Serving Ideas
A handful of fresh raspberries or blueberries scattered over the whipped cream turns this into something that looks like it came from a magazine with almost zero extra effort.
Storing and Making Ahead
This pie actually tastes better on day two when the flavors have had time to settle and mingle in the fridge overnight.
- Cover the pie loosely with plastic wrap after the filling has completely set so the cream does not smear everywhere.
- The crust will soften slightly by day three but the flavor remains wonderful.
- Freezing is not recommended because the custard filling can separate and become grainy when thawed.
 Pin It
 Every time I juice lemons for this pie I think about how something so simple can make people so genuinely happy. That is really all the reason you need to make it.
Recipe Questions & Answers
- → Can I use bottled lemon juice instead of fresh?
-
Freshly squeezed lemon juice delivers the brightest, most natural flavor. Bottled juice works in a pinch but may taste slightly duller. Always pair it with fresh lemon zest for the best aromatic result.
- → How long should the pie chill before serving?
-
Plan on at least 2 hours of refrigeration so the filling sets completely. For the cleanest slices, chill overnight — the texture firms up beautifully and the flavors deepen.
- → Why do I need to temper the egg yolks?
-
Tempering slowly raises the temperature of the yolks by gradually adding hot liquid while whisking. Skipping this step causes the eggs to scramble, leaving lumps in your silky filling.
- → Can I swap the whipped cream for meringue?
-
Absolutely. Prepare a classic French or Swiss meringue, spread or pipe it over the chilled filling, and broil for 1–2 minutes until lightly golden. It adds a beautiful toasted finish.
- → How should I store leftovers?
-
Cover the pie loosely with plastic wrap or transfer slices to an airtight container. Refrigerate for up to 3 days. The crust softens over time, so day one always offers the best texture.
- → Can I make the crust gluten-free?
-
Yes — substitute gluten-free graham crackers for the traditional ones. Check that the cornstarch and other ingredients are certified gluten-free as well to ensure the entire pie is safe for gluten-sensitive guests.
