 Pin It
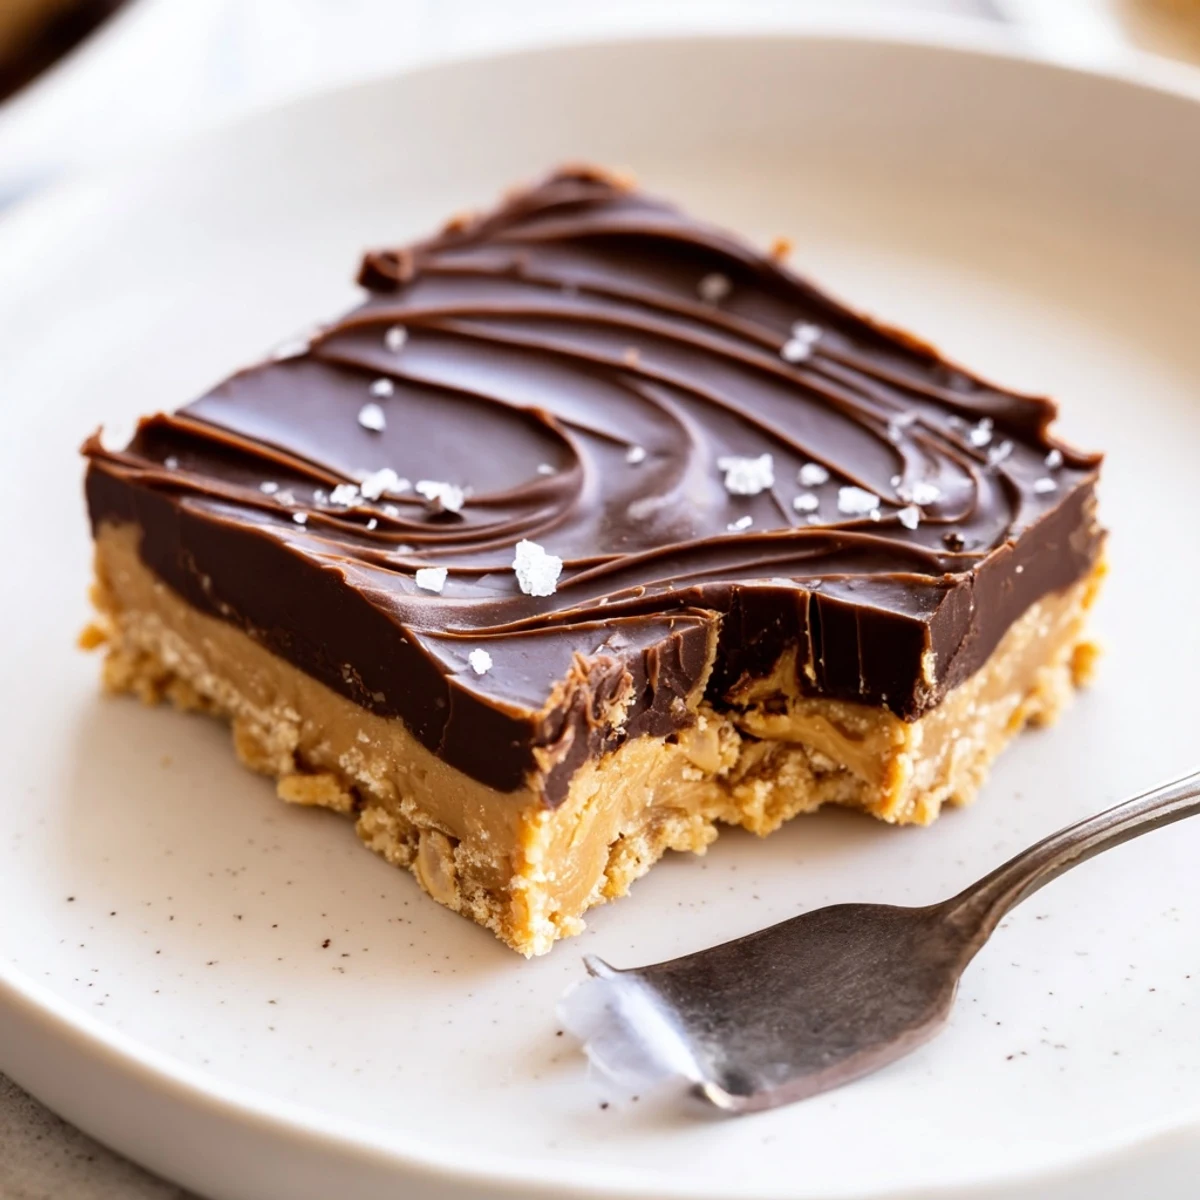
 Combine melted butter and creamy peanut butter with powdered sugar and graham crumbs until a thick, pressable dough forms. Press into an 8x8 pan. Melt semi-sweet chocolate with a little peanut butter, spread over the base, then refrigerate until firm.
Chill at least 2 hours, lift using the parchment, and cut into 16 bars. Try chunky peanut butter or chopped roasted peanuts for crunch, or swap graham crumbs for gluten-free cookies.
Sometimes kitchens feel a little too hot for ovens, but that never stopped my sweet tooth. I remember one bustling afternoon scraping the last bit of peanut butter from the jar, determined not to let a little heat stand between me and dessert. These no bake peanut butter bars were born out of impatience and a craving that wouldn’t wait for the oven to preheat. As the chocolate layer melted into glossy perfection, my impatience was rewarded.
Once, my friend Maria dropped by unannounced, and these bars saved me from serving sad old cookies. I sliced them just as she walked in, and the kitchen instantly smelled like a candy shop, warm chocolate and sweet peanut butter floating through the air. We ate them out of the pan with coffee, laughing over kitchen ‘hacks’ gone wrong. If I’d known how much everyone would rave about these, I might have hidden a few for myself.
Ingredients
- Creamy Peanut Butter: Smooth peanut butter makes the bars rich and silky, though a little crunch isn’t out of place if that’s your preference.
- Unsalted Butter (melted): Always use unsalted so you can control the saltiness; make sure it’s fully melted for effortless blending.
- Powdered Sugar: This sweetens the base gently and also gives it that classic, slightly fudgy texture.
- Graham Cracker Crumbs (or digestive biscuit crumbs): The not-so-secret backbone that keeps the bars firm and adds a light, toasty crunch.
- Vanilla Extract: A dash goes a long way—it rounds out the peanut flavor beautifully.
- Semi-Sweet Chocolate Chips: They melt smoothly and give the topping just enough bittersweet balance to the sweet base.
- Extra Creamy Peanut Butter (for the topping): Swirling this in ensures the top layer stays luscious instead of snapping when you bite in.
Instructions
- Prep Your Pan:
- Grab your trusty 8x8 inch baking pan and line it with parchment paper, leaving extra at the edges for easy lifting later.
- Combine the Base:
- In a large bowl, stir together melted butter and peanut butter until silky, then breathe in that nutty scent.
- Add Dry Ingredients:
- Sift in powdered sugar and add graham cracker crumbs, then pour in vanilla; keep mixing until a thick, doughy mass forms (don’t be afraid to use your hands if the spatula gives up).
- Press Into Pan:
- Spread the peanut butter mixture evenly into the lined pan, pressing firmly and smoothing the top for an even finish.
- Melt the Topping:
- In a microwave-safe bowl, melt chocolate chips and extra peanut butter in 30-second bursts, stirring each time until you have a glossy pourable mix.
- Layer the Chocolate:
- Pour the melted chocolate-peanut butter over the peanut base, tilting the pan to cover every corner, and don’t worry about perfection.
- Chill Out:
- Refrigerate for at least 2 hours, until the slab feels firm and the topping loses its shine.
- Cut and Serve:
- Once set, lift out with parchment flaps and slice into 16 bars—wipe the knife between cuts for clean edges.
 Pin It
 The first time I made these for my neighbor’s backyard potluck, kids ran off with most of the tray before the adults even had coffee. It was the rare moment when something so simple stole the whole show, and I found myself scribbling the recipe on napkins for half the neighborhood. There’s just something about that chocolate-peanut butter duo that sparks pure, unfiltered joy in any crowd.
Batch Size and Storing
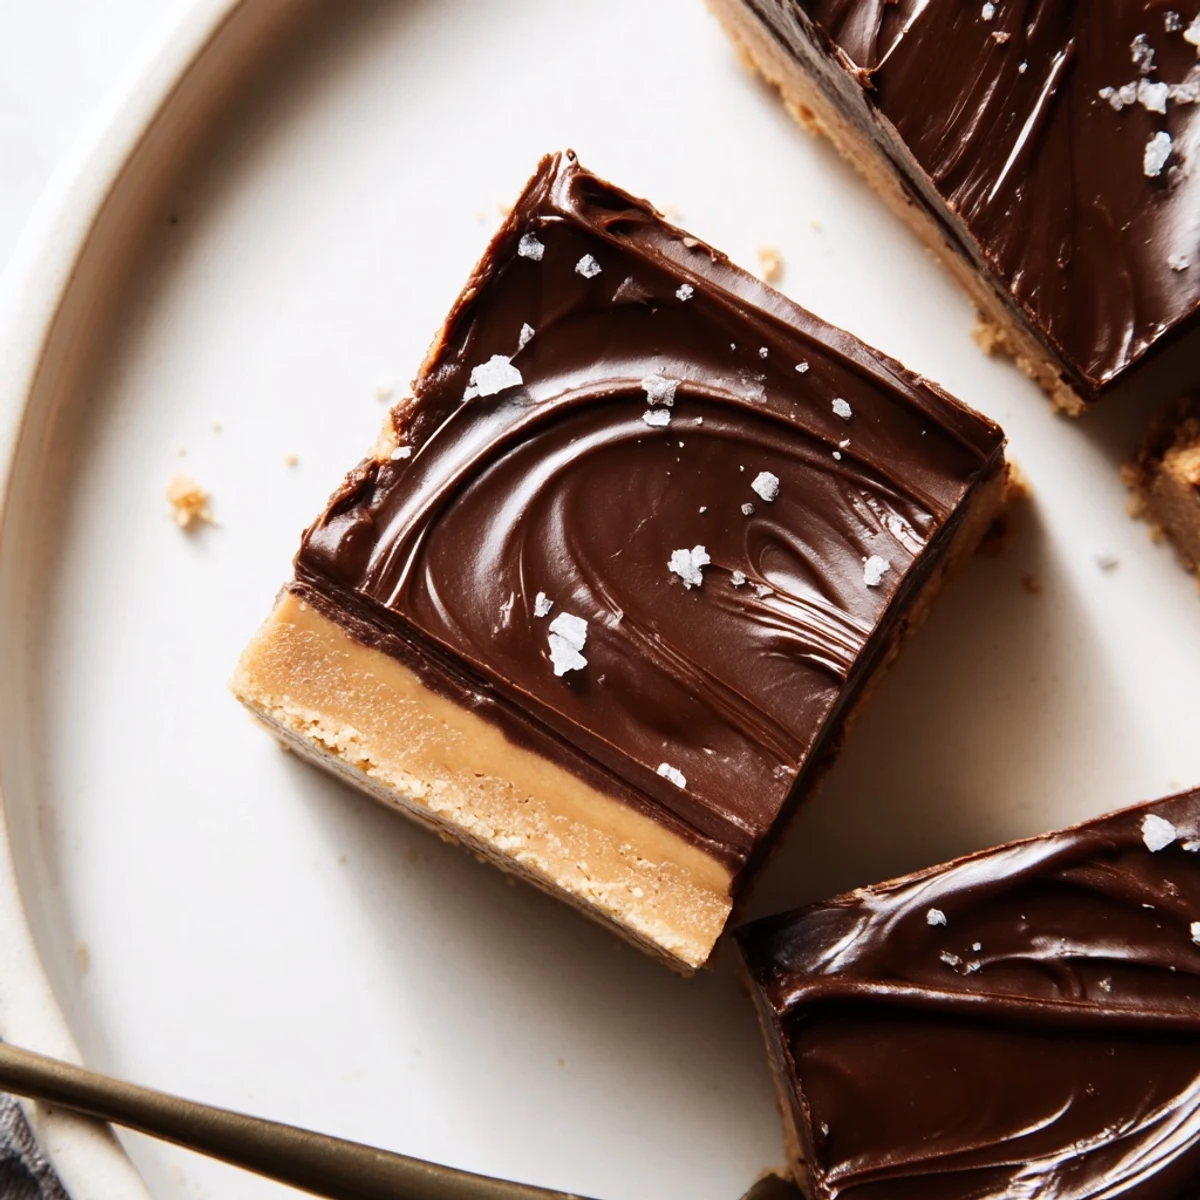
These bars are rich, so I usually cut them small and end up with about sixteen servings per batch—enough for a crowd or to nibble over a week. If you’re making extras, keep them tucked in an airtight container in the fridge to maintain their perfect bite and texture.
Customizing Your Bars
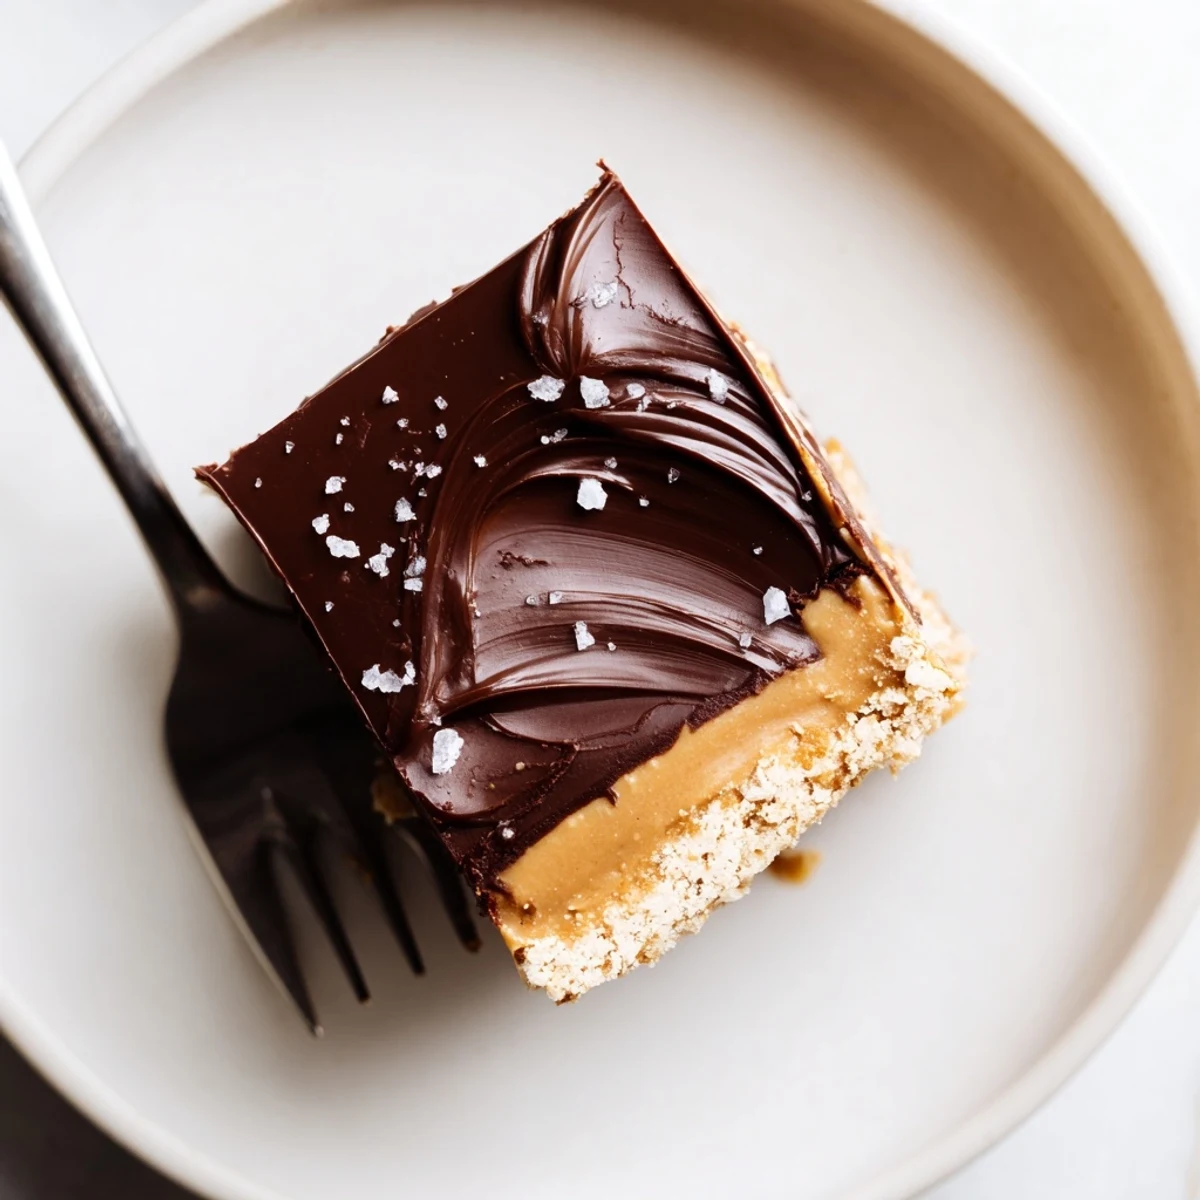
The real fun comes with small tweaks—add a sprinkle of flaky sea salt, swap in gluten-free cookies, or stir some salted peanuts into the base for added crunch. I love trying new chocolate blends up top or even swirling white chocolate in for a prettier finish. These bars play along with whatever mood your pantry is in, and no one’s ever complained about a little experimentation.
Troubleshooting and Last Minute Tips
If your chocolate cracks when slicing, let the bars sit out for five minutes before cutting for smooth, clean edges. Melt the topping gently to prevent scorching, and always wipe your knife between cuts to keep things tidy. If you end up with uneven pieces, call them rustic—they’ll disappear just as quick.
- Don’t skip the chill time even if you’re in a hurry
- Add chopped peanuts on top before chilling if you like extra crunch
- Store with parchment between layers to keep bars picture-perfect
 Pin It
 With these bars in hand, dessert is never far away—even when the oven stays cold. They’re the quickest shortcut to a chocolate-peanut butter fix and proof that sometimes, simple is best.
Recipe Questions & Answers
- → How long should I chill the bars?
-
Refrigerate for a minimum of 2 hours so the topping sets and the base firms. If you want cleaner slices, chill longer or briefly freeze before cutting.
- → Can I use crunchy peanut butter?
-
Yes. Using chunky peanut butter adds texture to the base; you can also fold in chopped roasted peanuts for extra bite.
- → How do I melt the chocolate without seizing?
-
Use short microwave bursts (20–30 seconds), stirring between intervals until smooth. Alternatively, melt over a gentle bain-marie, stirring constantly to prevent overheating.
- → How can I make these gluten-free?
-
Substitute the graham cracker crumbs with gluten-free cookie crumbs or ground oats. Ensure all labels indicate certified gluten-free if needed.
- → What’s the best way to cut neat bars?
-
Lift the chilled slab using the parchment, place on a cutting board, and use a sharp knife warmed under hot water and wiped dry between cuts for clean edges.
- → How should leftovers be stored?
-
Keep bars in an airtight container in the refrigerator for up to one week. Separate layers with parchment to prevent sticking.
