 Pin It
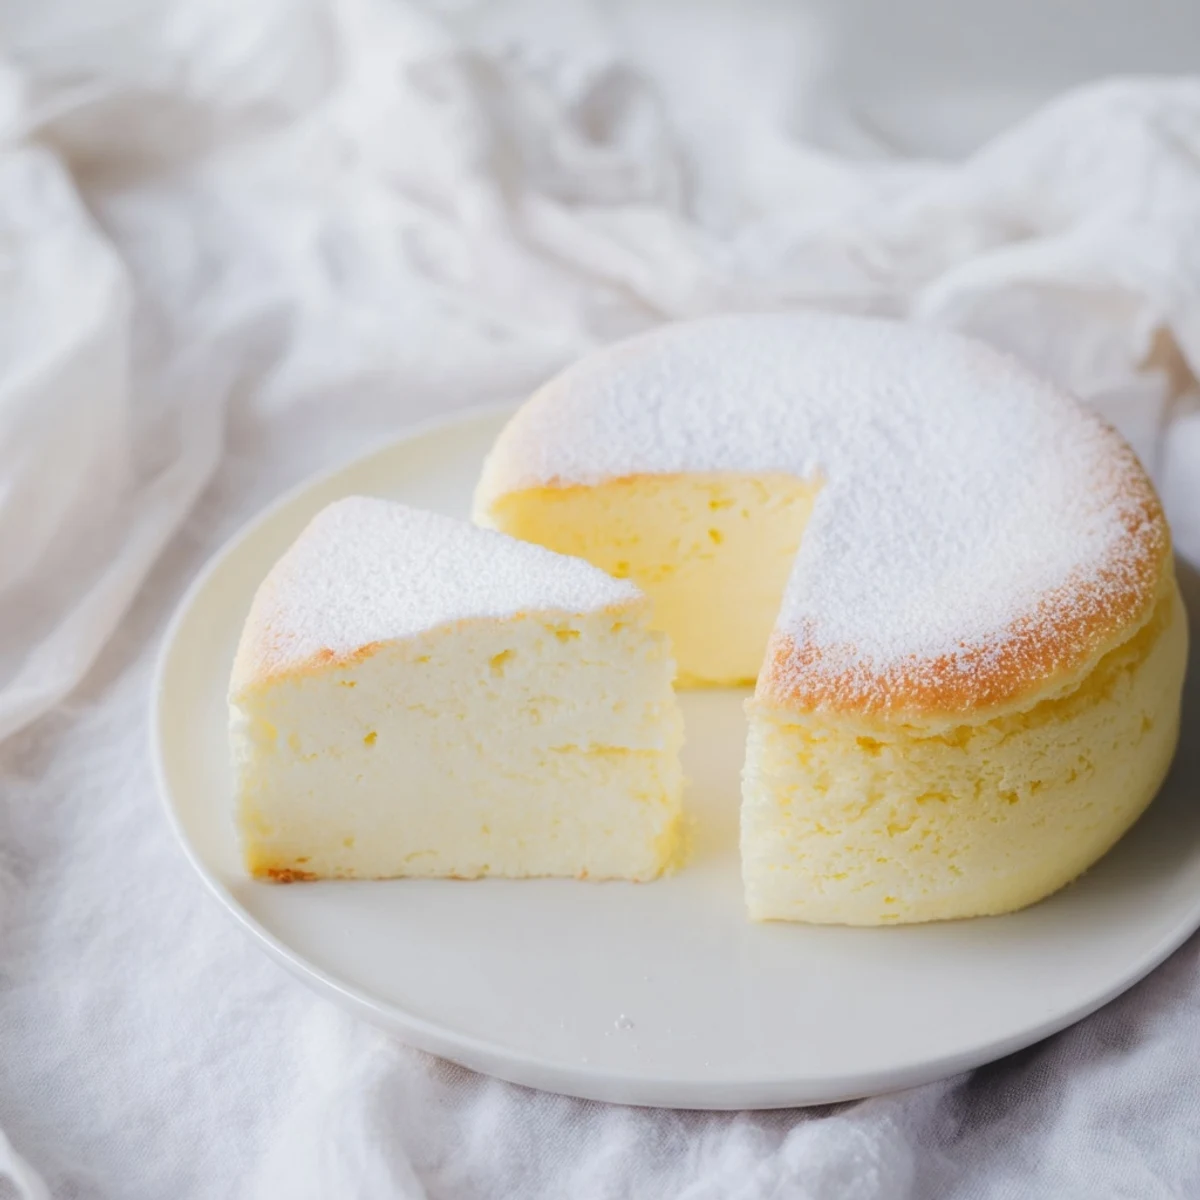
 This Japanese-style cheesecake achieves its signature cloudlike texture through a careful balance of cream cheese, whipped egg whites, and a gentle water bath baking method. The result is a delicate, soufflé-like dessert that's significantly less sweet than Western cheesecakes while delivering an incredibly light mouthfeel.
The key steps involve melting cream cheese with butter and milk, incorporating cake flour and egg yolks to create a rich base, then folding in stiff meringue for that characteristic fluffiness. Baking in a water bath ensures even cooking and prevents cracking, while the gradual cooling process helps maintain the delicate structure.
Essential tips include using cake flour instead of all-purpose flour, beating egg whites to stiff glossy peaks, folding gently to preserve air pockets, and the critical water bath technique. The finished cheesecake requires chilling for at least 2 hours to set properly before serving with powdered sugar and fresh berries.
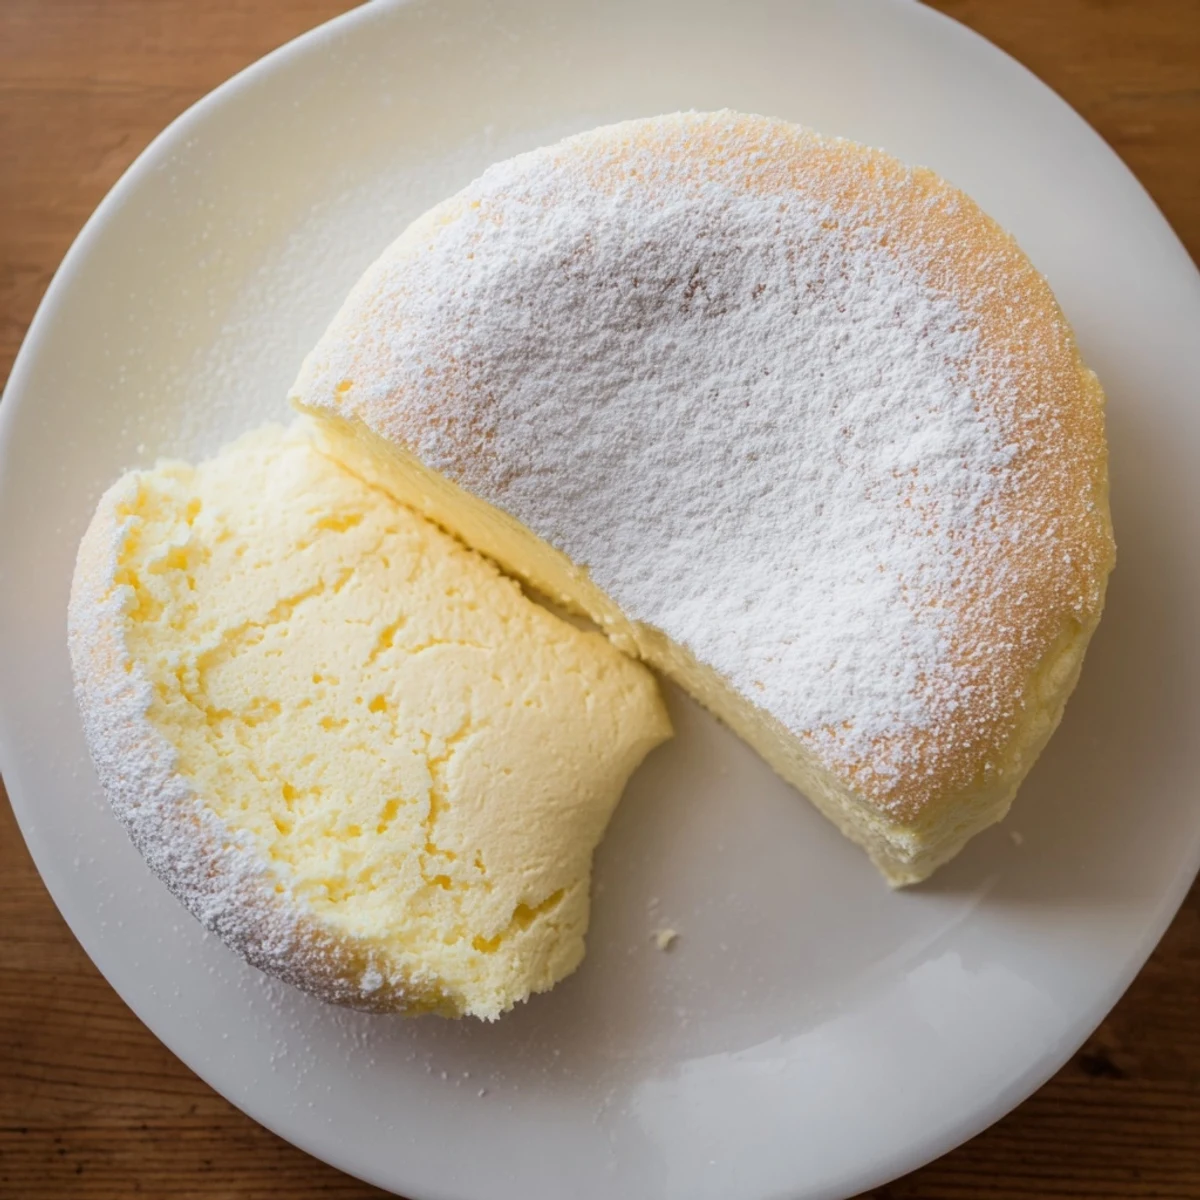
The afternoon sun hit my kitchen counter just right when I pulled this cake from the oven, jiggling like a happy cloud. Id attempted three Japanese cheesecakes before this one, each one collapsing or cracking or deflating into something that resembled a sad pancake more than a dessert. But this time, watching it rise through the oven door glass, something clicked.
My grandmother wandered in during that crucial cooling period, the oven door cracked open just like the recipe demands. She watched me practically hover over the pan, explaining that Japanese cheesecakes are temperamental divas who need exactly fifteen minutes of gradual cooling or theyll crack their hearts out. We ate the first slices standing at the counter, forks in hand, not even bothering with plates.
Ingredients
- Cream cheese: Let it sit out for a full hour, because cold cream cheese creates lumps that no amount of whisking can fix
- Unsalted butter: Room temperature butter blends into the dairy mixture like it belongs there, creating that silky base
- Whole milk: Warms with the other dairy ingredients to create a smooth, cohesive foundation for the batter
- Cake flour: Lower protein than all-purpose, keeping the crumb tender and preventing that tough, breadlike texture
- Cornstarch: The secret weapon for structure without density, helping the cake hold its ethereal shape
- Granulated sugar: Split between the yolk mixture and the meringue, with most going into those egg whites for stability
- Salt: Just enough to make all the flavors pop without anyone tasting salt specifically
- Egg whites: The backbone of the entire operation, beaten until they create those glossy peaks that do all the lifting
- Lemon juice: Cuts through the richness and adds this brightness that makes every taste interesting
- Vanilla extract: Because every dessert needs that warm, comforting background note
Instructions
- Prep your pan like a pro:
- Parchment paper should come up higher than you think necessary, and that foil wrap needs to be tight enough to hold back a small flood
- Melt into magic:
- The dairy mixture needs gentle heat over simmering water, stirring constantly until it transforms into liquid silk
- Dry ingredients first:
- Sifting is nonnegotiable here, and whisking the flour mixture into the warm dairy until no streaks remain creates the perfect base
- Bring in the yolks:
- Whisk them in one at a time, then add all those flavorings until the mixture is glossy and smooth and ready
- The meringue moment:
- Beat those whites until foamy, then add sugar in three slow additions, watching glossy peaks form that stand up straight when you lift the beaters
- Fold like you mean it:
- Start with one third of the meringue to lighten things up, then fold in the rest so gently you barely disturb the air bubbles
- Settle and tap:
- Pour into that prepared pan and give it a few gentle taps on the counter to release any trapped air pockets
- The water bath trust:
- Place the cake pan inside the roasting pan and pour hot water halfway up the sides, creating that steamy environment that prevents cracks
- The patience bake:
- Sixty to seventy minutes at exactly 320 degrees, watching until the top turns golden and a skewer comes out clean
- The cooling door trick:
- Turn off the oven, crack that door, and walk away for exactly fifteen minutes while the cake settles gradually
- The final chill:
- Let it cool completely in the pan, then refrigerate for at least two hours before you even think about slicing
- Use a rubber spatula with a flexible edge that can scrape the bowl completely
- Fold in a figure eight motion, rotating the bowl as you go
- Stop the second you see no more white streaks, even if it looks imperfect
- → What makes Japanese cheesecake different from regular cheesecake?
-
Japanese cheesecake incorporates whipped egg whites to create a soufflé-like texture that's incredibly light and airy. Unlike dense New York-style cheesecakes, this version uses cake flour instead of heavy amounts of cream cheese, resulting in a fluffy, cloudlike dessert that's less sweet and melts in your mouth.
- → Why is a water bath necessary for baking?
-
The water bath (bain-marie) provides gentle, moist heat that prevents the cheesecake from cracking during baking. It also ensures even cooking throughout the delicate batter, maintaining the soft texture while allowing the center to set properly without drying out or becoming rubbery.
- → Can I substitute cake flour with all-purpose flour?
-
Cake flour is essential for achieving the signature fluffy texture. All-purpose flour has higher protein content which creates more gluten, resulting in a denser, chewier cheesecake. If you cannot find cake flour, you can make a substitute by measuring 1 cup of all-purpose flour and removing 2 tablespoons, then replacing with 2 tablespoons of cornstarch.
- → Why did my cheesecake deflate after cooling?
-
Deflation usually occurs when the meringue wasn't beaten to stiff peaks or was folded too aggressively, losing essential air bubbles. It can also happen if the cheesecake was removed from the oven too abruptly. Always let it cool gradually in the oven with the door ajar for 15 minutes before removing.
- → How should I store leftover Japanese cheesecake?
-
Store the cheesecake in an airtight container in the refrigerator for up to 4 days. The texture actually improves after chilling for several hours. Avoid freezing as it can compromise the delicate soufflé structure. Bring to room temperature for 15-20 minutes before serving for the best texture.
- → Why does my cheesecake have a brown crust on top?
-
A light golden crust is normal and desirable, but excessive browning suggests the oven temperature is too high. Japanese cheesecakes bake best at 320°F (160°C). If the top browns too quickly, you can tent it loosely with aluminum foil during the last 20 minutes of baking while still allowing the center to cook through.
- 7 ounces cream cheese, room temperature
- 1.8 ounces unsalted butter, room temperature
- 6.8 tablespoons whole milk
- 0.5 cup cake flour
- 1.6 tablespoons cornstarch
- 0.5 cup granulated sugar, divided
- 0.25 teaspoon salt
- 6 large eggs, separated
- 1 teaspoon lemon juice
- 1 teaspoon vanilla extract
- Zest of 1 lemon
- 8-inch round cake pan
- Mixing bowls
- Electric mixer
- Whisk
- Rubber spatula
- Roasting pan for water bath
- Parchment paper
- Aluminum foil
- Contains dairy (cream cheese, butter, milk), eggs, and wheat (cake flour)
- Not suitable for those with dairy, egg, or gluten allergies
- Double-check all ingredient labels for possible allergen cross-contamination
 Pin It
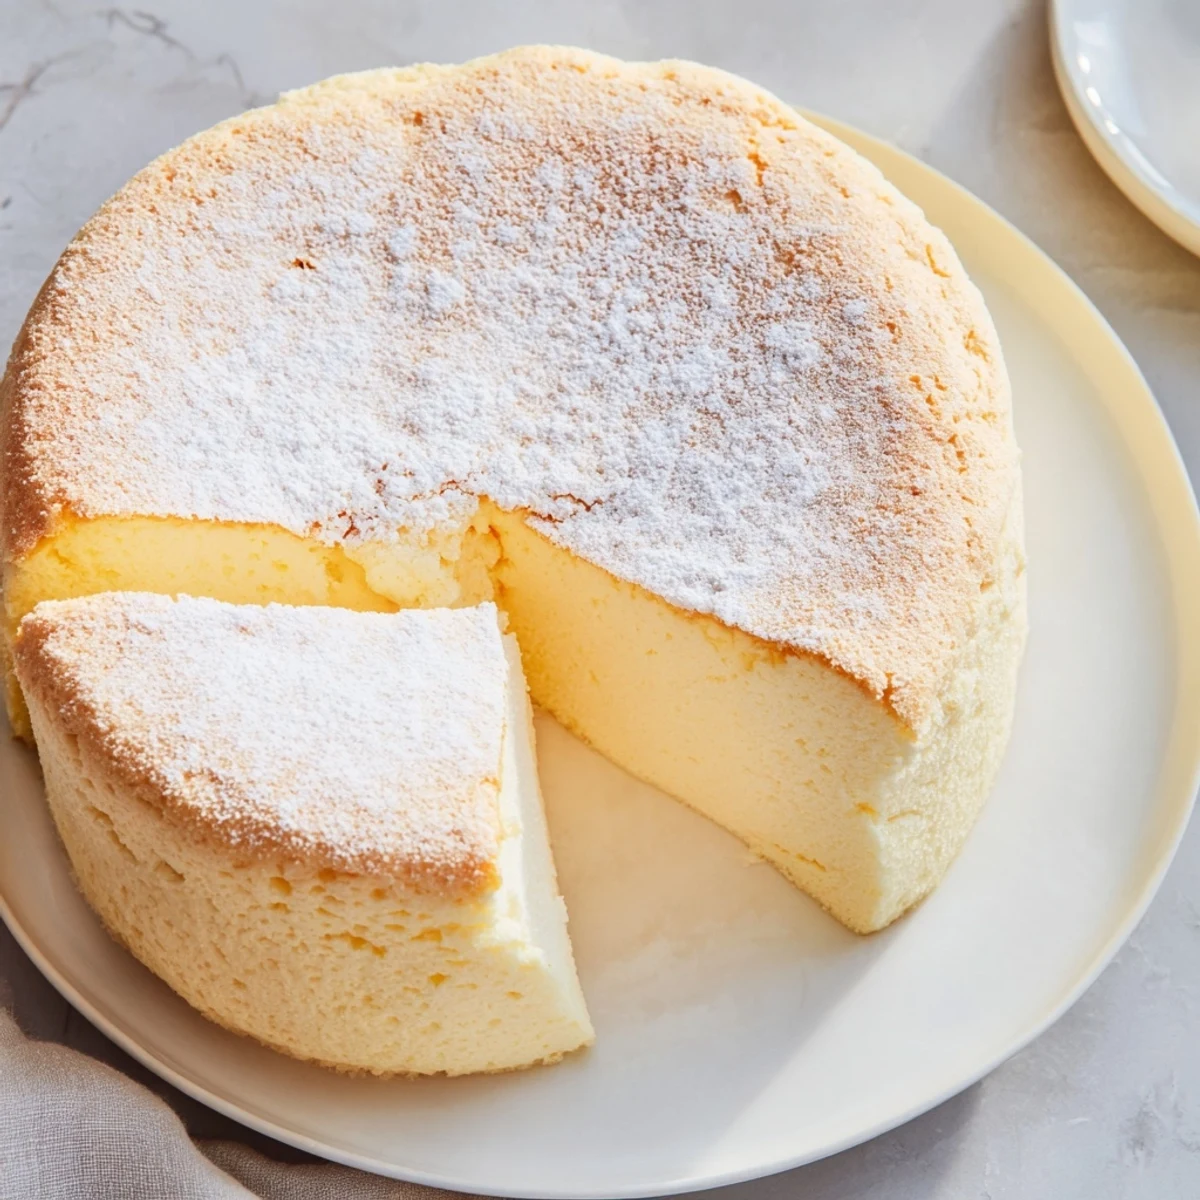
 My sister called me the day after I finally nailed this recipe, demanding to know what kind of sorcery Id used. She served it at her dinner party that evening, texting later that her guests kept asking what restaurant it came from. Thats the thing about this cake, it looks impressive and tastes impossible, like something youd only find in a specialized bakery.
Understanding The Water Bath
The water bath does more than prevent cracking, it creates a gentle, humid environment that lets the cake cook evenly from all sides. Ive tried skipping it, thinking Id save time and effort, and ended up with a cracked, dry disappointment that taught me to never cut corners.
Room Temperature Everything
Cold ingredients create lumps and separation, while room temperature components blend seamlessly into each other. I once rushed this step and spent twenty minutes trying to whisk out tiny cream cheese lumps that refused to disappear.
The Art Of Gentle Folding
Folding is not mixing, its a gentle incorporation that preserves all those precious air bubbles you worked so hard to create. Think of it as cradling the mixture rather than beating it, using your spatula to lift from underneath and fold over the top.
 Pin It
 There is something deeply satisfying about cutting into a cake that took patience, precision, and faith that the chemistry would work. Serve it with nothing more than a dusting of powdered sugar and watch peoples faces light up.
Recipe Questions & Answers
Fluffy Japanese Cheesecake
Light, airy cheesecake with soufflé texture that melts in your mouth. A delicate, less-sweet treat perfect for dessert enthusiasts.
Ingredients
Dairy
Dry Ingredients
Eggs
Flavorings
Instructions
Additional Information
Equipment Needed
Nutrition (Per Serving)
Allergy Information
