 Pin It
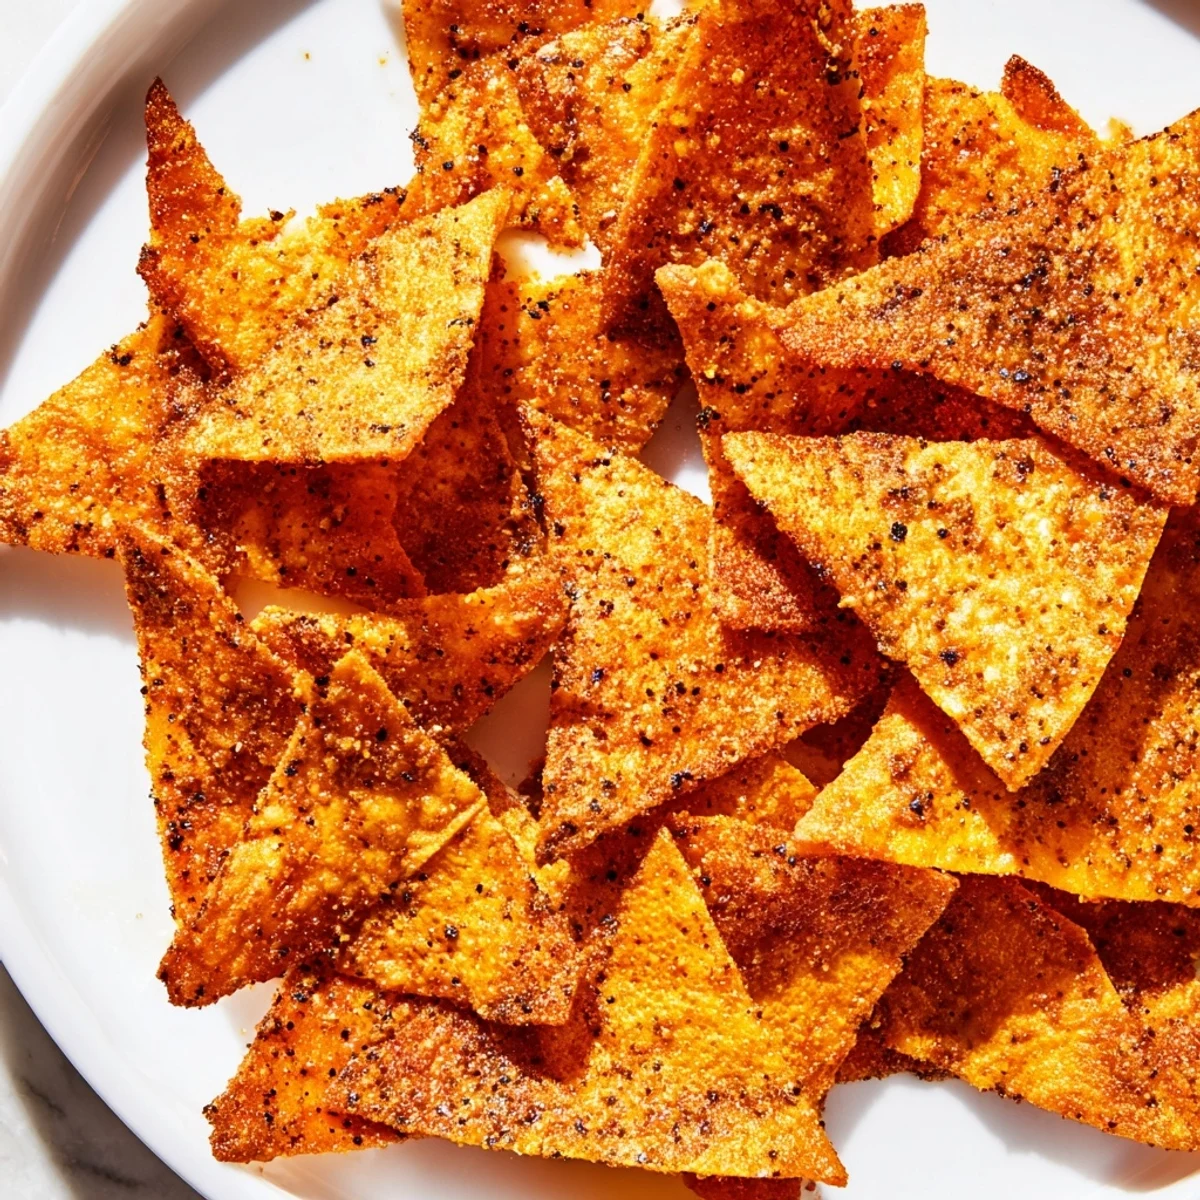
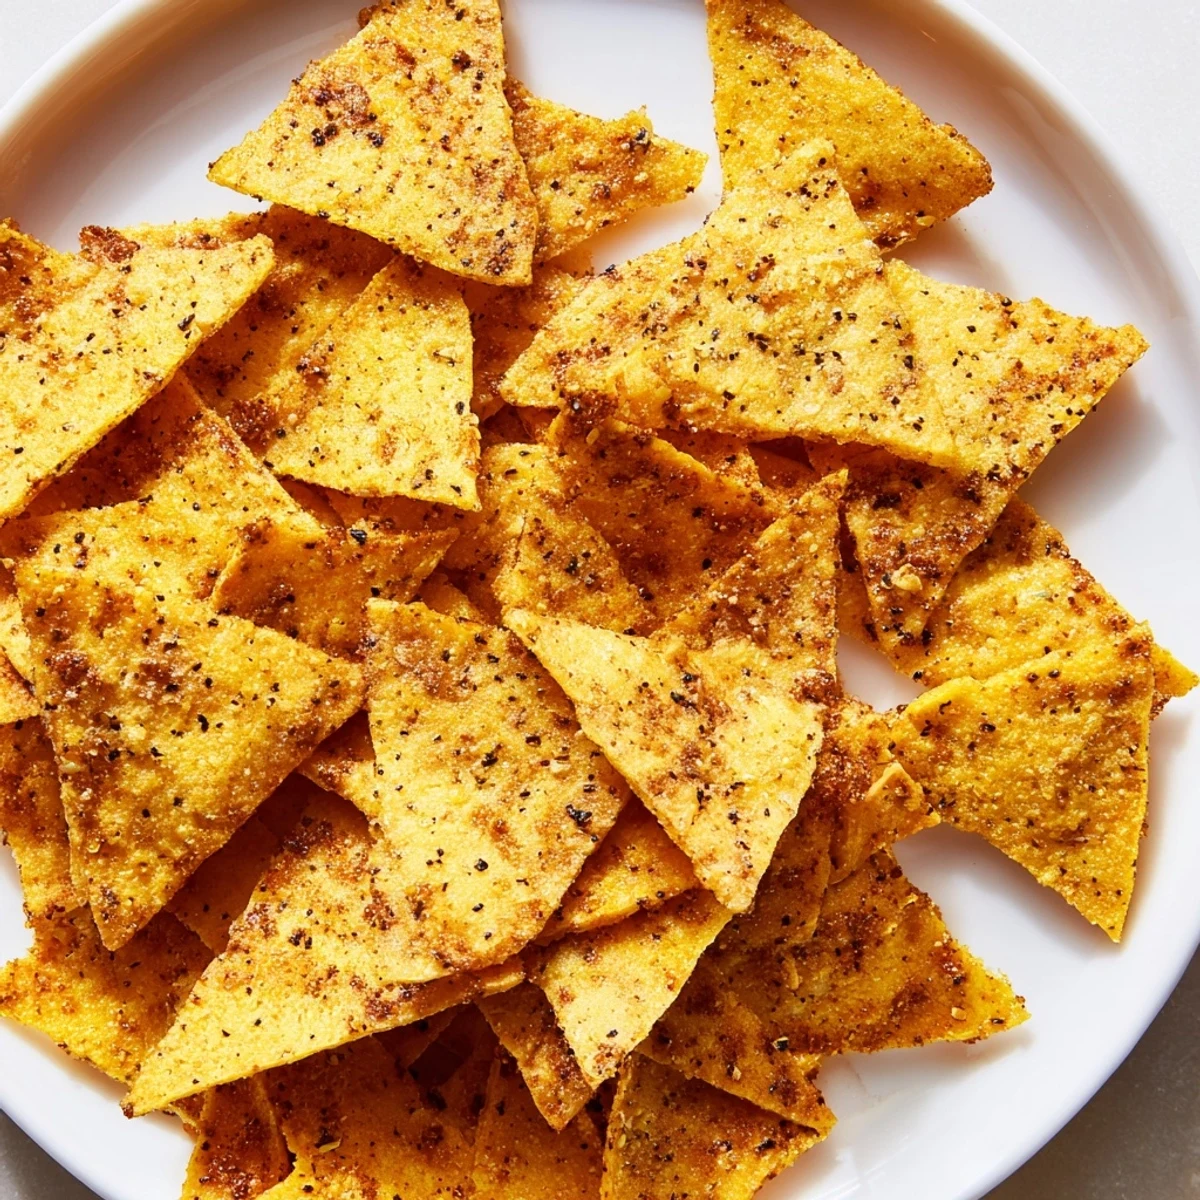
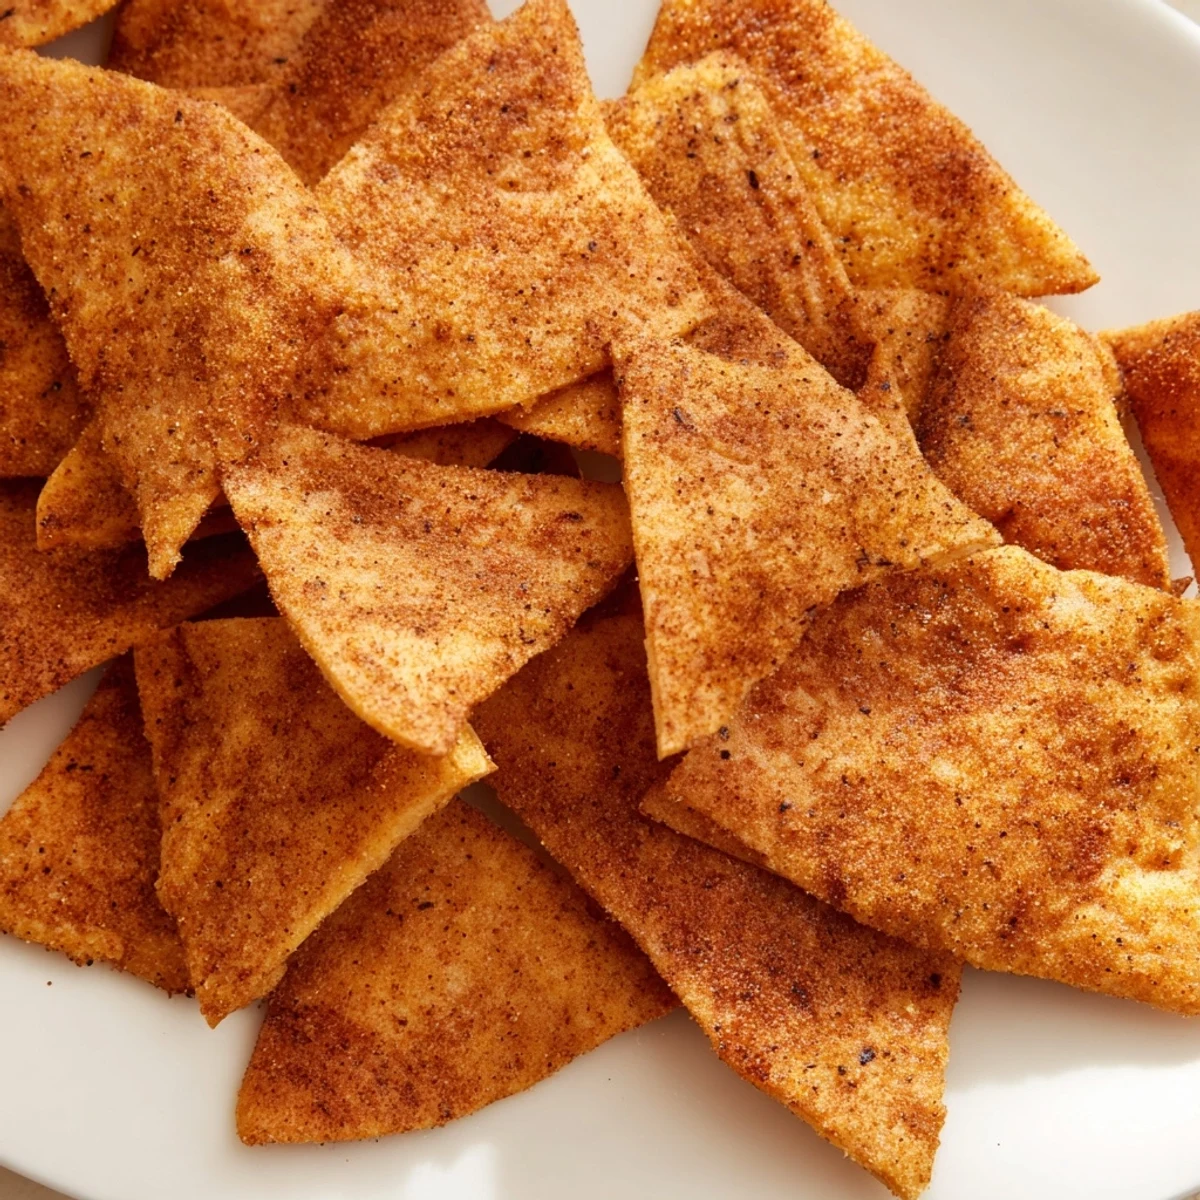
 Create perfectly crispy chickpea flour chips seasoned with smoked paprika, garlic, and cumin. These savory golden crisps offer a satisfying crunch while being completely gluten-free and vegan. The simple batter spreads thin and bakes into light, crunchy rounds perfect for pairing with hummus, guacamole, or enjoying on their own.
Preparation takes just minutes, and the oven does the rest of the work. Adjust spices to your taste—add rosemary for an herby variation or increase paprika for extra smokiness. Store in an airtight container to maintain crispiness for several days.
The smell of chickpea flour toasting in the oven is one of those quiet surprises that stops you mid conversation and makes everyone wander into the kitchen asking what is cooking. A friend from Mumbai introduced me to the idea of turning besan into something crispy and snackable, and I have been hooked ever since. These chips take almost no effort but deliver a crunch that rivals anything from a store bag. They are smoky, golden, and disappear faster than you expect.
One rainy Saturday I made a double batch for a movie night and my partner ate the entire tray before the opening credits finished rolling. I had to make them again the next day just to see what they tasted like with dip. They paired beautifully with a bowl of roasted red pepper hummus and I have never bothered with store bought crackers since.
Ingredients
- Chickpea flour (gram flour): The star of the whole recipe, so grab a fresh bag because old flour can taste stale and flat.
- Salt: Brings every spice to life and balances the natural earthiness of the chickpeas.
- Smoked paprika: Adds that campfire warmth that makes these chips impossible to put down.
- Garlic powder: A quiet background note that rounds out the savory profile without overpowering anything.
- Ground cumin: Gives a subtle earthy depth that ties all the flavors together beautifully.
- Black pepper: A gentle heat that lingers just enough to keep each bite interesting.
- Water: Transforms the flour and spices into a smooth pourable batter.
- Olive oil: Makes the edges crisp up gorgeously and adds a fruity richness throughout.
Instructions
- Preheat and prepare:
- Set your oven to 180 degrees Celsius or 350 degrees Fahrenheit and line a baking sheet with parchment paper so nothing sticks later.
- Mix the dry team:
- Whisk the chickpea flour, salt, smoked paprika, garlic powder, cumin, and black pepper together in a bowl until evenly blended and fragrant.
- Bring in the wet ingredients:
- Pour in the water and olive oil, then stir until you have a smooth, thick batter with no lumps hiding in the corners.
- Spread it thin:
- Pour the batter onto your lined baking sheet and use a spatula to spread it into an even layer about 2 to 3 millimeters thick, working quickly before it starts to set.
- Brush with oil:
- Lightly brush the top with a little extra olive oil for that golden, blistered finish everyone loves.
- Bake until golden:
- Slide the tray into the oven and bake for 20 to 25 minutes until the edges are deeply golden and the center feels firm to the touch.
- Cool and break apart:
- Let it cool for a few minutes on the tray, then snap it into rustic chip sized pieces or cut them into neat triangles with a knife.
- Serve and enjoy:
- Arrange them in a bowl on their own or alongside hummus, guacamole, or salsa for a snack spread that disappears in minutes.
 Pin It
 I once brought a container of these to a potluck and three people pulled me aside to ask for the recipe before the night was over. That is the moment I realized simple food made with care always wins over complicated dishes.
Getting That Perfect Crunch
The trick is spreading the batter as thin and even as you possibly can, because thick spots stay chewy while thin spots shatter beautifully. A large offset spatula makes this much easier than a regular one, and working on a completely flat baking sheet matters more than you think.
Storing Your Chips
These keep surprisingly well in an airtight container at room temperature for up to three days, though they rarely last that long in my house. If they soften overnight, a quick five minute trip back into a warm oven brings the snap right back.
Making It Your Own
Once you master the basic recipe the variations are endless and that is where the real fun begins. Try folding in fresh rosemary or thyme leaves, or swapping the smoked paprika for curry powder when you want something completely different. A squeeze of lemon juice in the batter adds brightness, and a pinch of cayenne turns up the heat for those who like a kick.
- Sprinkle sesame seeds on top before baking for a nutty finish.
- Add nutritional yeast to the dry mix for a cheesy flavor without dairy.
- Always taste the raw batter for seasoning before spreading because adjustments are impossible once it is in the oven.
 Pin It
 Keep a batch in your back pocket for hungry afternoons and unexpected guests, and you will never be caught without something crunchy and satisfying to share.
Recipe Questions & Answers
- → What makes chickpea chips crispy?
-
Spreading the batter thinly (2-3mm) allows it to bake evenly and develop a crisp texture. Brushing with olive oil promotes golden browning and crunchiness at the edges.
- → Can I fry these instead of baking?
-
Yes, you can drop spoonfuls of batter into hot oil for fried versions. However, baking uses less oil and creates a lighter, crunchier chip that's easier to make in batches.
- → How long do homemade chickpea chips stay fresh?
-
Store completely cooled chips in an airtight container at room temperature for up to 3 days. Any moisture will soften them, so ensure they're fully cool before storing.
- → What dips pair well with chickpea chips?
-
These chips complement creamy dips like hummus, baba ganoush, or tzatziki. They also work well with fresh salsas, guacamole, or spiced yogurt dips.
- → Can I make these chickpea chips oil-free?
-
You can omit the oil brushing, though the chips will be less crisp. Substitute with water or plant milk, but expect a slightly different texture and shorter freshness.
