 Pin It
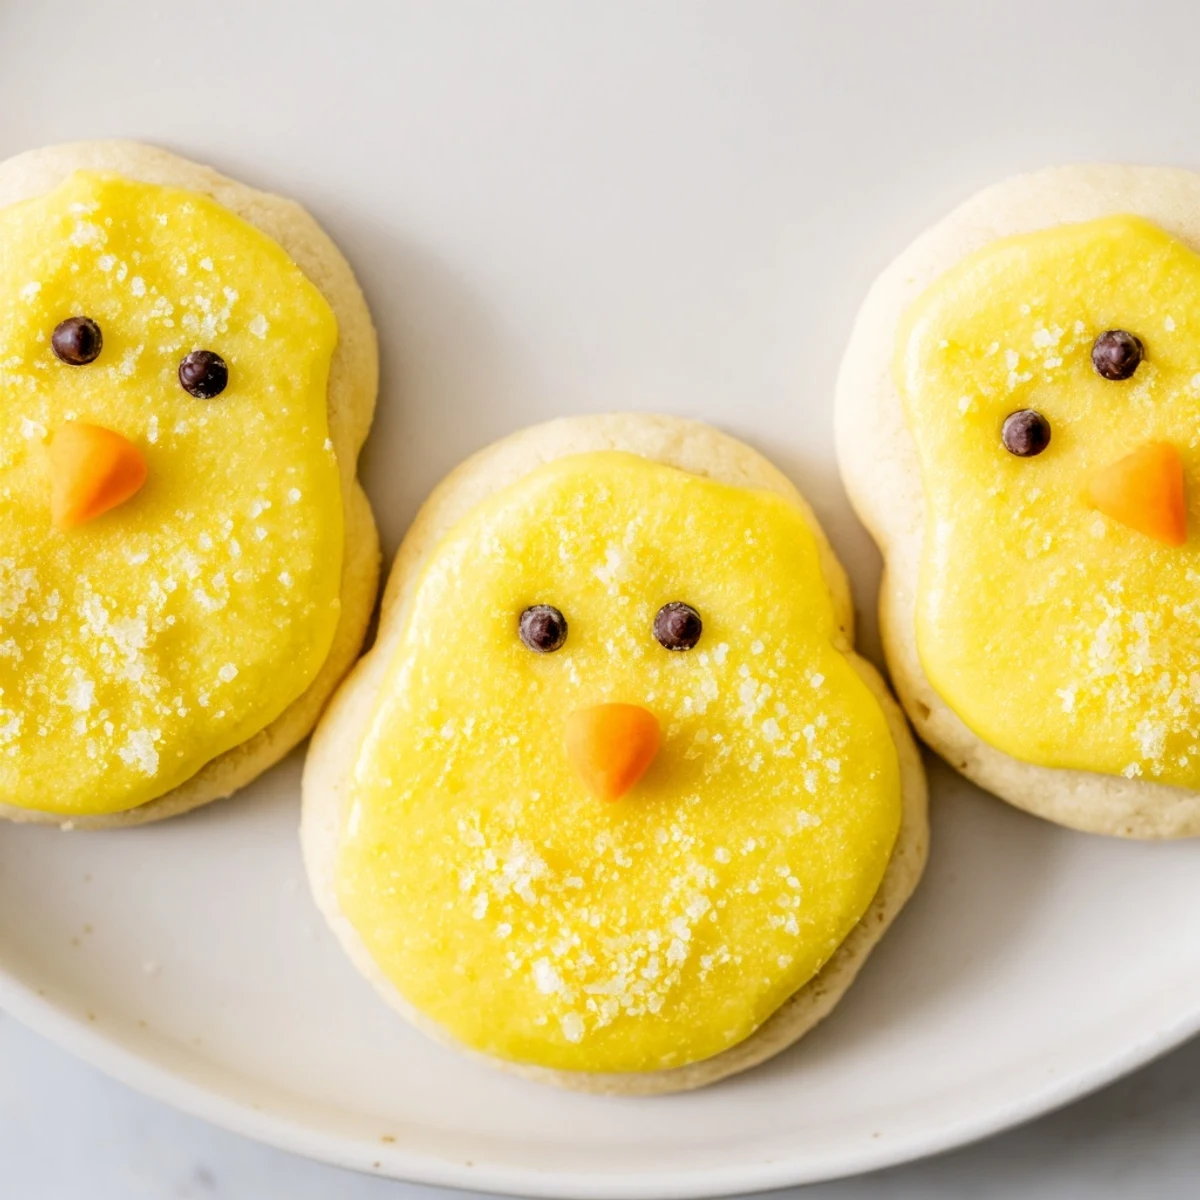
 These delightful chick-shaped sugar cookies bring charm to any spring gathering. The buttery dough bakes into tender treats that kids and adults adore. Shape them into cute chick faces with edible details using simple pantry ingredients.
Great for Easter, birthday parties, or classroom celebrations. The dough comes together quickly, and decorating becomes a fun family activity. Each batch yields two dozen adorable cookies that disappear fast.
My daughter begged me to make something cute for her spring class party, and we stumbled upon these little chick cookies completely by accident. The kitchen was covered in flour, yellow food coloring stained our fingers for days, but seeing her face light up when the first tray came out of the oven was absolutely worth it.
Last spring I made three dozen of these chicks for a neighborhood gathering, and I wish I had taken a photo of the adults hovering around the platter. Something about those tiny faces brings out the child in everyone, and I watched grown people argue over who got the chick with the crooked beak.
Ingredients
- All-purpose flour: The backbone that gives these cookies structure while keeping them tender
- Unsalted butter: Room temperature is nonnegotiable here for proper creaming and that melt in your mouth texture
- Yellow food coloring: Gel coloring works better than liquid for achieving that vibrant chick yellow without making the dough sticky
- Powdered sugar and milk: This simple glaze adds a professional shine and helps the decorations stick
Instructions
- Prep your oven and pans:
- Preheat oven to 350°F and line two baking sheets with parchment paper
- Whisk the dry ingredients:
- In a bowl combine flour baking powder and salt until well blended
- Cream butter and sugar:
- Beat butter and sugar until fluffy then add egg and vanilla mixing until combined
- Combine and color:
- Gradually mix in dry ingredients then add yellow food coloring kneading until evenly colored
- Shape your chicks:
- Roll dough into 1inch balls using a larger ball for the body and smaller for the head pressing gently together
- Bake until just golden:
- Bake for 8 to 10 minutes until edges are barely golden then cool completely
- Add the finishing touches:
- Brush with glaze if desired then add eyes and beaks letting them set before serving
 Pin It
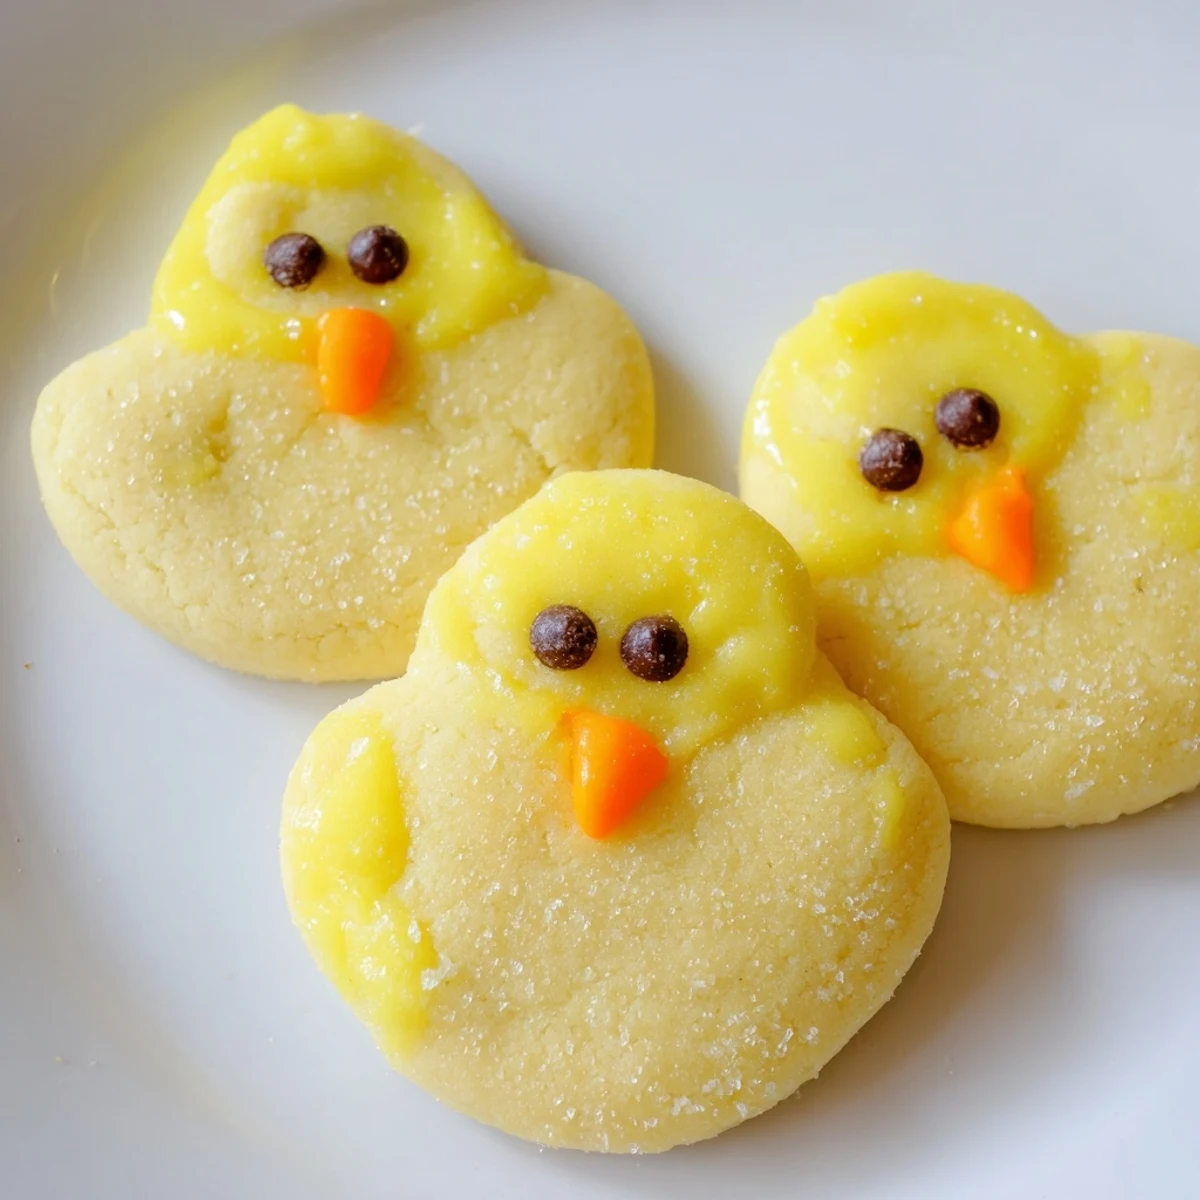
 These cookies have become my go to for spring birthdays and I have learned that the imperfect chicks with lopsided eyes are always the ones that disappear first. There is something joyful about food that does not take itself too seriously.
Making Ahead
You can make the dough up to two days ahead and store it wrapped tightly in the refrigerator. The cookies themselves stay fresh for three days in an airtight container though I have never seen them last that long.
Decoration Ideas
Beyond the classic chick faces try piping tiny wings with orange frosting or adding colorful sprinkles to the glaze before it sets. Some years we give the chicks tiny feet with orange candy and other years we keep it simple with just eyes and beaks.
Serving Suggestions
These are perfect packed into Easter baskets arranged on a tiered stand or simply piled high on a favorite plate. I have also packaged them individually in clear bags tied with yellow ribbon for party favors.
- Set up a decorating station at parties and let guests create their own chick personalities
- Make half sized chicks for bite sized treats at cocktail parties
- Store undecorated cookies in the freezer for up to a month then thaw and decorate when needed
 Pin It
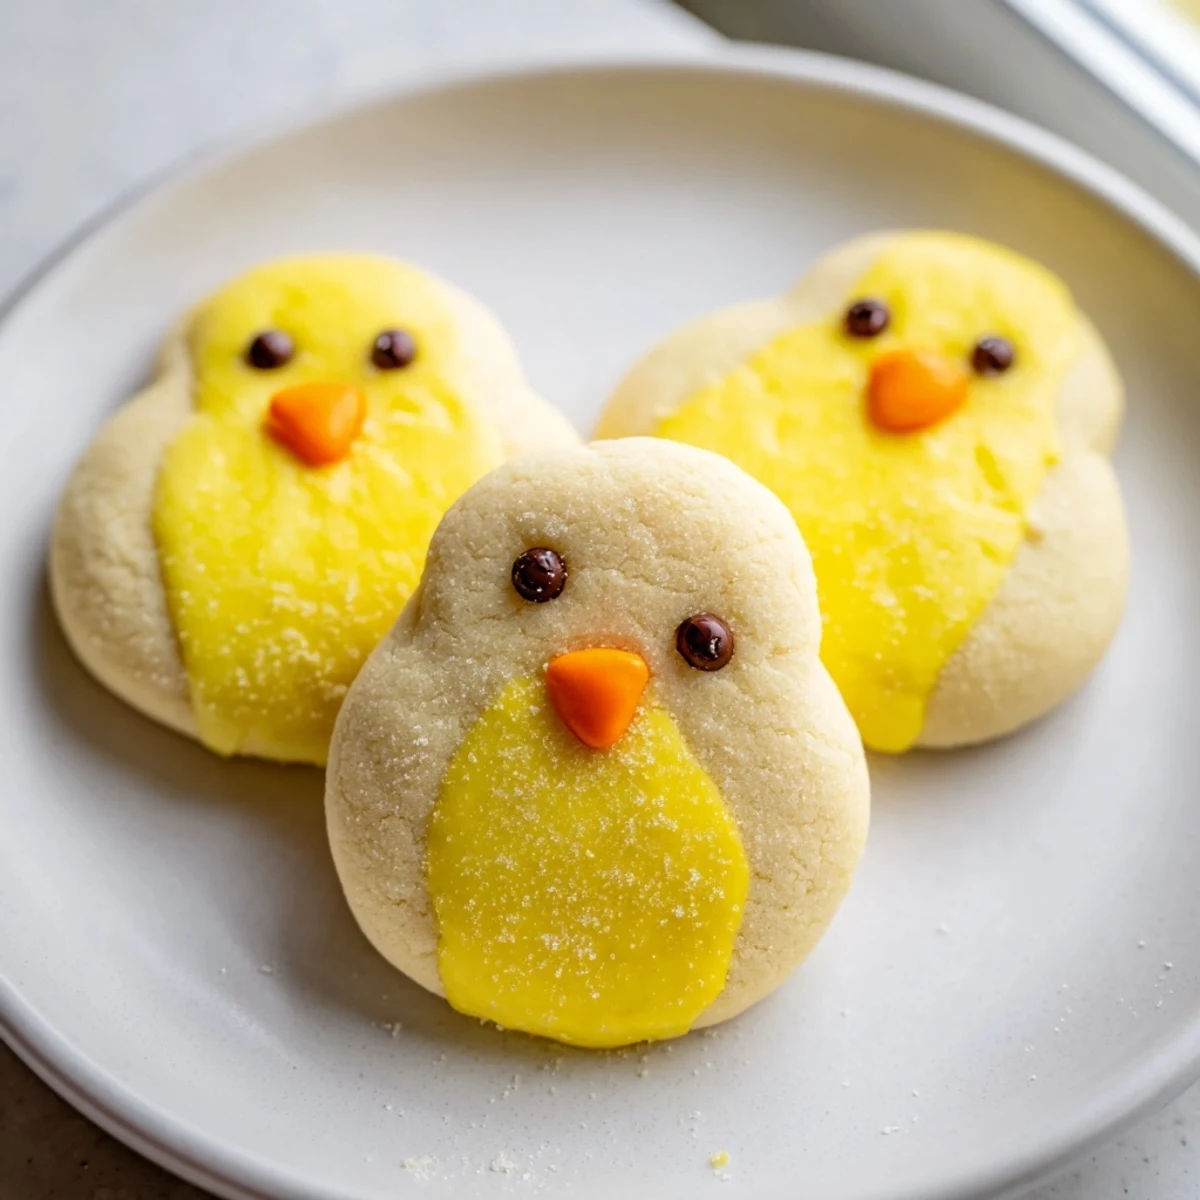
 These little chicks have brought so much joy to my kitchen and I hope they bring the same bright energy to yours. Happy baking and may your chicks be adorable and your kitchen be covered in yellow sprinkles.
Recipe Questions & Answers
- → Can I make the chick cookie dough ahead of time?
-
Yes, refrigerate the dough for up to 3 days. Let it soften slightly at room temperature before shaping and baking. This actually makes the dough easier to handle and helps the cookies hold their shape better.
- → What other decorations work for chick faces?
-
Beyond gel and chocolate chips, try candy eyes, sprinkles, or piping royal icing. Orange slices, candy corn pieces, or even carrot bits work for beaks. Get creative with whatever edible decorations you have on hand.
- → How should I store these decorated cookies?
-
Keep them in an airtight container at room temperature for up to 5 days. Separate layers with parchment paper to prevent the decorations from smudging. They freeze well undecorated for up to 3 months.
- → Can I use natural food coloring instead?
-
Absolutely. Try turmeric powder for yellow, beet juice for pink, or spinach juice for green. Natural alternatives give beautiful results without artificial dyes. Start with small amounts and adjust to reach your desired shade.
- → What's the best way to get smooth cookie shapes?
-
Chill the dough for 15 minutes before rolling. Use lightly floured hands and roll gently between your palms. If dough gets sticky, pop it back in the fridge for a few minutes. The cooler the dough, the cleaner your shapes will be.
- → Can I double this recipe?
-
Yes, simply double all ingredients. You may need to mix in batches depending on your mixer size. Bake in batches as directed—don't overcrowd the baking sheets. The dough freezes well, so you can save half for later.
